How to Setup Samba Server in RHEL, Rocky Linux and Alma Linux .
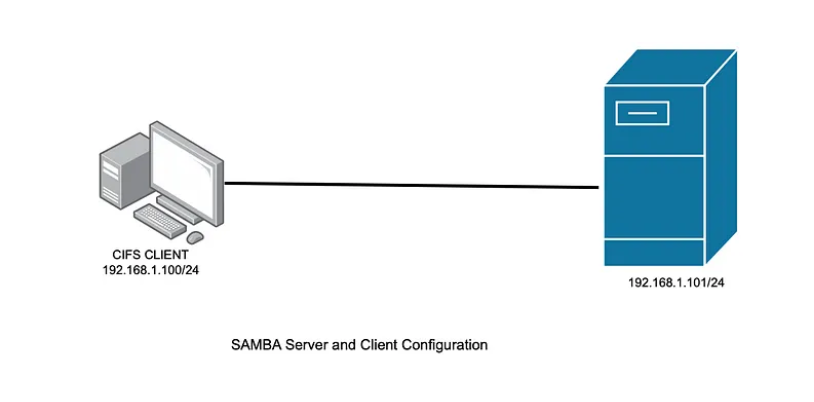
Samba is an open-source software that enable file and print services between Windows, Linux, and Unix systems over a network.

- What is SAMBA?
- Samba server side setup and configuration.
- Accessing shared directory from windows.
- Client side samba setup and accessing shared directory.
- Securing the Samba server side.

SAMBA: – A linux utility or tool to share Linux files and print service to other operating system
Using service message block (SMB) and common internet files system (CIFS) protols.
Port number of samba: – 138, 139, 445
Step 1: Install Samba Package on Linux
To get started out with Samba, install the Samba packages including the client package:
# sudo dnf install samba samba-common samba-client
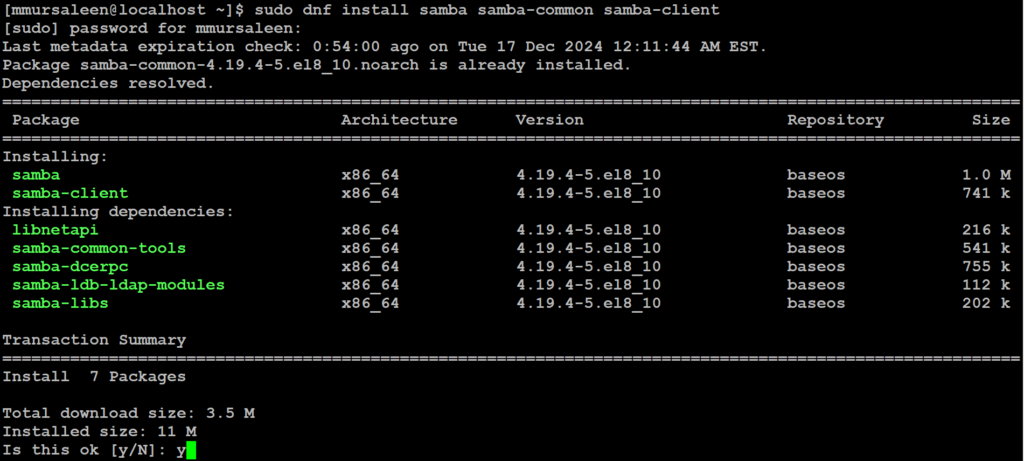
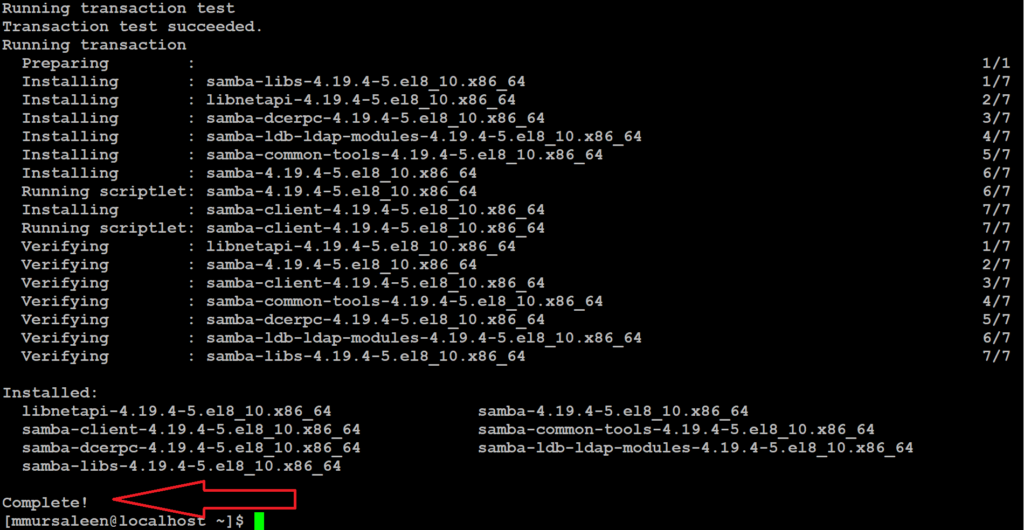
The command installs the packages specified along with the dependencies as displayed on the output. After the installation is complete, you will get a summary of all the packages that have been installed.
Step 2: Server side configuration
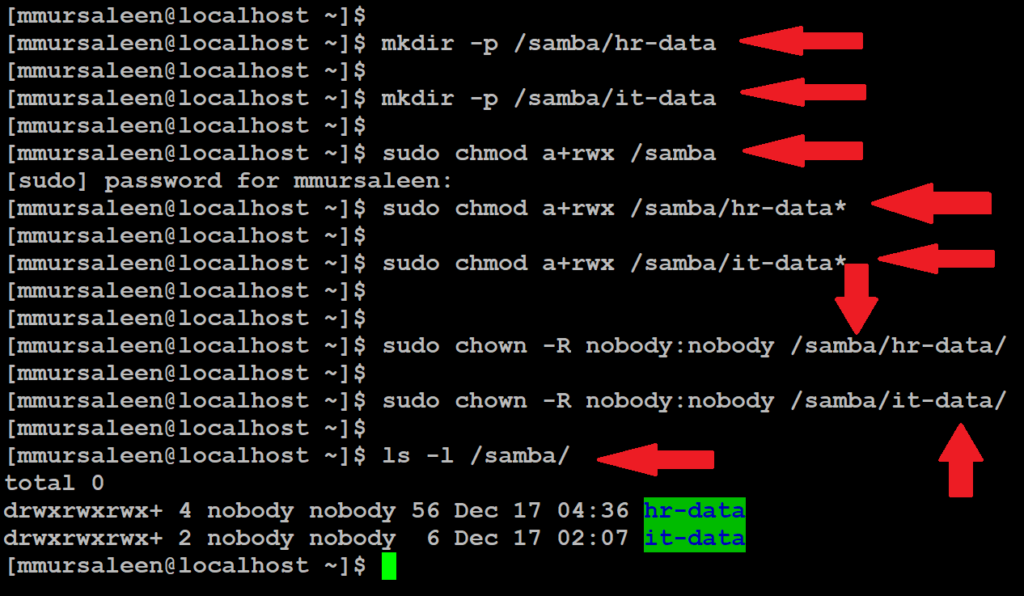
- Create a directory for samba and give all the permission and ownership below command.
# sudo mkdir -p /samba/hr-data
# sudo mkdir -p /samba/it-data
# sudo chmod a+rwx /samba
# sudo chmod a+rwx /samba/hr-data
# sudo chmod a+rwx /samba/hr-data*
# sudo chmod a+rwx /samba/it-data*
# sudo chown -R nobody:nobody /samba/hr-data
# sudo chown -R nobody:nobody /samba/it-data
Step 3: Configure Samba server
The main Samba configuration file is located at /etc/samba/smb.conf. Back up the original before making changes file. below command
# sudo cp -rf /etc/samba/smb.conf /etc/samba/smb.conf.back

Next, Edit the configuration file using below command
sudo vim /etc/samba/smb.conf
workgroup = WORKGROUP
        server string = Samba Server %v
        netbios name = rocky-8
        security = user
        map to guest = bad user
        dns proxy = no
        ntlm auth = true
        # hosts allow = 192.168.0.0/24

[HR-DATA]
      comment = HR DATA
      path = /samba/hr-data
      browsable = yes
      writeable = yes
      guest ok = yes
      guest only = yes
      read only = no

[IT-DATA]
      comment = IT DATA
      path = /samba/it-data
      browsable = yes
      writeable = yes
      guest ok = yes
      guest only = yes
      read only = no
Save the file by pressing :wq and Entering press
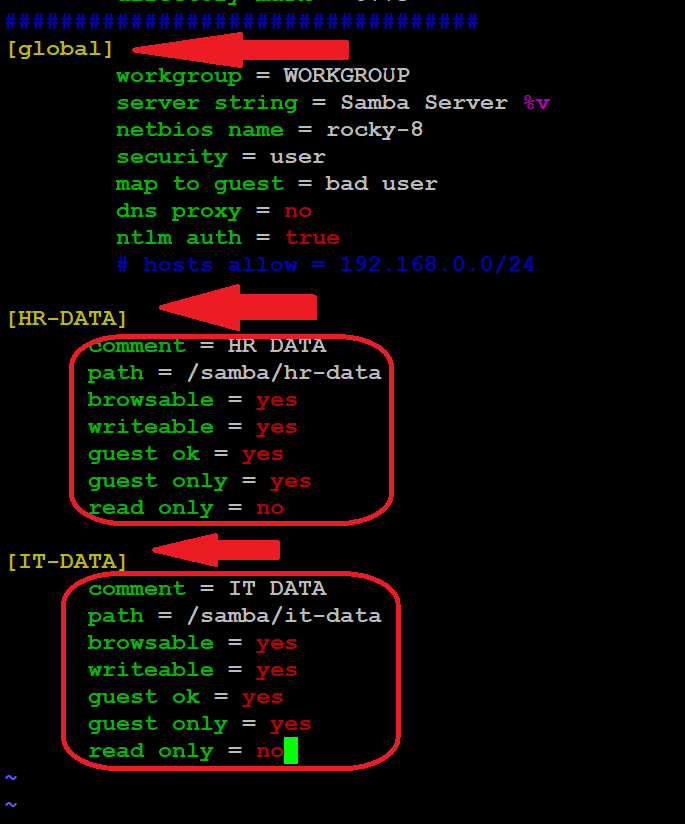
Save and exit the configuration file.
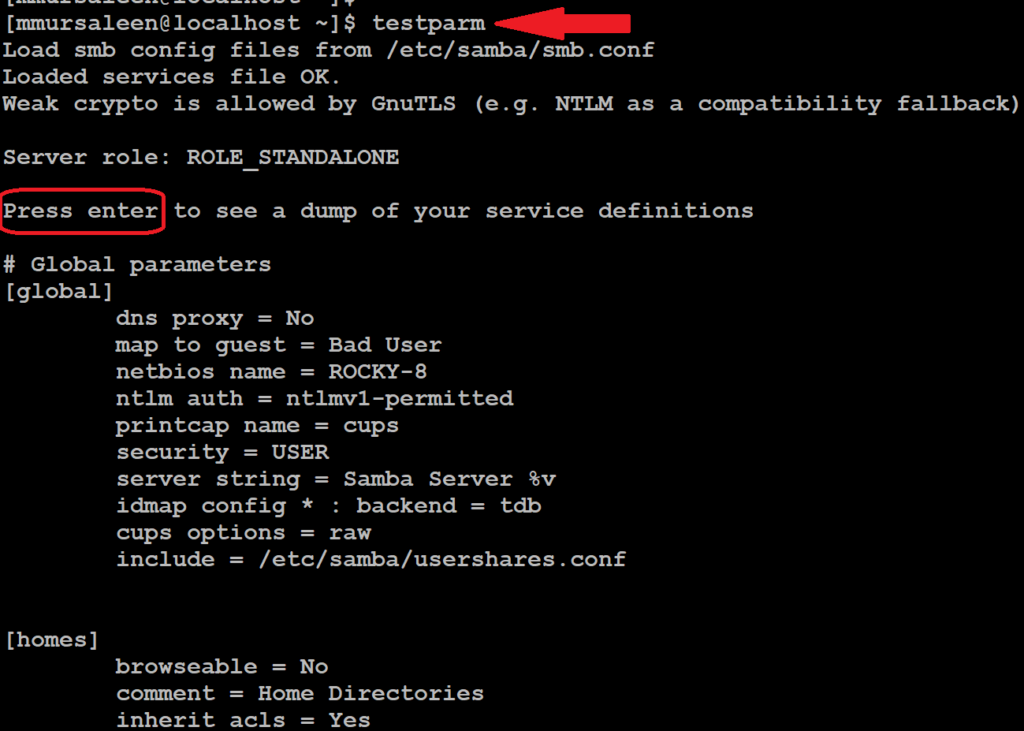
Step 4: Verify the setting be using
To verify the configurations made, run the command:
# testparm
Step 5: Enable, start and restart samba services
Next, start and enable Samba services as shown. below command
# sudo systemctl start smb nmb.service
# sudo systemctl restart smb nmb.service

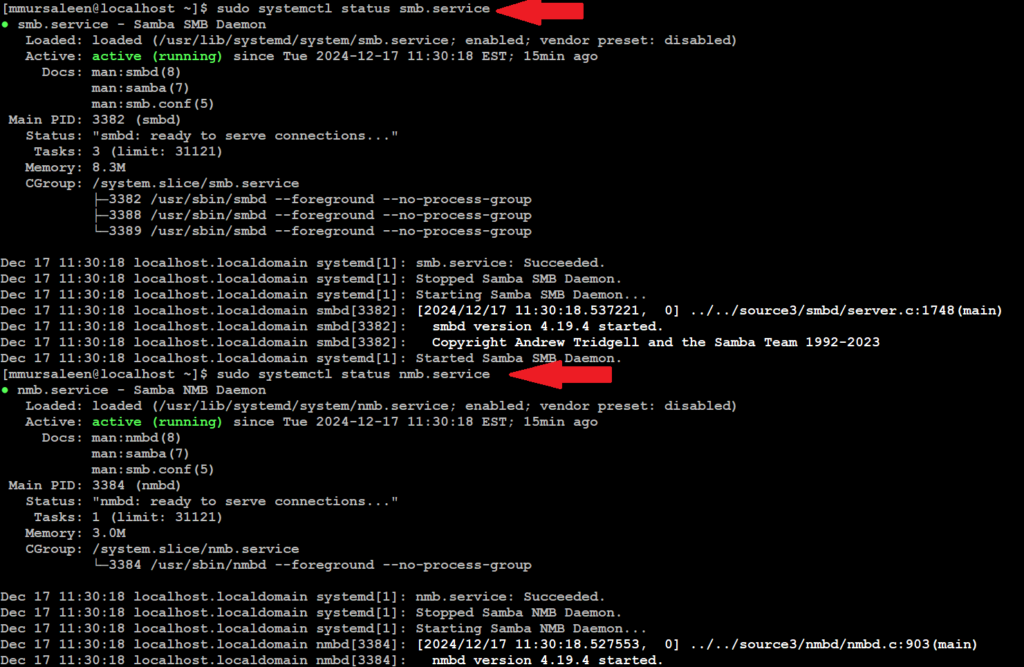
Be sure to confirm that both the smb and nmb services are running. below the command
# sudo systemctl status smb.service
# sudo systemctl status nmb.service
Step 6: Enable samba through firewall
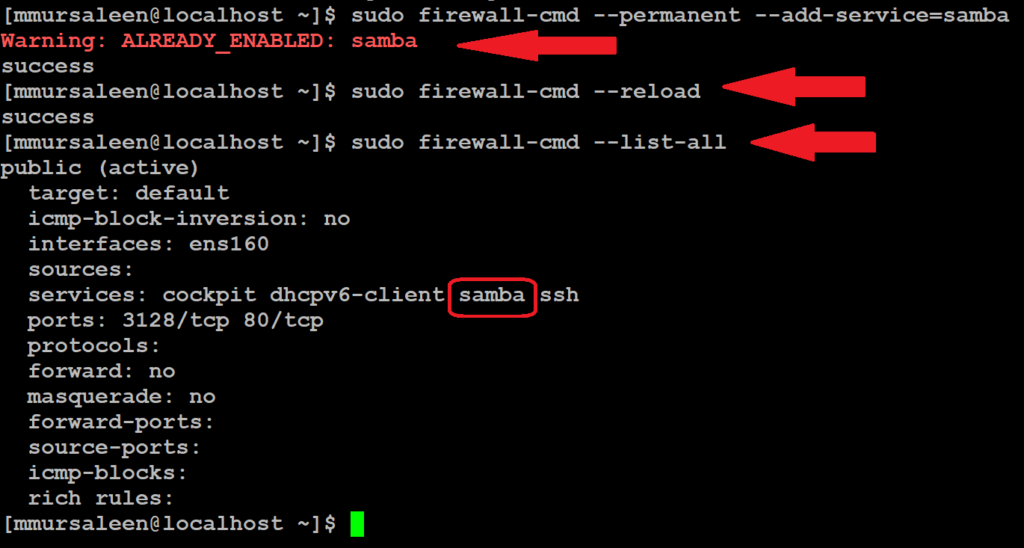
To enable access to samba share from remote Windows systems, you need to open the samba protocol on the firewall. below command.
# sudo firewall-cmd --permanent --add-service=samba
# sudo firewall-cmd --reload
# sudo firewall-cmd --list-all
Step 7: Accessing Samba Share from windows
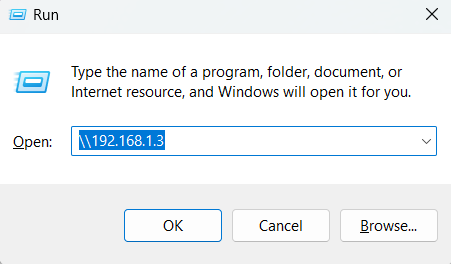
Thus far, we have installed samba and configured our samba share. We are now ready to access it remotely. To do this on a Windows client, press the Windows logo key+R to launch the Run dialog.
In the textfield provided, enter the samba server’s IP address as shown:
\\you-server-ip of server system
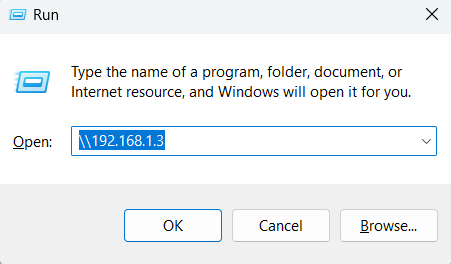
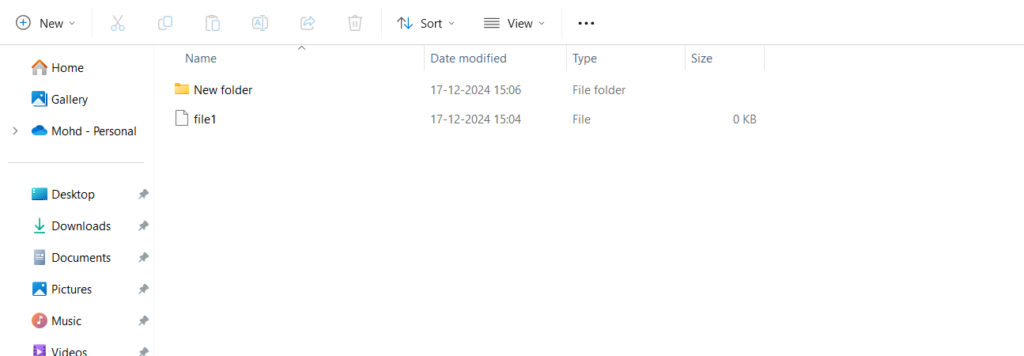
The following window labeled hr-data/it-data will pop up. Remember, this is the directory that points to our samba share in the /samba/hr-data = /samba/it-data directory.


Step 8: Secure Samba share Directory
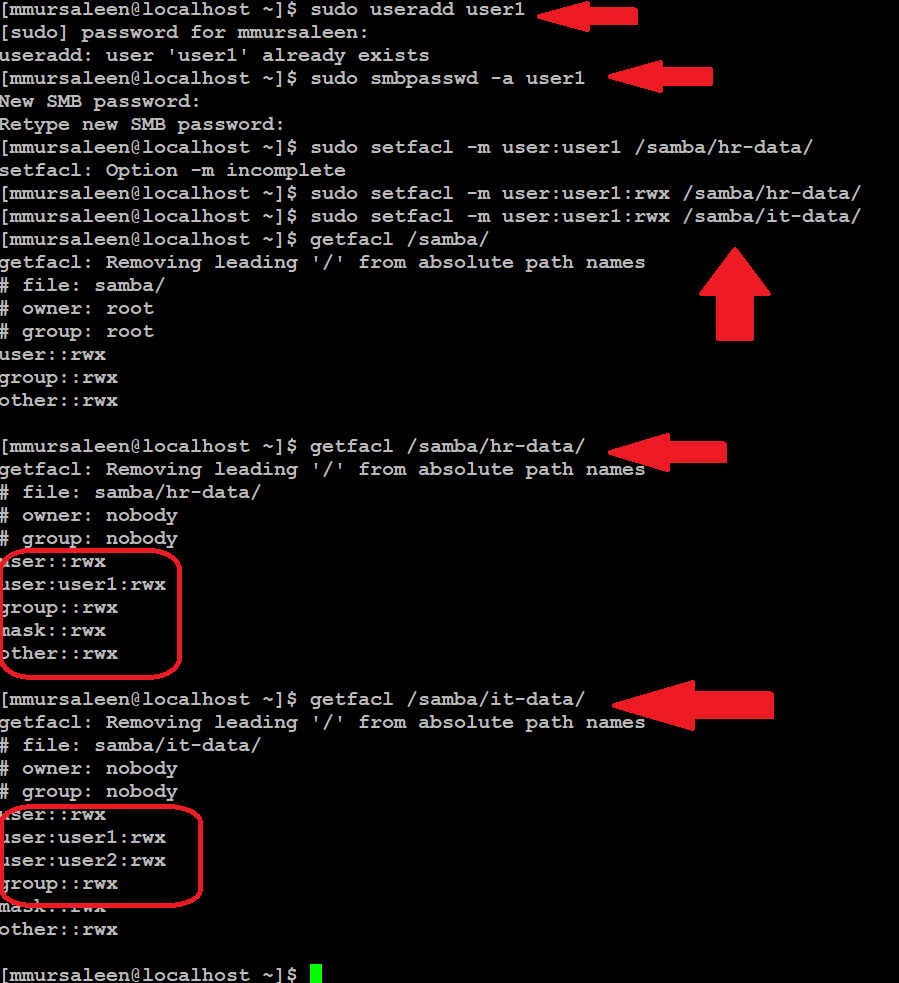
First, we will create a new samba user. below command
# sudo useradd user1
Next, we will configure a password for the samba user. This is the password that will be used during authentication. below command
# sudo smbpasswd -a user1
Then configure the user1 permissions for the /samba/hr-data or /samba/it-data. below the command
# sudo setfacl -m user:user1:rwx /samba/hr-data
# sudo setfacl -m user:user1:rwx /samba/it-data
Once again, access the Samba configuration file. below command
# sudo vim /etc/samba/smb.conf
Add these lines to define to secure samba share.
[HR-DATA
comment = HR DATA
      path = /samba/hr-data
      browsable = yes
      writeable = yes
      guest ok = yes
      guest only = yes
      read only = no
      valid users = user1
[IT-DATA]
comment = IT DATA
      path = /samba/it-data
      browsable = yes
      writeable = yes
      guest ok = yes
      guest only = yes
      read only = no
valid users = user1 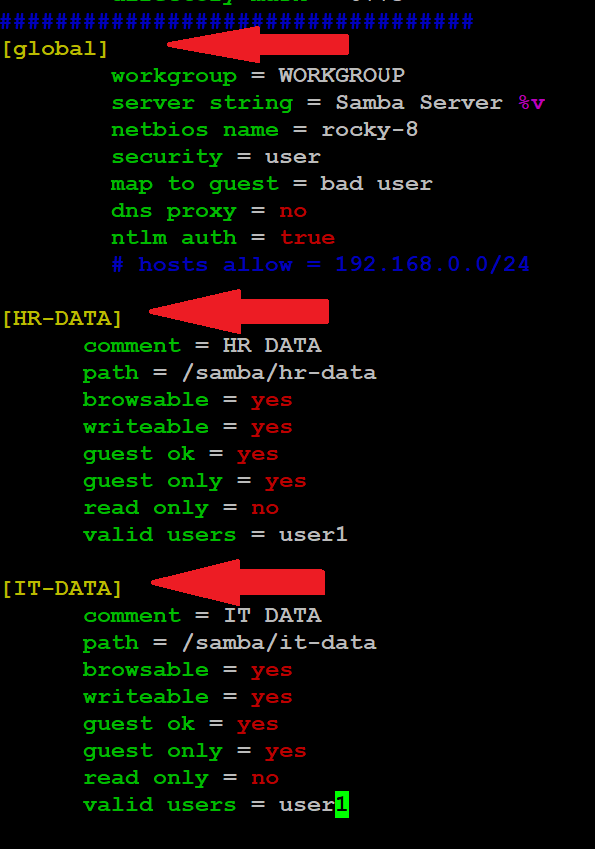
Save the file by pressing :wq and Entering press
Step 9: Accessing Samba Share from Linux client
To access the share from a Linux client, first, ensure that the Samba client package is installed. below command
# sudo dnf install cifs-utils samba-client
(common internet file system)

Finally, restart all the samba daemons as shown. below command
# sudo systemctl start smb nmb.service
# sudo systemctl restart smb nmb.service
Step 10: Create a mount point (a directory)
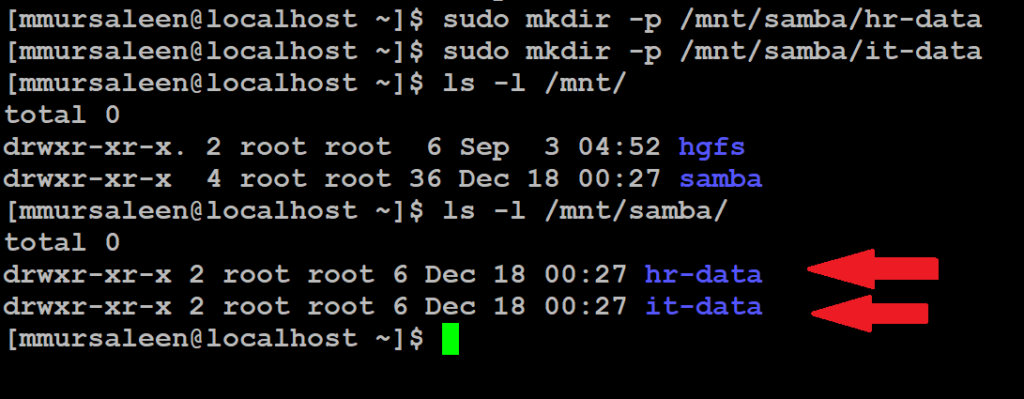
Create a mount point (a directory) /mnt/samba/ht-data, /mnt/samba/it-data. below command
# sudo mkdir /mnt/samba/hr-data

# sudo mkdir /mnt/samba/it-data
Mount the Samba directory. below the command.
When you access your server this time around, you will notice an additional ‘hr-data or it-data‘ folder. To access the folder, you will be required to authenticate with the Samba user’s credentials. Provide the username and password of the user you created in the previous step and click ‘OK’.

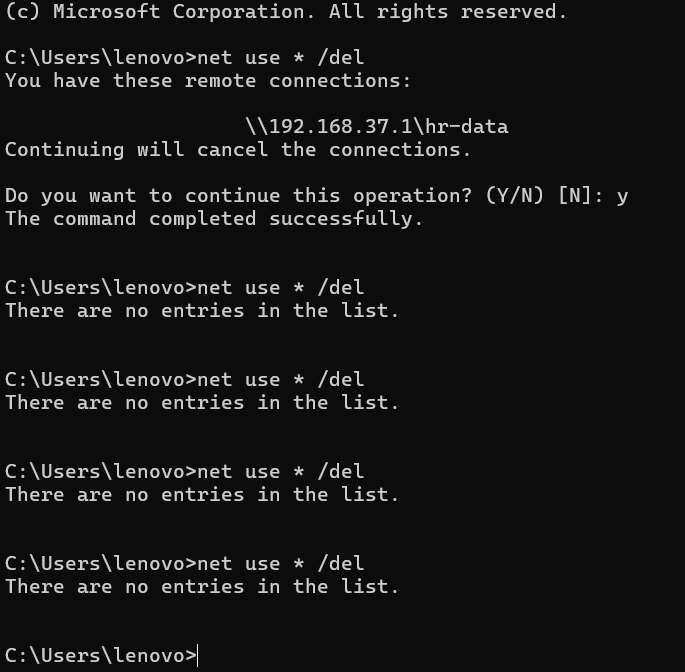
One note command in CMD below command
net use * /del
