How to setup Nextcloud in RHEL
Nextcloud is an open-source software suite that provides cloud storage,
collaboration, and file-sharing services. It enables individuals and organizations to
set up their private cloud server for secure data management. It’s an excellent
alternative to proprietary solutions like Google Drive or Dropbox, offering complete
control over your data.
Here are some key features of Nextcloud:
- File Storage and Sharing:
Store, sync, and share files across devices.
Share files securely using links with optional password protection and
expiration dates. - Collaboration Tools:
Integrated apps like Nextcloud Office (powered by Collabora Online or
OnlyOffice) for document editing.
Shared calendars, task management, and notes for team collaboration. - Privacy and Security:
End-to-end encryption.
GDPR and HIPAA compliance.
Role-based access control and user permissions. - Customizability:
A modular system with apps that extend functionality (e.g., video calls,
photo galleries, music players).
Open-source code, allowing for complete customization. - Self-Hosting:
You can install Nextcloud on your own server or opt for hosting services
provided by third-party vendors. - Cross-Platform:
Access your cloud from mobile apps (iOS, Android), desktop apps
(Windows, macOS, Linux), or via a web browser.
Update the System
# dnf update -y
Install Additional PHP Modules
# yum -y install epel-release yum-utils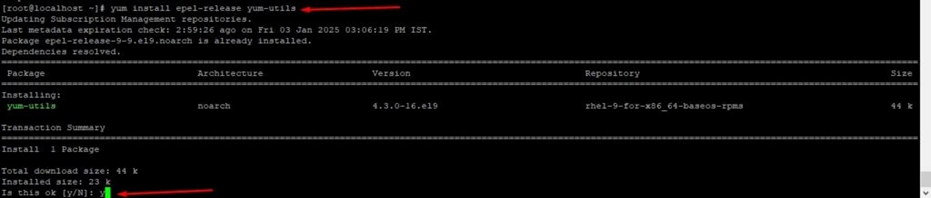
# yum -y install http://rpms.remirepo.net/enterprise/remi-release-9.rpm
# dnf install -y https://dl.fedoraproject.org/pub/epel/epel-release-latest-9.noarch.rpm 
# dnf module list php 
# dnf module enable php:remi-8.3
# dnf -y install vim httpd mod_ssl php php-cli php-mysqlnd php-zip php-devel php-gd php-mcrypt php-mbstring php-curl php-xml php-pear php-bcmath php-json php-pdo php-pecl-apcu php-pecl-apcu-devel php-ldap php-intl php-gmp php-imagick php-fpm php-opcache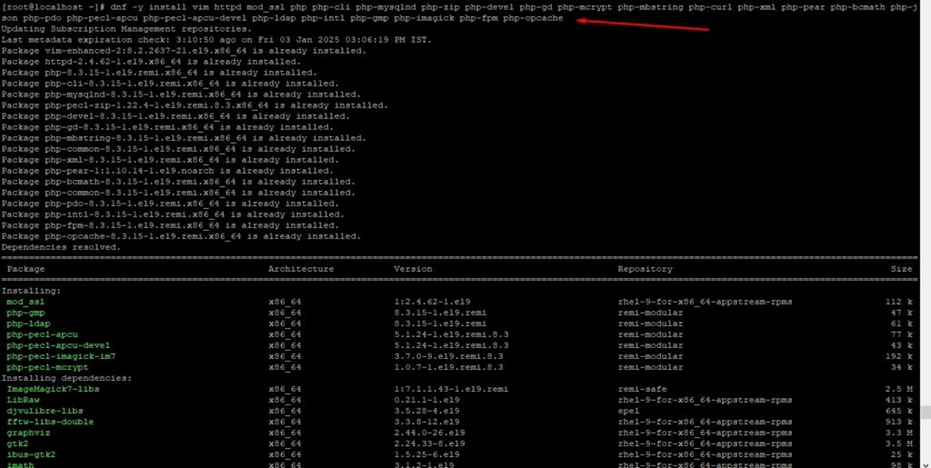
# php -v
# systemctl enable httpd
# systemctl status httpd
Install and configure mysql server
# dnf install mysql-server
# systemctl start mysqld.service
# systemctl enable mysqld.service
# systemctl status mysqld.service
Create a NextCloud Database
# mysql -u root -p
# mysql -V
# mysql -u root -p
# mysql> create database nextcloud;
# mysql> create user 'nextcloud'@'localhost' identified by 'Ak123!@#';
# mysql> grant all privileges on nextcloud.* to
'nextcloud'@'localhost';
# mysql> flush privileges;
# mysql> quit;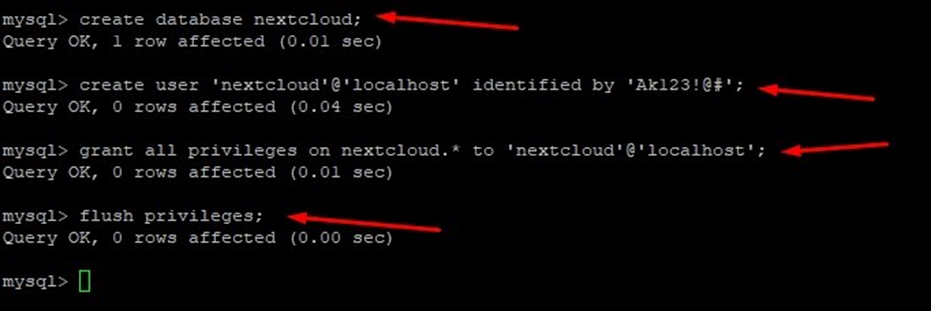
Download and install nextcloud
# wget https://download.nextcloud.com/server/releases/latest.zip
# unzip latest.zip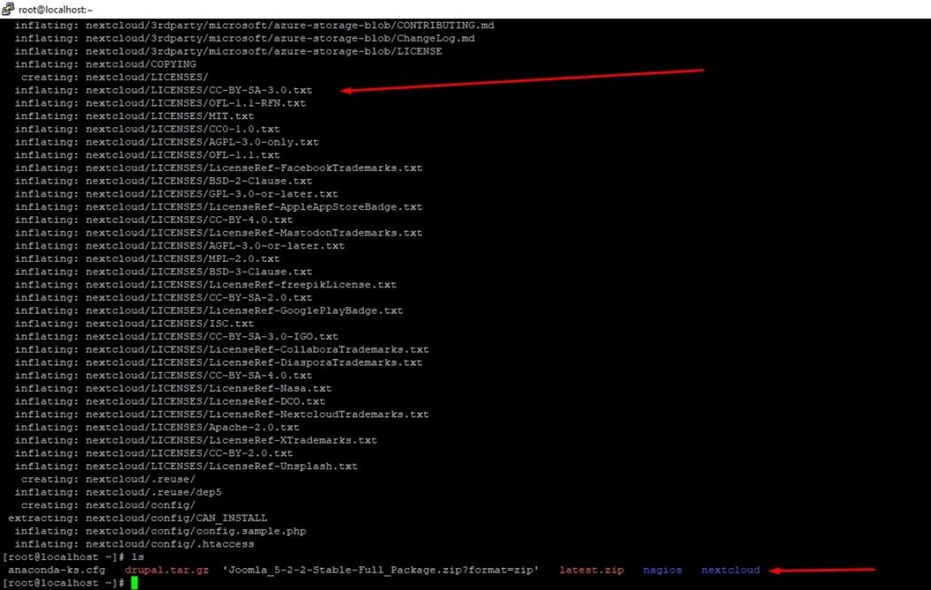
# mv nextcloud /var/www/html/
Create a directory to store the admin user data
# mkdir -p /var/www/html/nextcloud/data
# chown -R apache:apache /var/www/html/nextcloud/
# chmod -R 775 /var/www/html/nextcloud/data/
Configure Virtual Host
# vim /etc/httpd/conf.d/nextcloud.conf

<VirtualHost *:8070>
    ServerAdmin admin@localhost.bitscentric.com
    DocumentRoot /var/www/html/nextcloud/
    ServerName localhost.bitscentric.com
    ServerAlias www.localhost.bitscentric.com
    ErrorLog /var/log/httpd/nextcloud_error.log
    CustomLog /var/log/httpd/nextcloud_access.log combined

    <Directory /var/www/html/nextcloud/>
            Options FollowSymLinks MultiViews
            AllowOverride All
            Require all granted
            RewriteEngine On
            SetEnv HOME /var/www/html/nextcloud
            SetEnv HTTP_HOME /var/www/html/nextcloud
            RewriteRule ^/\.well-known/carddav https://%{SERVER_NAME}/remote.php/dav/ [R=301,L]
            RewriteRule ^/\.well-known/caldav https://%{SERVER_NAME}/remote.php/dav/ [R=301,L]
    </Directory>
</VirtualHost>
Restart apache
# systemctl restart httpd
# systemctl status httpd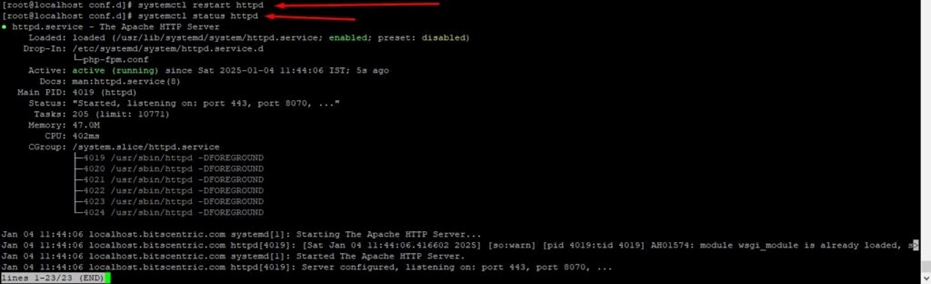
Finalizing the NextCloud Installation
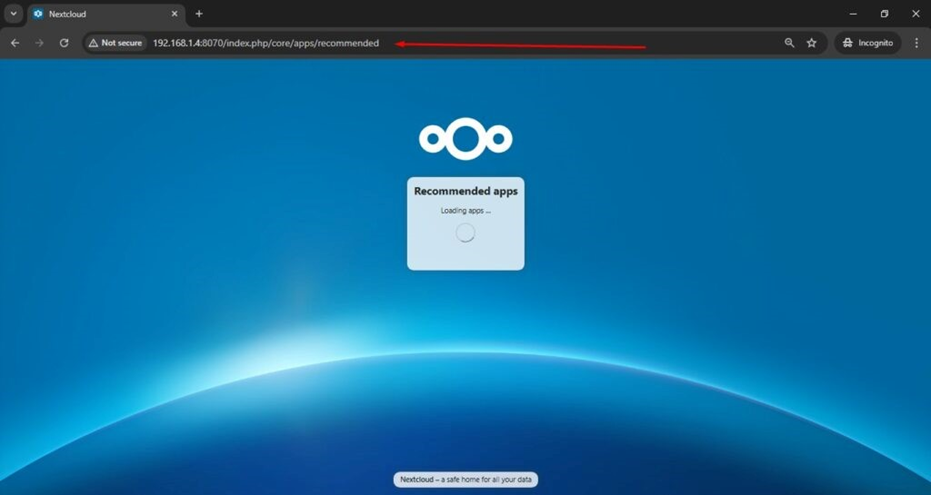
To complete NextCloud setup, launch your browser and browse the server’s IP
address a shown
# http://192.168.1.4/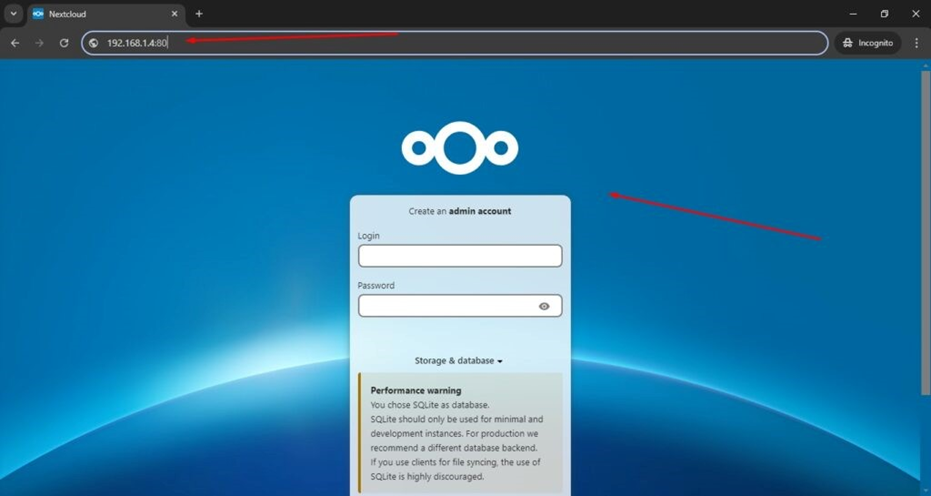
Create an Admin username and password.
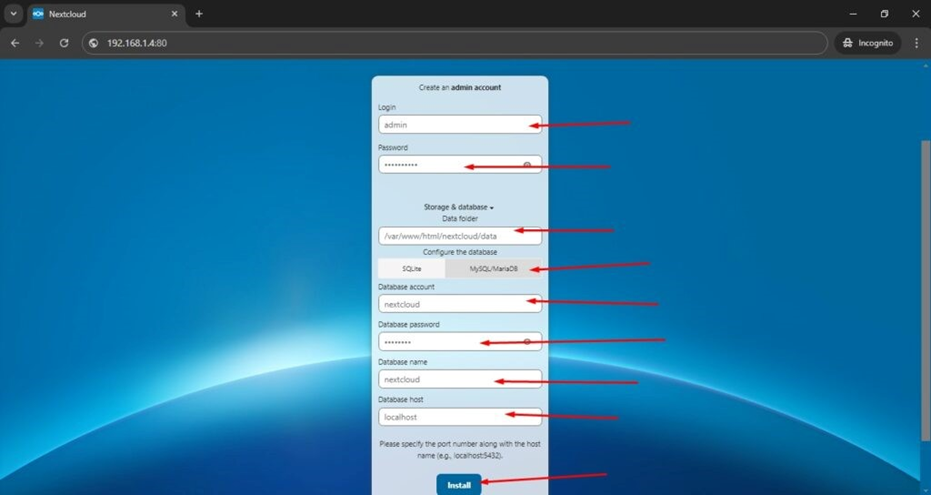
Click on Install and then next step
Select on next options
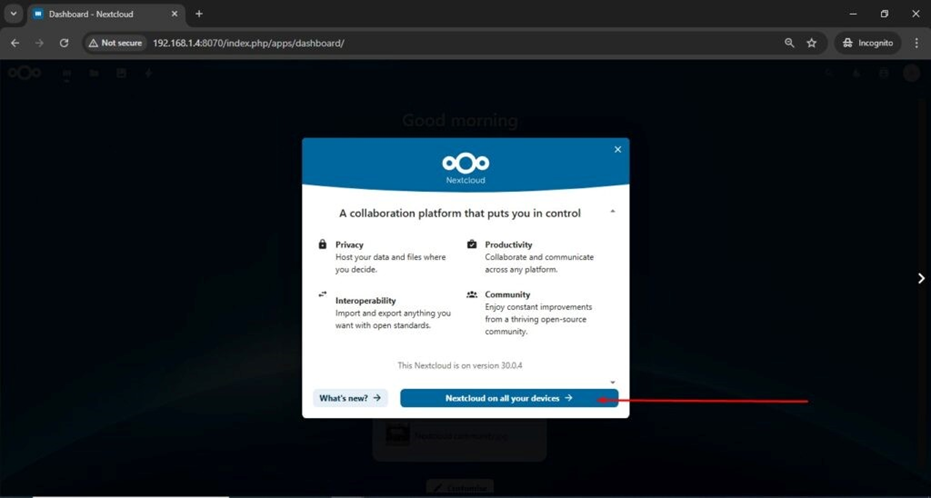
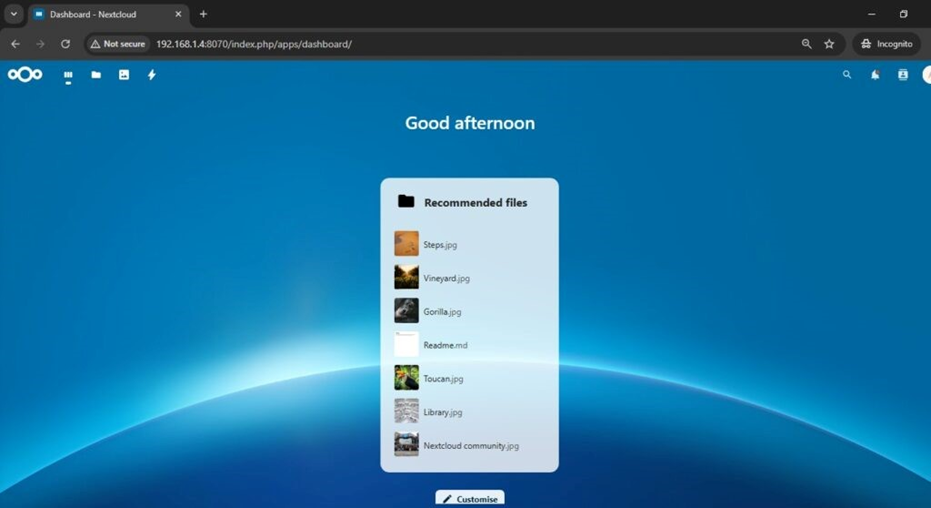
Here is NextCloud dashboard
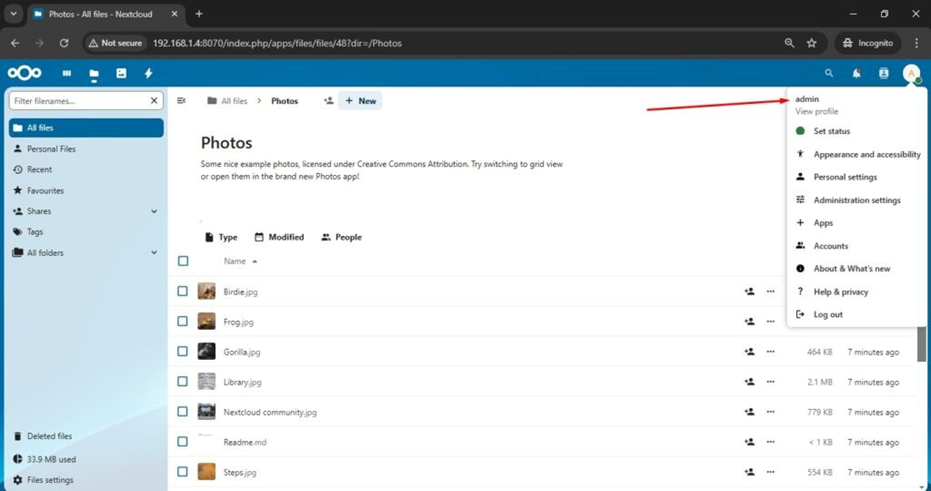
This is admin page of Nextcloud
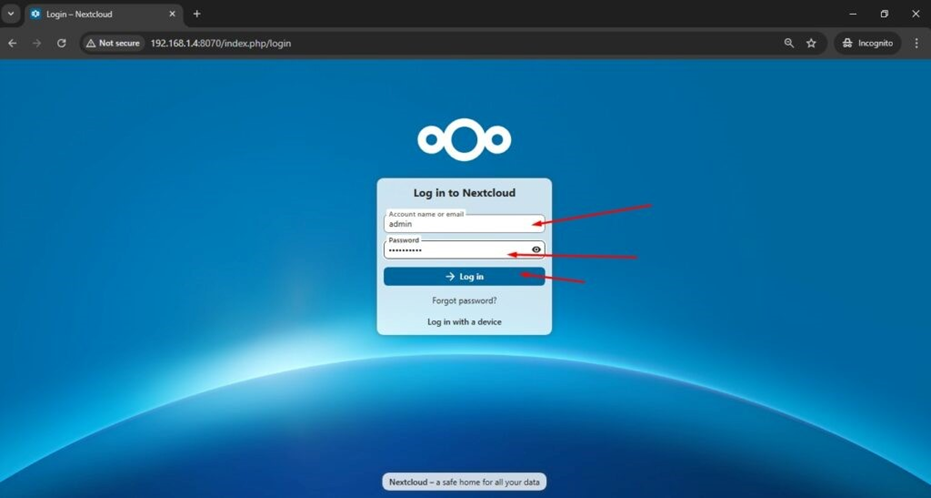
Go to the login page, enter your username and password, and then either press
‘ENTER’ or click the ‘Login’ button to proceed.
You can access to the dashboard.

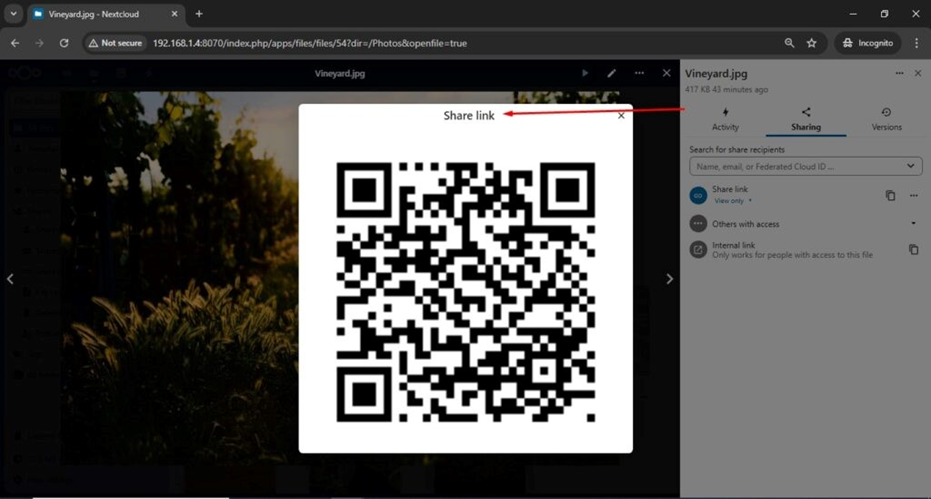
Share image file through NextCloud