How to setup Nagios Monitoring tool in RHEL, Rocky, and Alma Linux
Nagios is a powerful open-source tool for monitoring systems and networks. It lets you keep track of all your devices, whether in a data center or a small lab, from a single dashboard.
Nagios alerts you to issues before they become major problems, helping minimize downtime and prevent business losses.
Installing Nagios Core and Nagios Plugin
After following these steps, Nagios and its plugins will be installed in the /usr/local/nagios directory. It will monitor basic services on your local machine, like disk usage, CPU load, active users, and total processes. You can access the Nagios web interface at http://localhost/nagios
Install Apache and PHP Packages
Before installing Nagios from source, we need to set up Apache, PHP, and essential libraries like GCC, Glibc, Glibc-common, GD, and their development tools.
# yum install -y httpd httpd-tools php gcc glibc glibc-common gd gd-devel make net-snmp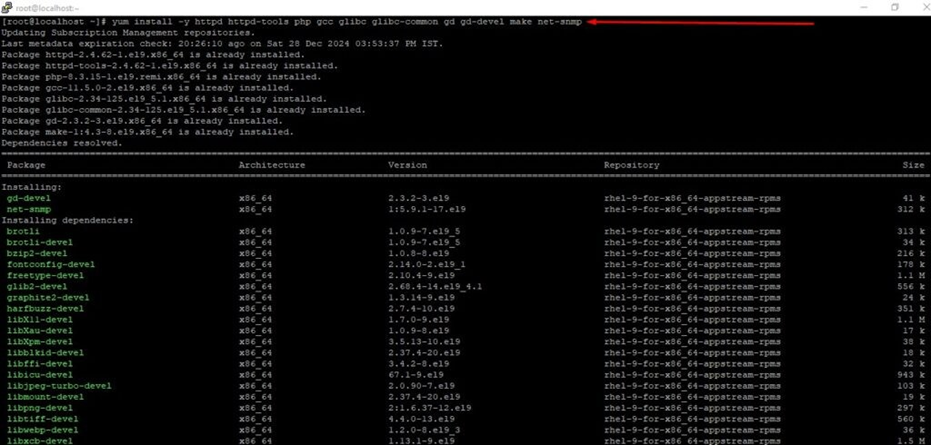
Set up a user and group for Nagios
# useradd nagios
# groupadd nagcmd
# usermod -G nagcmd nagios
# usermod -G nagcmd apache
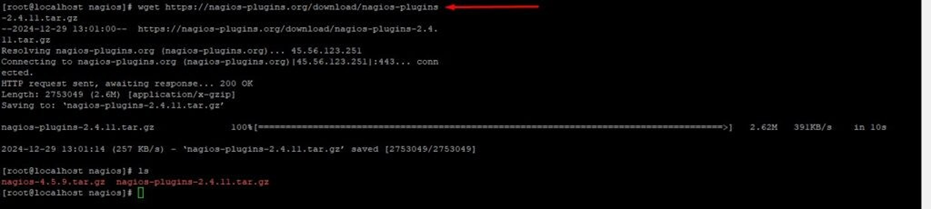
Download Nagios Core and Nagios Plugin
# mkdir /root/nagios
# cd /root/nagios
# wget https://assets.nagios.com/downloads/nagioscore/releases/nagios-4.5.9.tar.gz
# wget https://nagios-plugins.org/download/nagios-plugins-2.4.11.tar.gz
Extract Nagios Core and Nagios Plugins
# tar vzxf nagios-4.5.9.tar.gz
# tar zxf nagios-plugins-2.4.11.tar.gz
Installing and Configuring Nagios Core
To configure Nagios Core, navigate to the Nagios directory and run the configuration file. If successful, it will display a sample output at the end.
# cd nagios-4.5.9/
# ./configure --with-command-group=nagcmd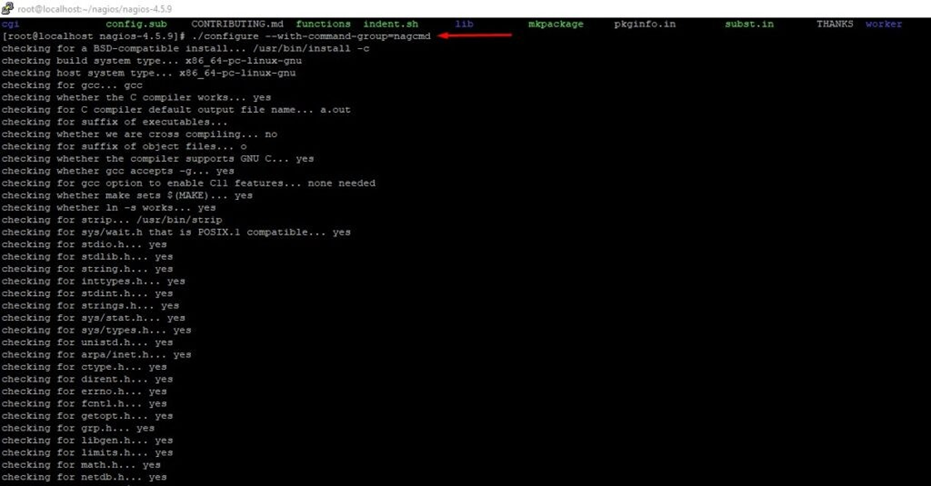
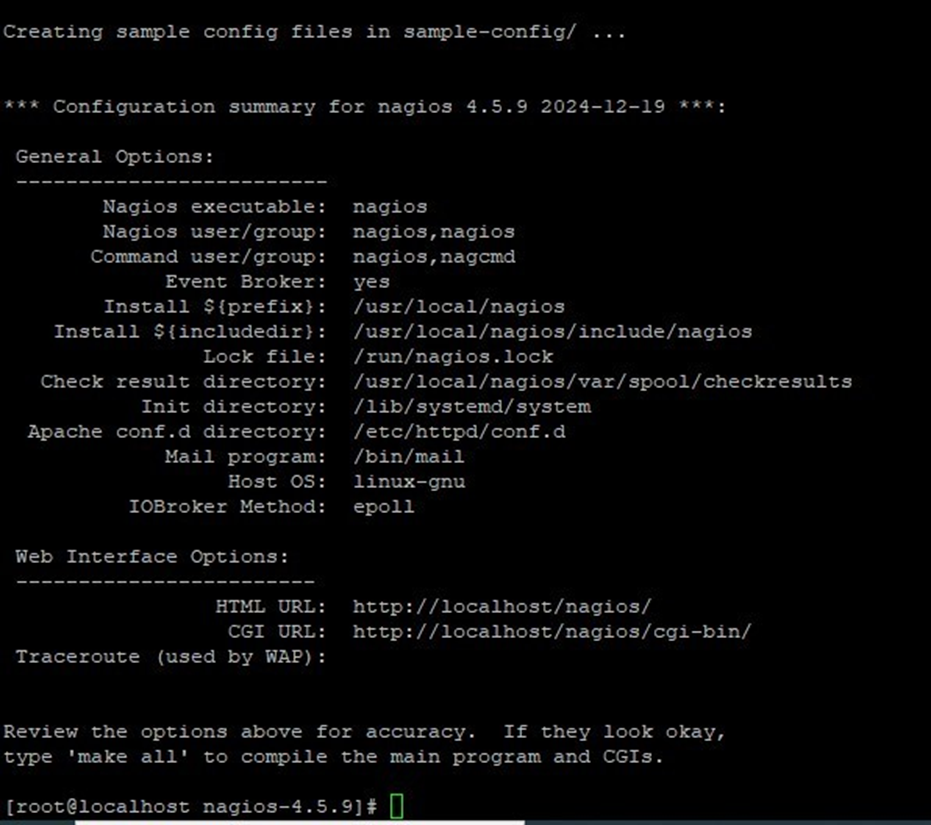
After setup, run make all and make install to compile and install the binaries and required libraries, so you can move on to the next step.
# make all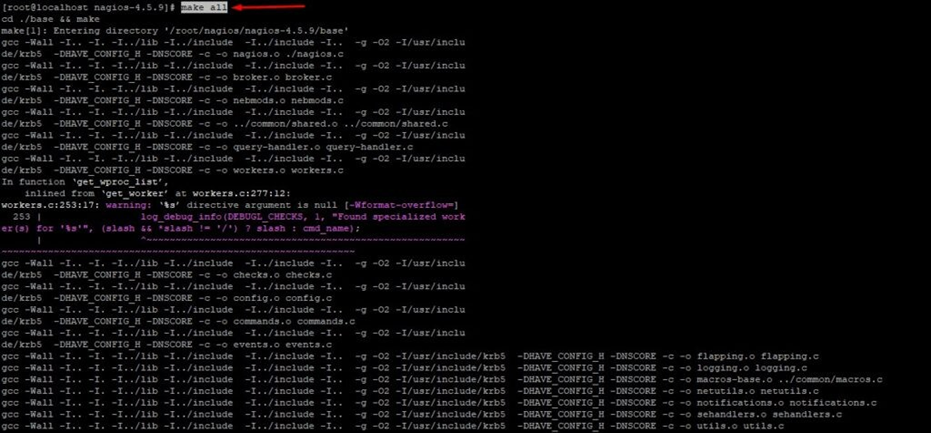
# make install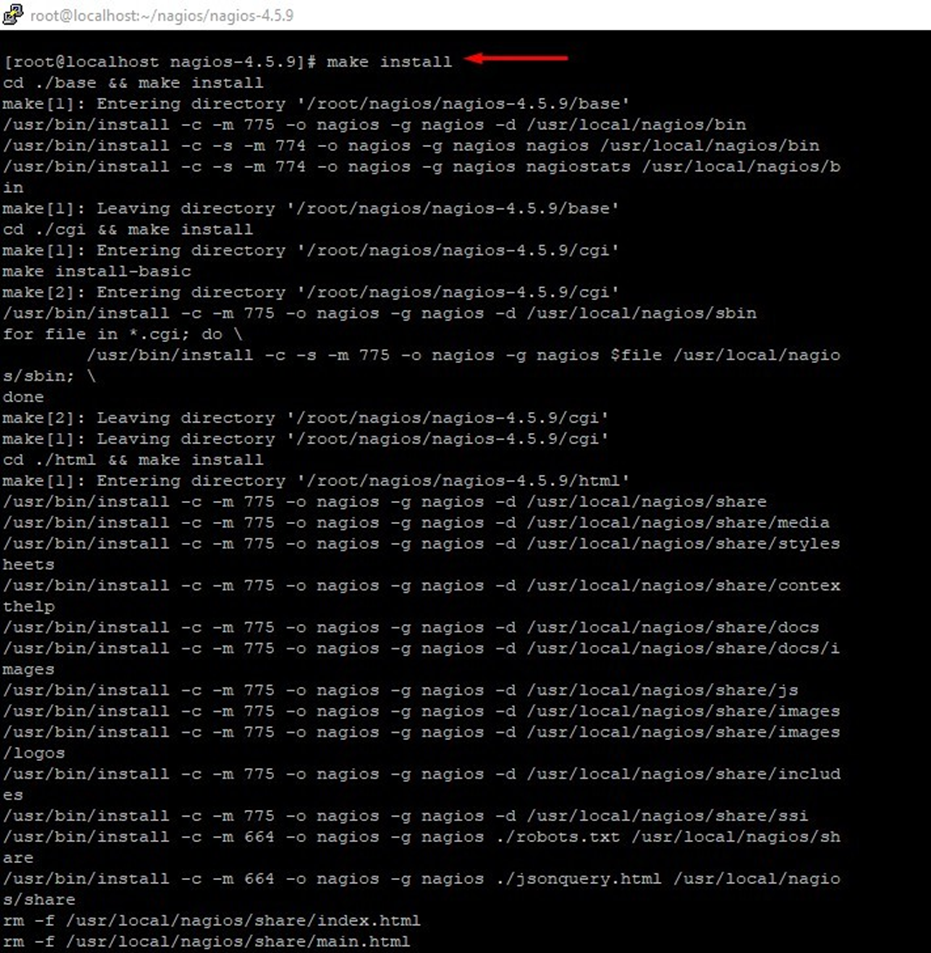
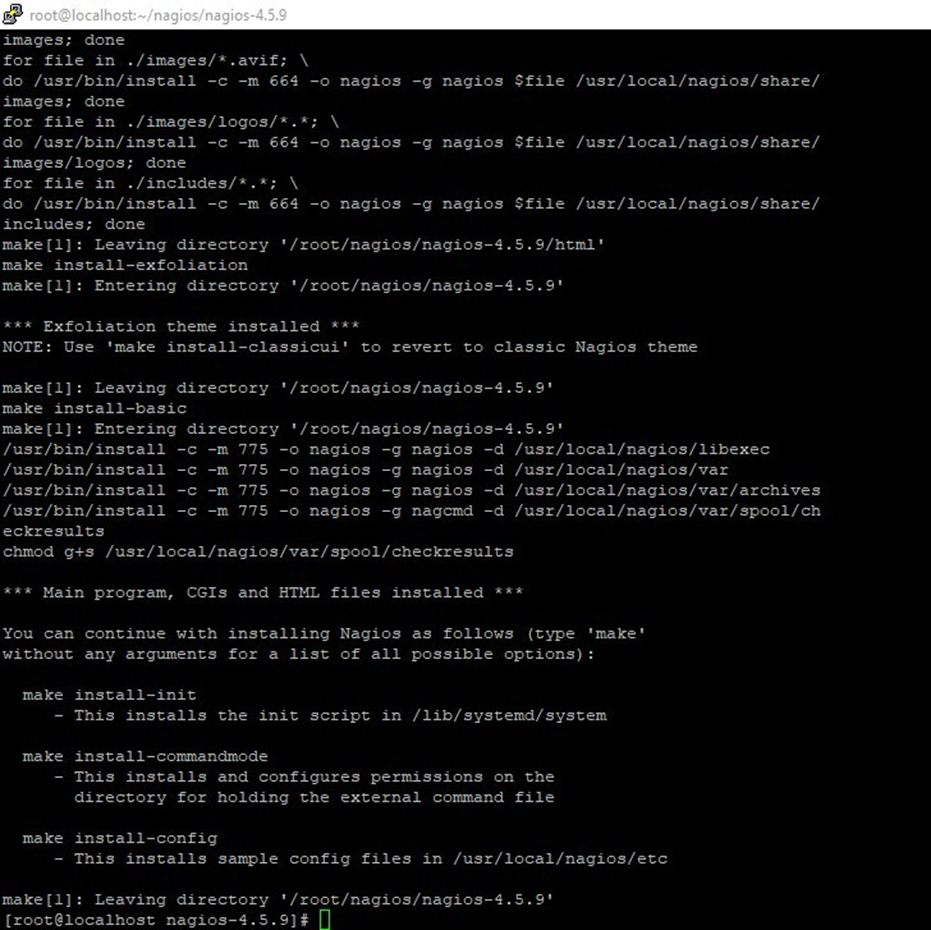
# make install-init
# make install-commandmode
# make install-config
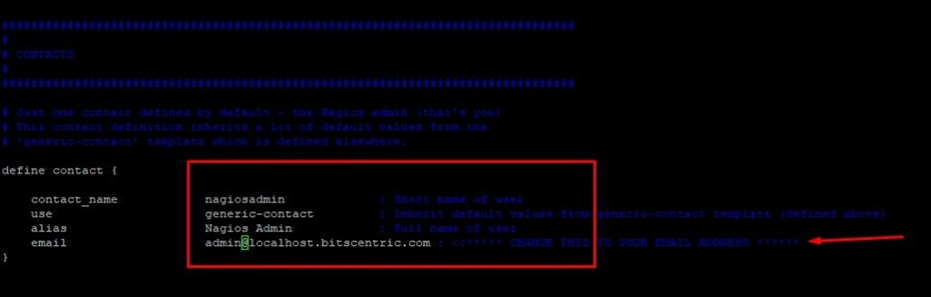
Customizing Nagios Configuration
# vim /usr/local/nagios/etc/objects/contacts.cfg
define contact {
contact_name	nagiosadmin	;
use	generic-contact	;
alias	Nagios Admin	;
email	admin@localhost.bitscentric.com ;
}
Install and Configure the Web Interface for Nagios
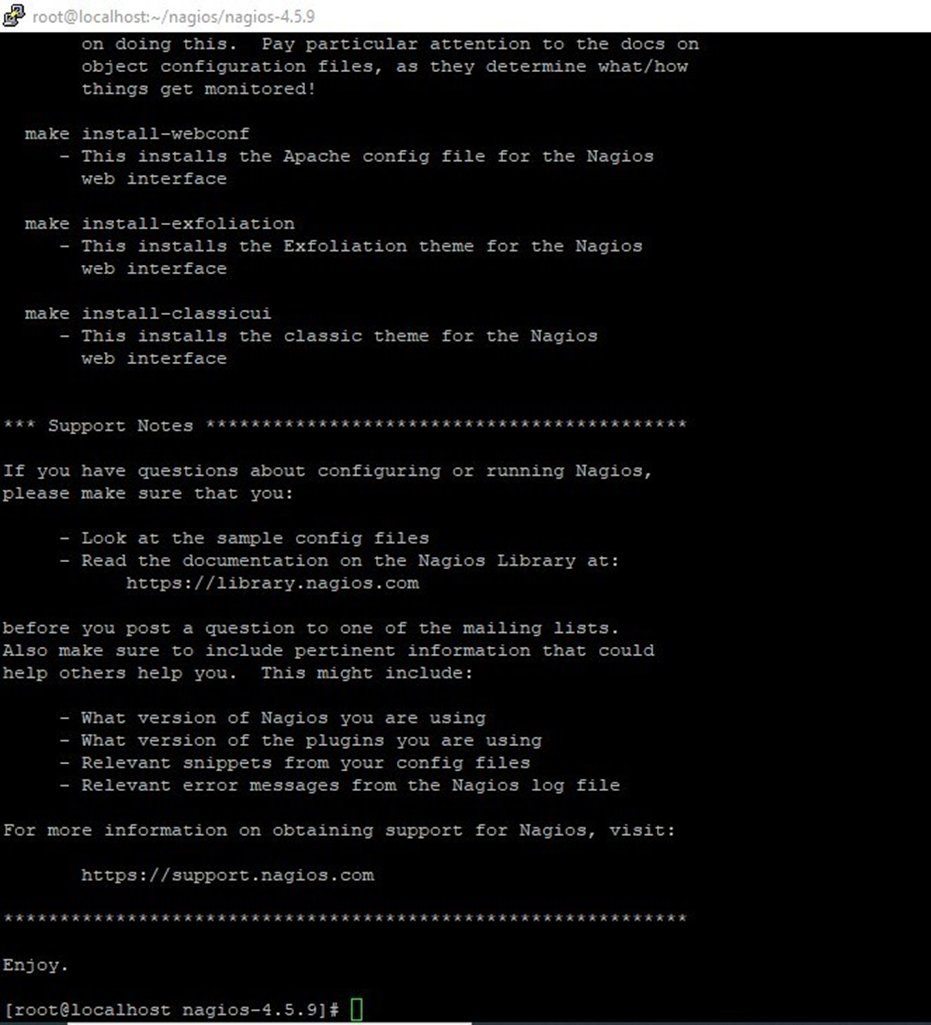
# make install-webconf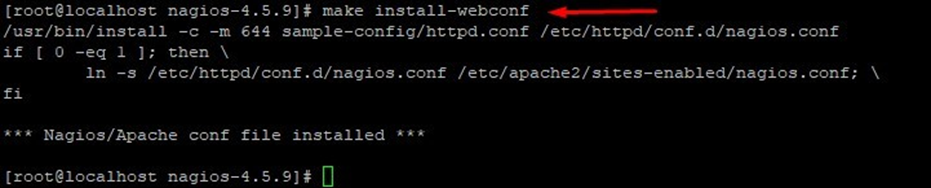
Create a password for “nagiosadmin” by running the command and entering thepassword twice. Remember it, as you’ll need it to log in to the Nagios web interface.
# htpasswd -s -c /usr/local/nagios/etc/htpasswd.users nagiosadmin
Restart Apache to apply the new settings.
# systemctl restart httpdCompile and Install Nagios Plugin
# cd nagios/
# cd nagios-plugins-2.4.11/
# ls
# ./configure --with-nagios-user=nagios --with-nagios- group=nagios
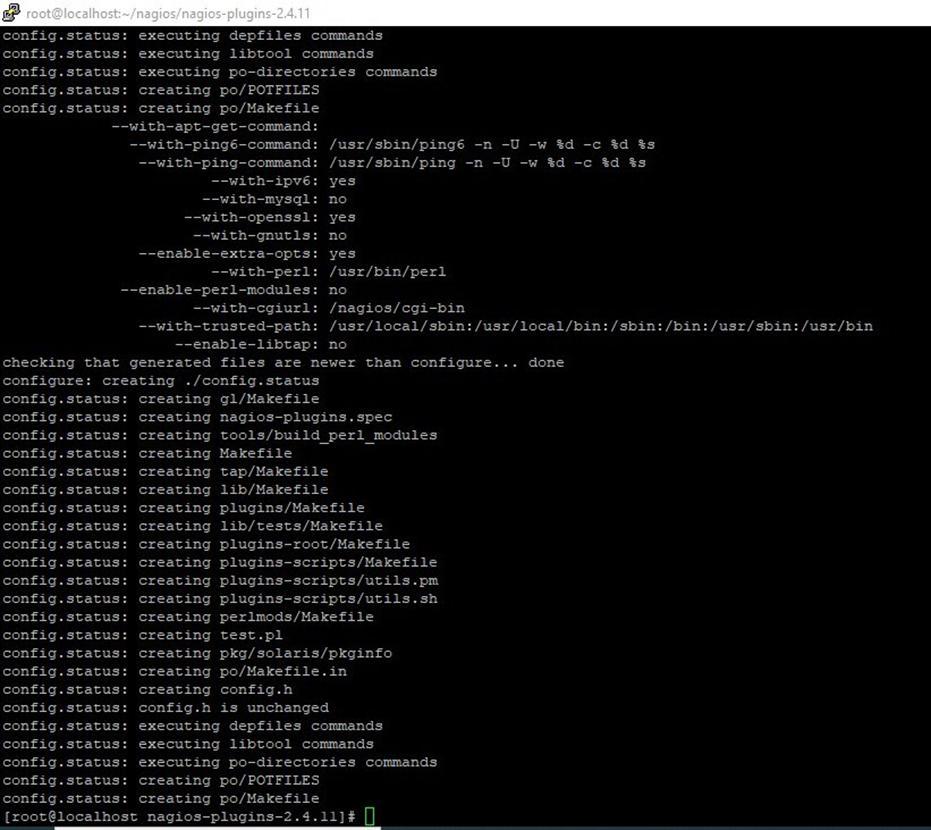
# make
# make install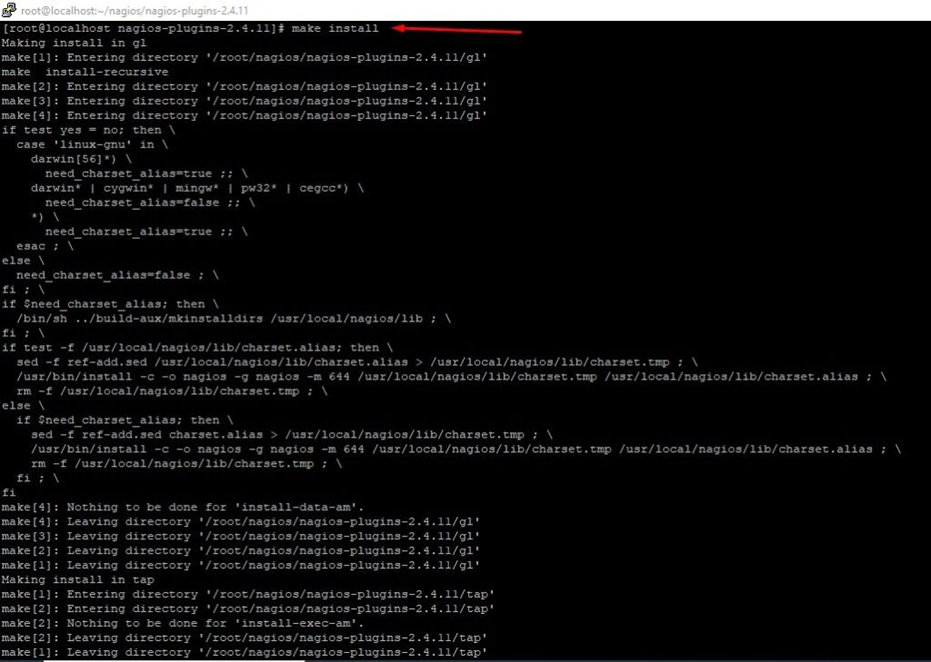

Verify Nagios Configuration Files
# /usr/local/nagios/bin/nagios -v /usr/local/nagios/etc/nagios.cfg
Add Nagios Services to System Startup
# systemctl enable nagios.service
# systemctl start nagios.service
# systemctl status nagios.service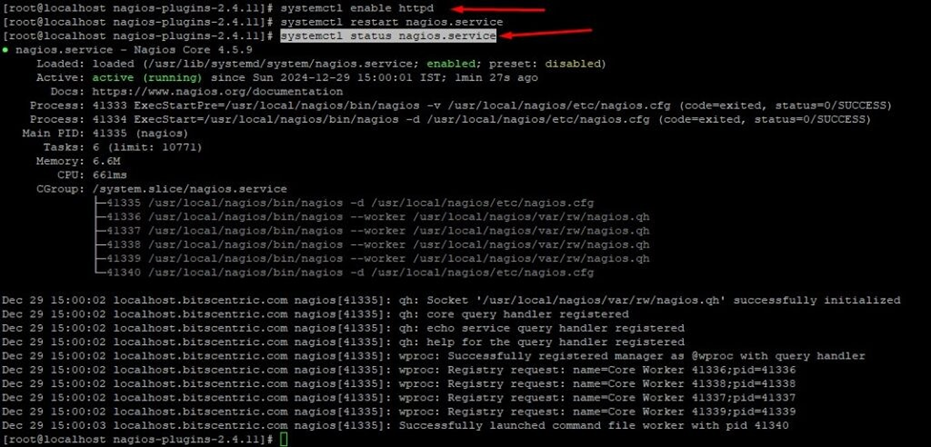
# systemctl enable httpd
# systemctl start httpd
# systemctl status httpd
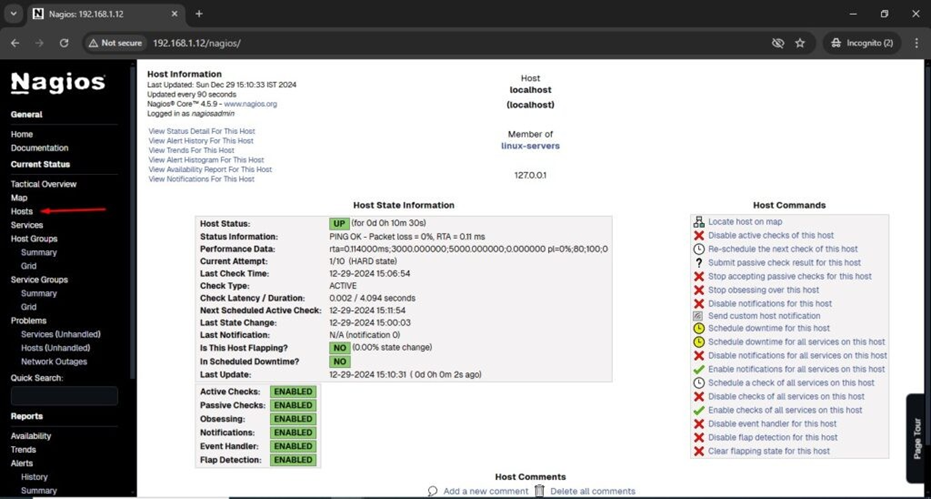
Log in to the Nagios Web Interface
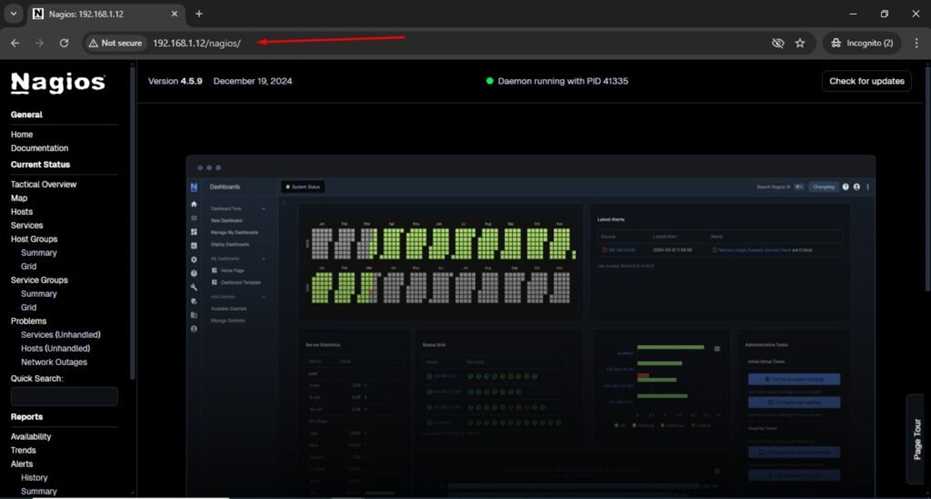
Your Nagios is set up! Access it in your browser at http://Your-server-IP address/nagios or http://FQDN/nagios using the username nagiosadmin and your password.
# http://192.168.1.12/nagios/Nagios Web Dashboard
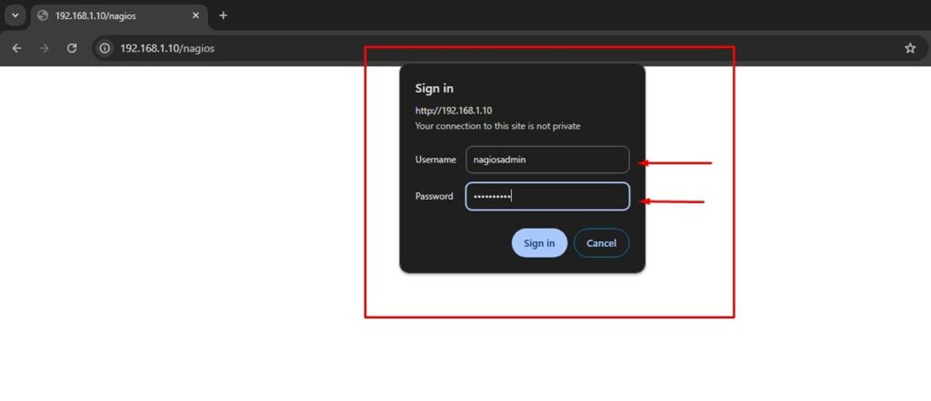
Nagios Login page
Host View