How to setup DHCP Server on Ubuntu 22.04
DHCP (Dynamic Host Configuration Protocol) is a network service that automatically assigns IP addresses (both IPv4 and IPv6) to devices on a network. It works on a client-server model, where the DHCP server hands out IP addresses for a limited time, called a lease. When the lease expires, the device must request a new IP address or renew the existing one to stay connected.
Update Package
# apt update
Install DHCP Server and its dependencies
# apt install isc-dhcp-server
Configure DHCP Server
Edit the /etc/default/isc-dhcp-server file and specify the network interface where the DHCP server should run.
# vim /etc/default/isc-dhcp-server
INTERFACESv4="ens33"
Save and close the file.
Next, open the main DHCP configuration file located at /etc/dhcp/dhcpd.conf for editing.
- Find and uncomment the necessary parameters, adjusting them as needed.
- Comment out the domain name server settings since we are not using a DNS server.
# vim /etc/dhcp/dhcpd.conf
#option domain-name "example.org";
#option domain-name-servers ns1.example.org, ns2.example.org;
authoritative;
Once done, save the changes and exit the editor.

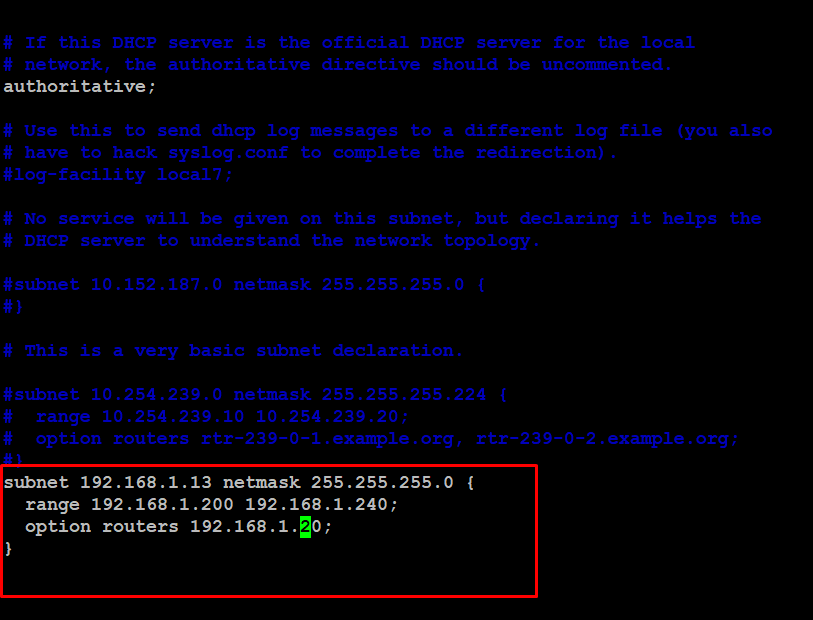
Now, set up the subnet and IP address range for the DHCP server, and specify the IP address to be assigned.
# vim /etc/dhcp/dhcpd.conf
subnet 192.168.1.13 netmask 255.255.255.0 {
  range 192.168.1.200 192.168.1.240;
  option routers 192.168.1.20;
}
Start and enable dhcp server service
# systemctl start isc-dhcp-server
# systemctl enable isc-dhcp-server
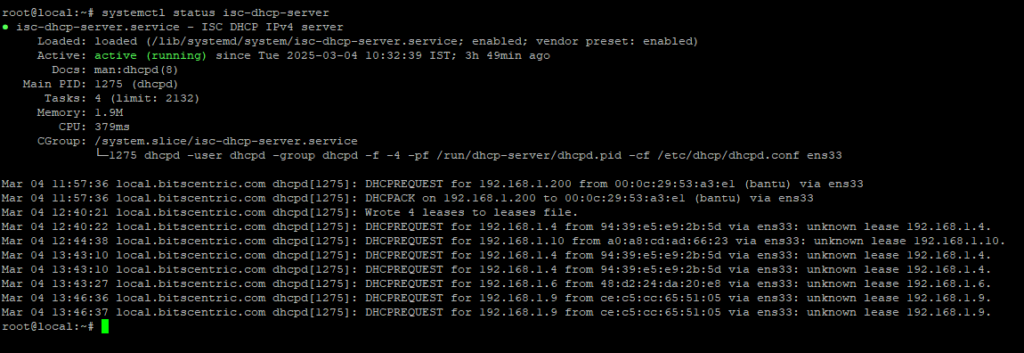
# systemctl status isc-dhcp-server