How to Set Up Squid Proxy for Private Connections on Rocky/RedHat/CentOS Linux .
Squid is a proxy caching server which provides proxy and cache services for
Hyper Text Transport Protocol (HTTP), File Transfer Protocol (FTP), and
other popular network protocols

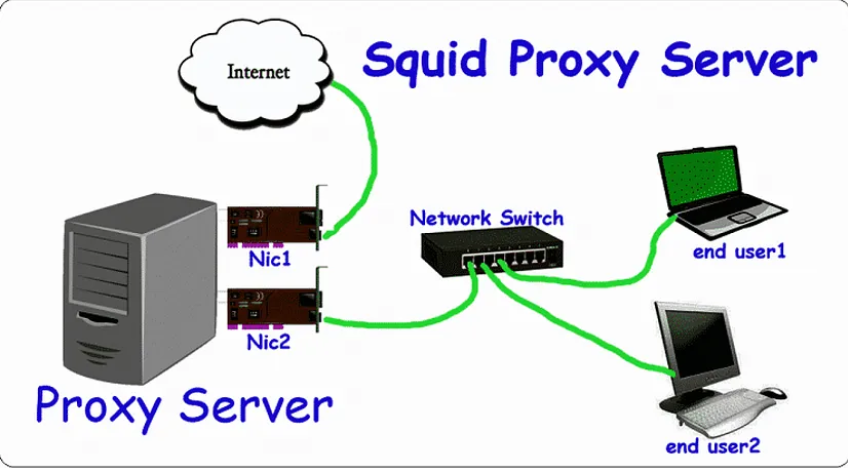
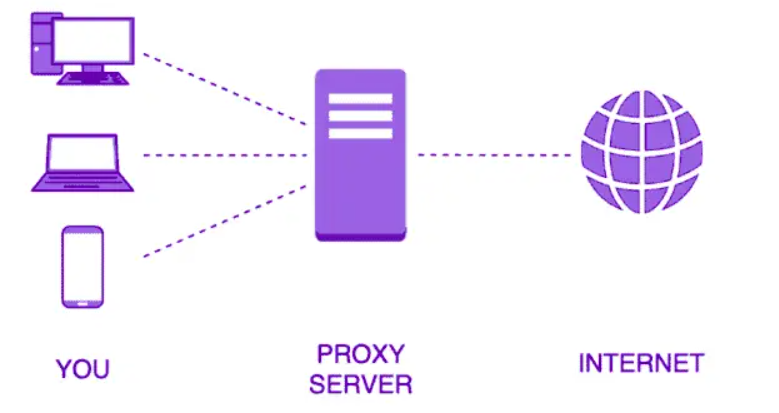
The diagram below will help you comprehend the Squid Proxy architecture.

Server Details:
- Operating system: Rocky-8.8
- Server IP Address: 192.168.1.8
- Selinux: Disabled
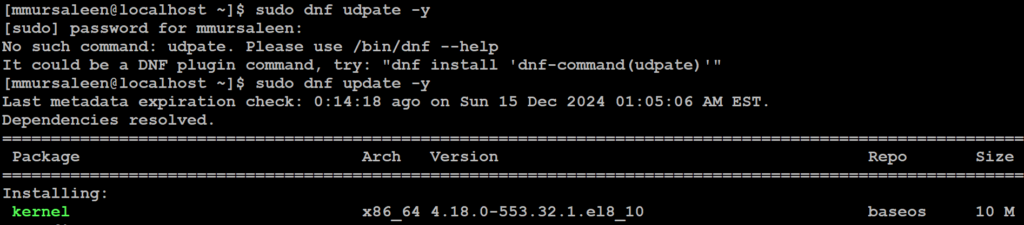
Step 1: Update Your System
Before installing any packages
# sudo dnf update -y

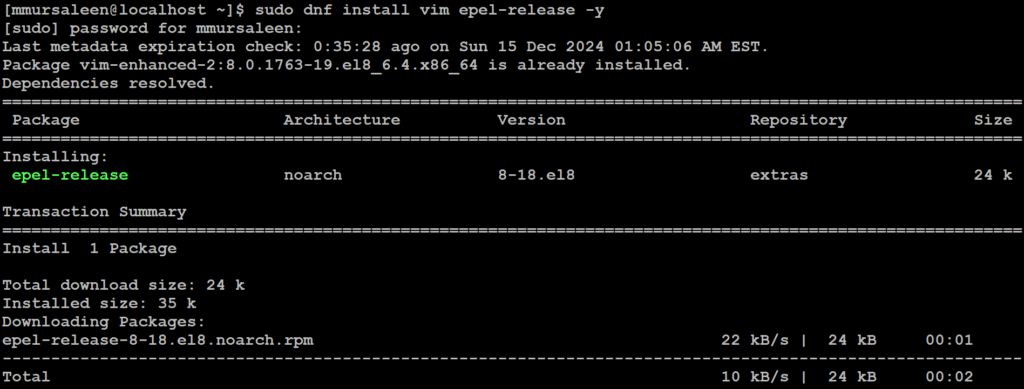
Step 2: Enable EPEL Repository on Rocky system
To enable the EPEL repo on Rocky system, execute the command:
# sudo dnf install vim epel-release -y

Confirm EPEL has been added to the system:
# sudo dnf repolist

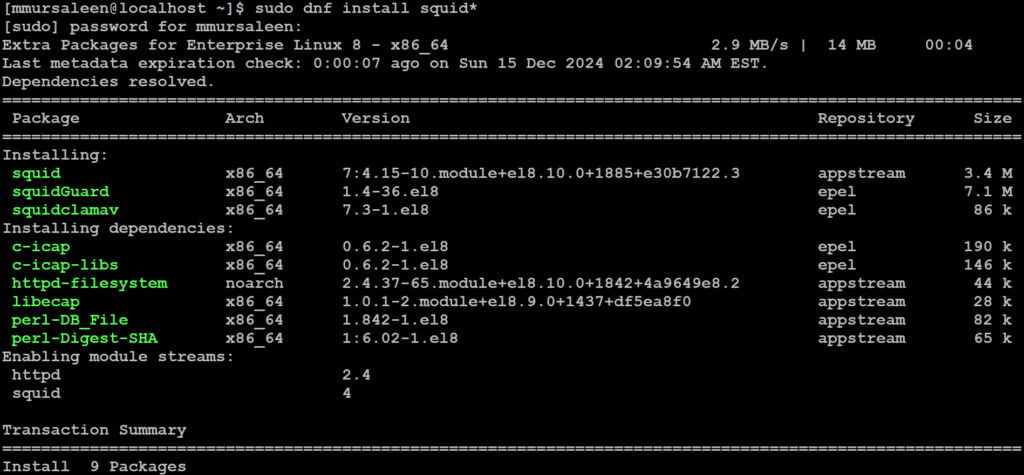
Step 3: Install Squid Server on Rocky System
Next install the Squid Proxy Server by using the below command:
# sudo dnf install squid*

Step 4: Verify installation Squid proxy
Check the version of Squid proxy
# sudo squid --version

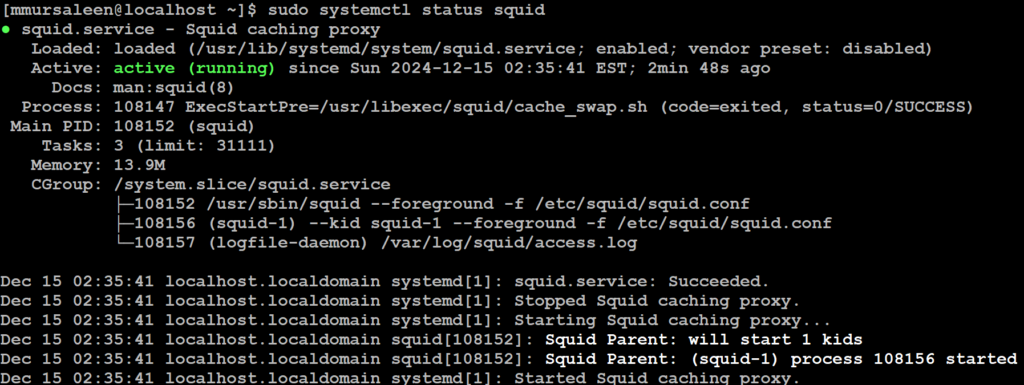
Step 5: Start, enable and restart squid service
Start the Squid service by running the below command.
# sudo systemctl start squid
# sudo systemctl enable squid
# sudo systemctl restart squid
# sudo systemctl status squid

Step 6: Configure Squid proxy server
1. Backup the default configuration: the below command.
# cp -rf /etc/squid/squid.conf /etc/squid/squid.conf.back
2. Edit the configuration file: Open the Squid configuration file using a text editor vim and nano, the below command.
# vim /etc/squid/squid.conf

The Access Control List (ACL) defines who is allowed to use Squid as the proxy on your local network.
#ACL Rule acl allow_network src "/etc/squid/allow_network" acl blocksites dstdomain "/etc/squid/blocksites"
To allow access to this ACL, add the following line below the line http_deny blocksites
# http_access allow localhost http_acess deny blocksites http_access allow allow_network
Change the default port (if needed): squid proxy
# squid normally listens to port 3128 http_port 3128
# Leave coredumps in the first cache dir coredump_dir /var/spool/squid coredump_dir ufs /home/squid_cache 40960 16 256

Step 7: Website blocking
- Create a file to store the domains to be blocked. the below command.
# sudo vim /etc/squid/blocksites
Add the websites to blocked. for example,
.facebook.com .twitter.com .example.net .abc.org
Save the file by pressing :wq and Entering press
- Create a file regex_block to store the domains to be blocked. The below
command.
# sudo vim /etc/squid/regex_block
Add the website to be blocked.
facebook twitter
Save the file by pressing :wq and Entering press
- Create a file allow_network to be blocked for you local network. The below command.
# sudo vim /etc/squid/allow_network
Add the you IP-Address of your server system
192.168.1.8
Save the file by pressing :wq and Entering press

- Create a directory squid_cache. The below command
# mkdir /home/squid_cache
- Change the Owner directorie
To apply ownership changes to a directorie below the command
# chown -R squid:squid /home/squid_cache

Step 8: Reload and restart squid service
Restart the Squid service by running the below command.
# sudo systemctl reload squid.service # sudo systemctl restart squid.service

Step 9: Configure Firewall
If your system has a firewall enabled, allow the Squid port 3128. below
command
# firewall-cmd --add-port=3128/tcp --permanent # firewall-cmd --reload
Step 10: Proxy setting on the browser
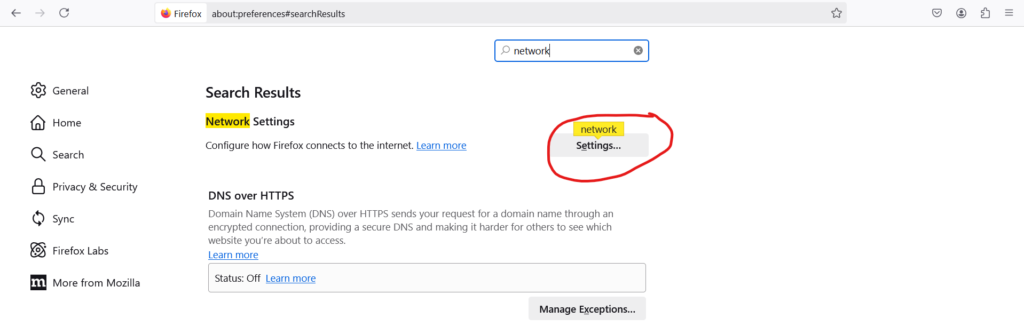
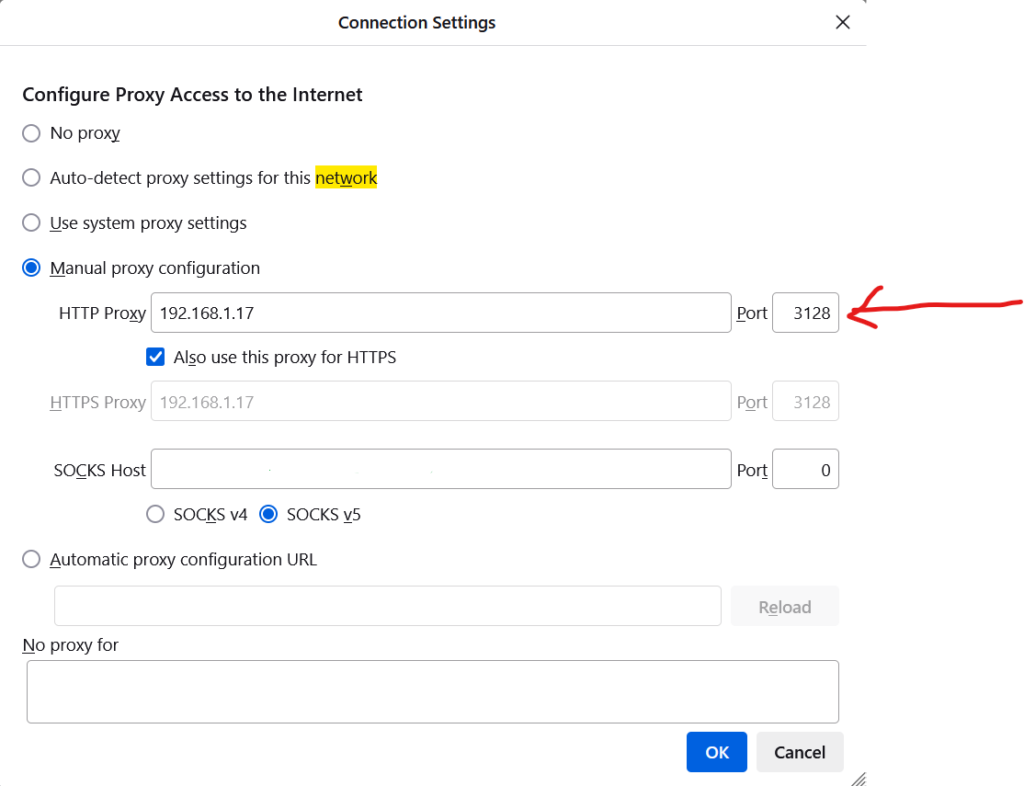
It is also possible to connect to the Squid proxy server from the client using
browsers, such as firefox/chrome. Navigate to Settings > General > Network Settings > Manual Proxy Configuration and also enable the Use this proxy HTTPS


