How to Install Zabbix on RHEL
Zabbix is an open-source, enterprise-level monitoring software designed to track networks, servers, and applications in real time. Built on a server-client model, it collects various types of data to generate historical graphs and analyze performance or load trends for monitored systems.
The Zabbix server can monitor standard network services like HTTP, FTP, SMTP, and IMAP without requiring any additional software on the target systems. However, to gather detailed data on specific system resources such as CPU usage, disk activity, RAM, or internal processes on remote machines, you’ll need to install and configure the Zabbix agent.

Key Features of Zabbix:
- Server Monitoring:
- The Zabbix server can monitor standard networking services such as HTTP, FTP, SMTP, and IMAP without requiring additional software on the target hosts.
- This enables a lightweight and agentless monitoring option for common services.
- Zabbix Agent:
- For more in-depth monitoring of local services and system resources (e.g., CPU usage, disk utilization, RAM, and internal processes), a Zabbix agent must be installed on the target system.
- The agent collects specific data from the host and transmits it back to the Zabbix server for analysis and visualization.
Benefits of Zabbix:
- Centralized Monitoring: Zabbix provides a single pane of glass for monitoring diverse environments.
- Custom Metrics: It supports custom data collection and visualization tailored to unique business needs.
- Historical Analysis: By storing collected data, Zabbix enables the generation of trends and forecasts.
This article will guide you through installing the latest version of Zabbix Server on various Linux distributions, including Debian, Ubuntu, RHEL, CentOS, Fedora, Rocky Linux, and AlmaLinux. We’ll cover setting up a MySQL or MariaDB database for data storage, as well as configuring PHP and the Apache web server.
Install Apache Web Server and PHP
# yum update
# yum install epel-release
# yum install httpd
# yum install php php-mysqlnd php-ldap php-bcmath php-mbstring php-gd php-xml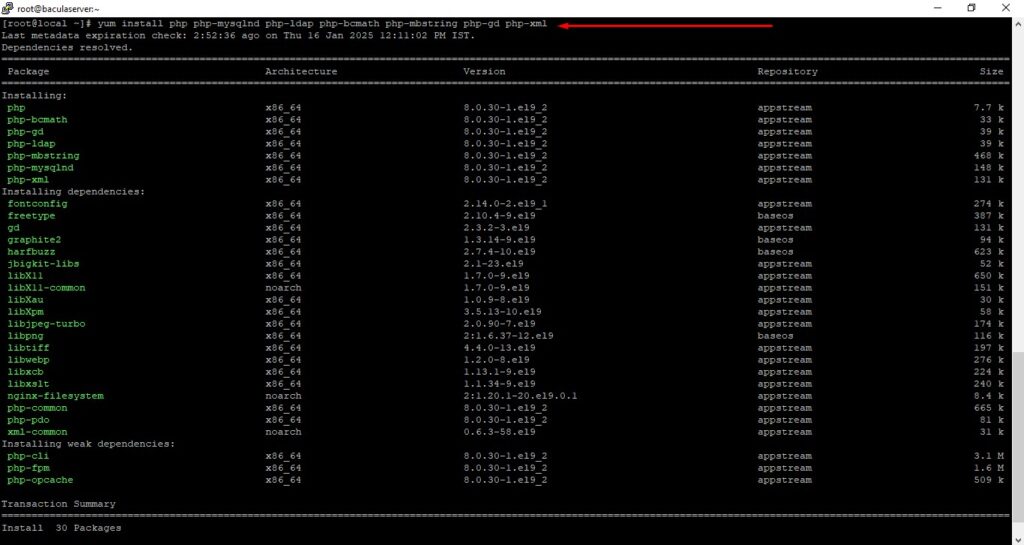
Start Apache daemon
# systemctl start httpd
# systemctl enable httpd
# systemctl status httpd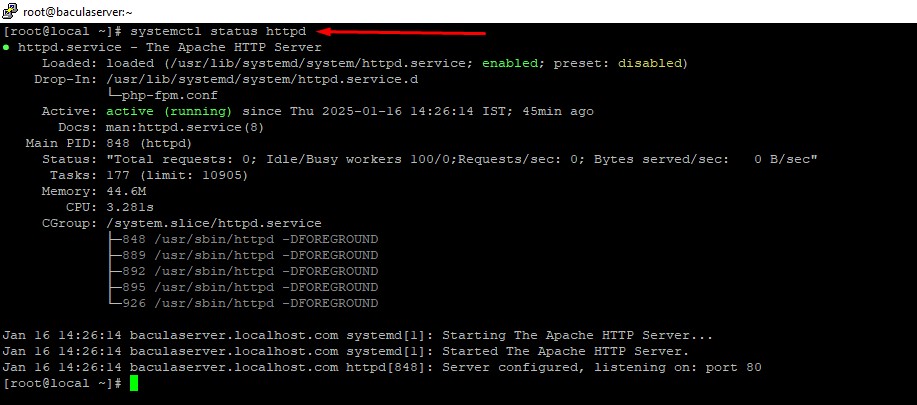
Install MariaDB Database and Library
# yum install mariadb-server
# systemctl start mariadb.service
# systemctl enable mariadb.service
# systemctl status mariadb.service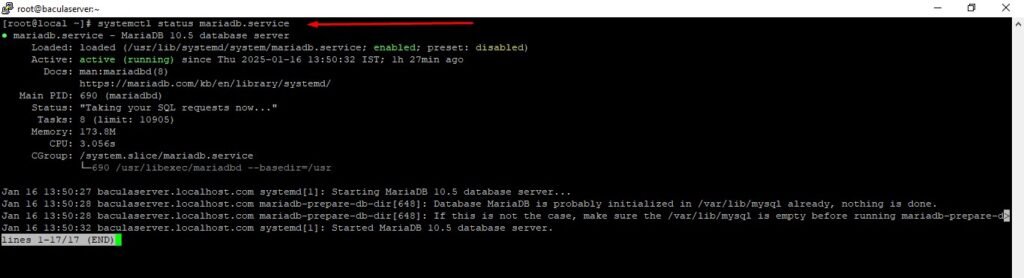
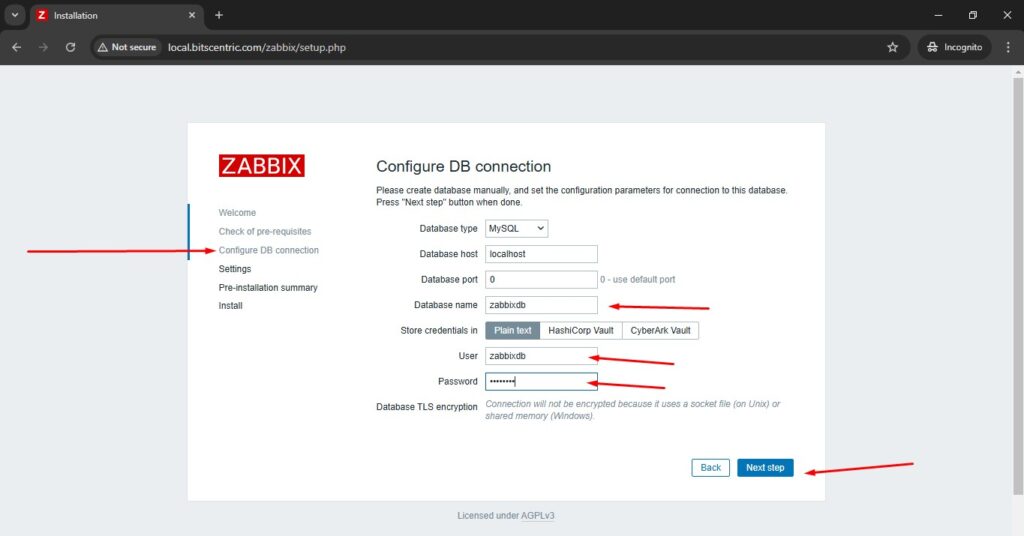
The next requirement for Zabbix is setting up an RDBMS database. Log in to your LAMP stack database component (MySQL or MariaDB) and create a Zabbix database and the credentials required to manage the database
# mysql -u root -p
MariaDB [(none)]> create database zabbixdb;
MariaDB [(none)]> grant all privileges on zabbixdb.* to 'zabbixdb'@'localhost' identified by 'Ak123!@#';
MariaDB [(none)]> flush privileges;
MariaDB [(none)]> exit; 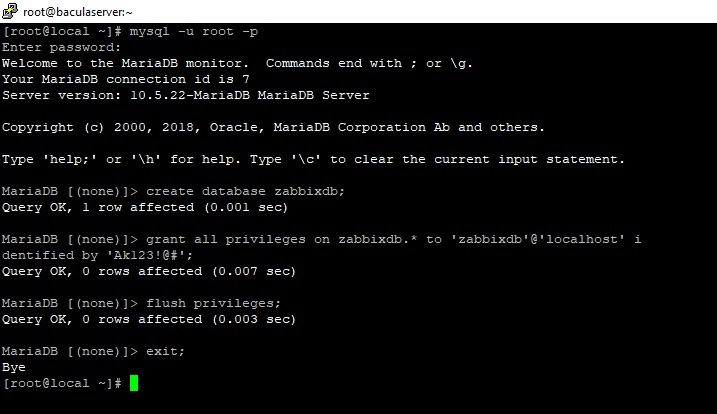
Install Zabbix Server

# rpm -Uvh https://repo.zabbix.com/zabbix/7.2/release/rocky/9/noarch/zabbix-release-latest-7.2.el9.noarch.rpm
# dnf clean all
# dnf install zabbix-server-mysql zabbix-web-mysql zabbix-apache-conf zabbix-sql-scripts zabbix-selinux-policy zabbix-agent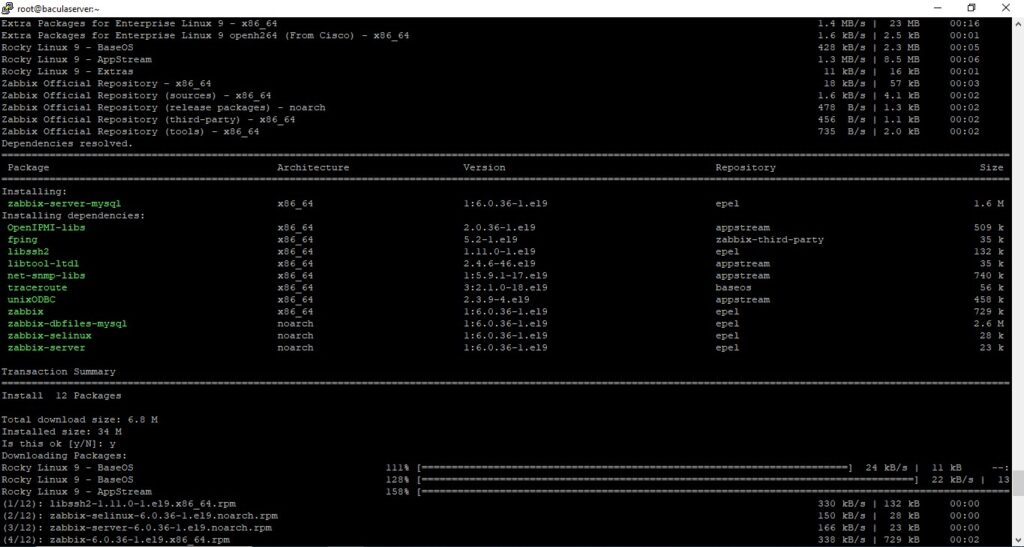
On the next step, restart the Apache HTTP server in order to apply the Zabbix configuration file installed for Apache
# systemctl restart httpd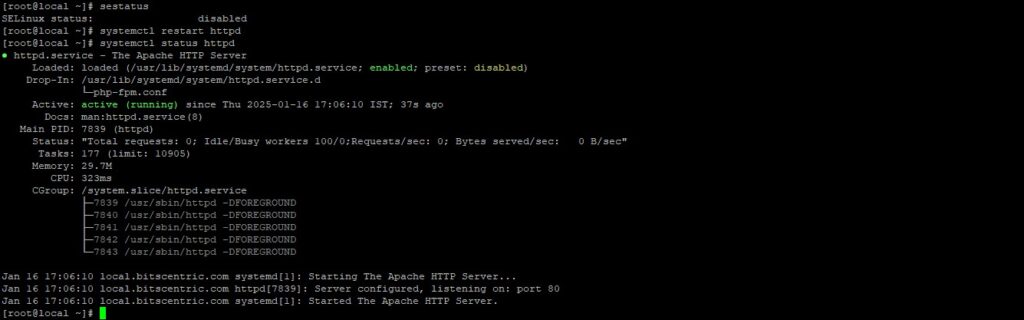
Configure Zabbix Server and Agent
# zcat /usr/share/doc/zabbix-sql-scripts/create.sql.gz | mysql -u zabbixdb zabbixdb -p
On the next step, set up the Zabbix server by opening the main configuration file
# vim /etc/zabbix_server.conf
DBHost=localhost
DBName=zabbixdb
DBUser=zabbixdb
DBPassword=Ak123!@#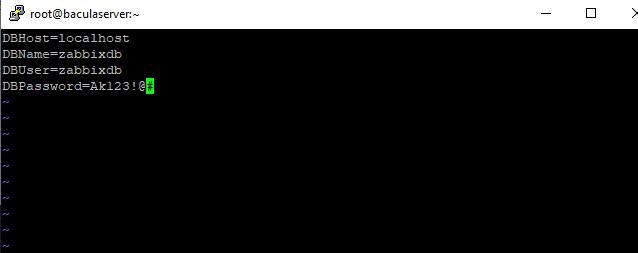
Next, configure the Zabbix Agent configuration file by updating the following lines. First, open the file for editing.
#  vim /etc/zabbix_agentd.conf
Server=127.0.0.1
ListenPort=10050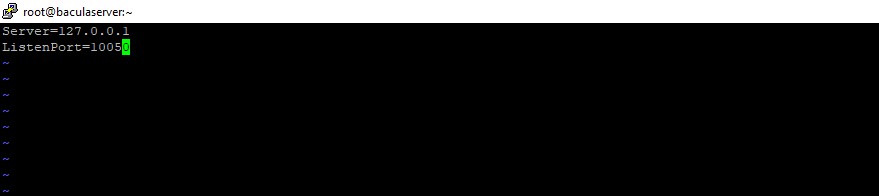
# systemctl restart zabbix-server zabbix-agent httpd php-fpm
# systemctl enable zabbix-server zabbix-agent httpd php-fpm
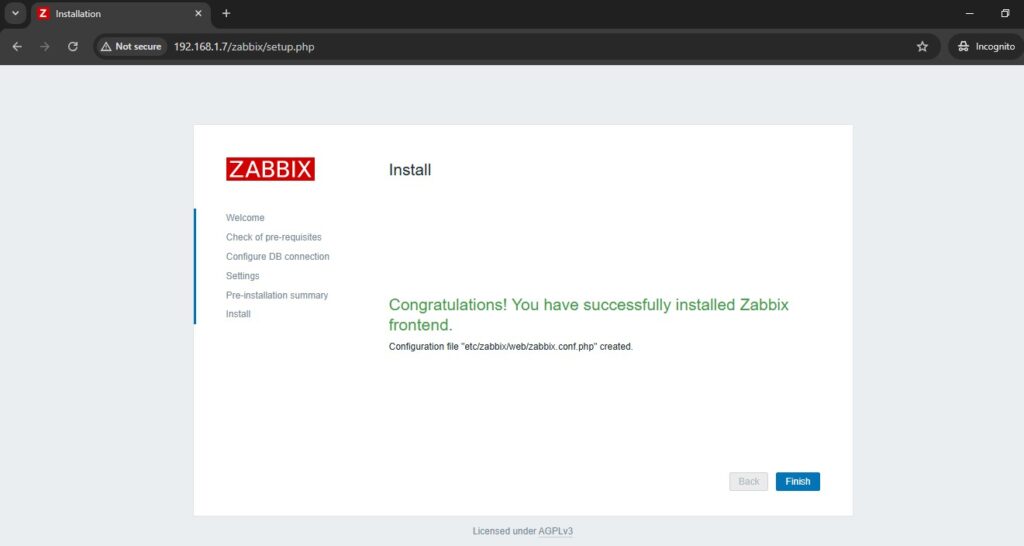
Install and Configure Zabbix Frontend Interface
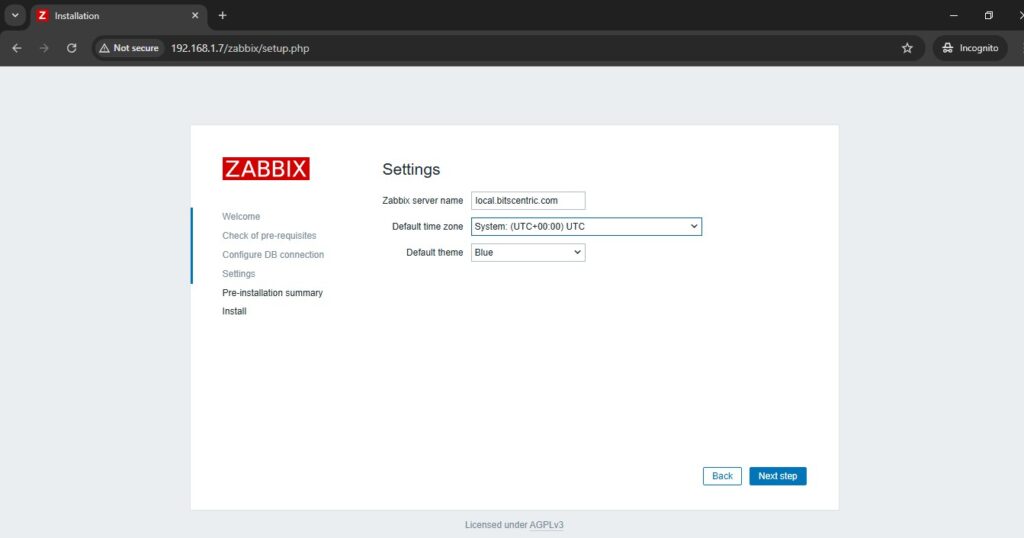
Now it’s time to install the Zabbix Server Frontend web interface. In order to accomplish this step open a browser and navigate to your server IP Address using HTTP or HTTPS protocol and the welcome screen should appear.
# http://192.168.1.7/zabbix
# http://local.bitscentric.com/zabbix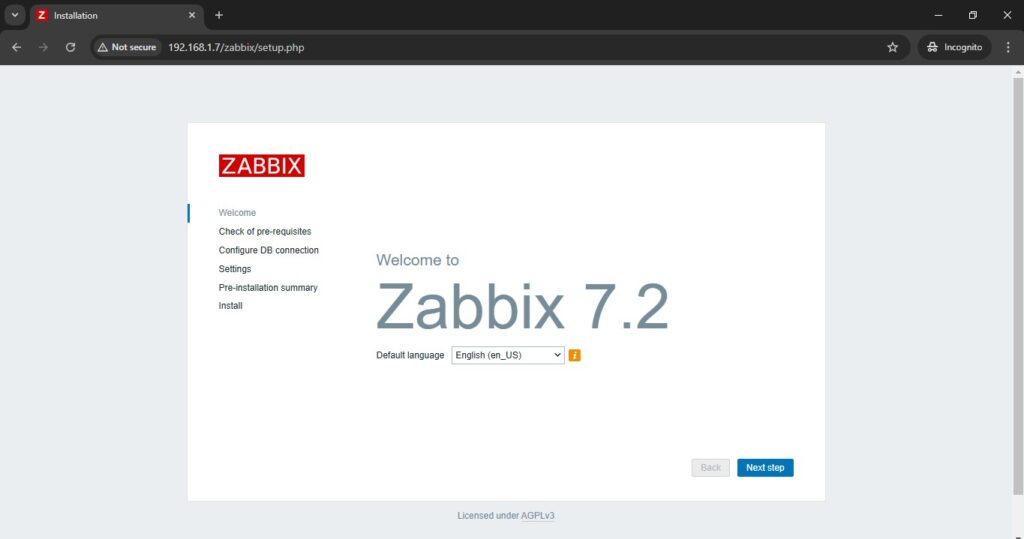


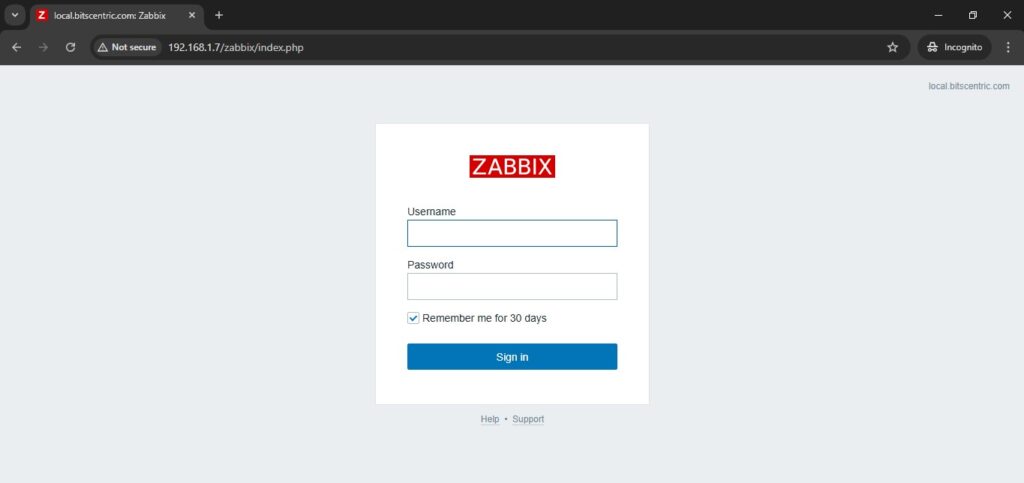
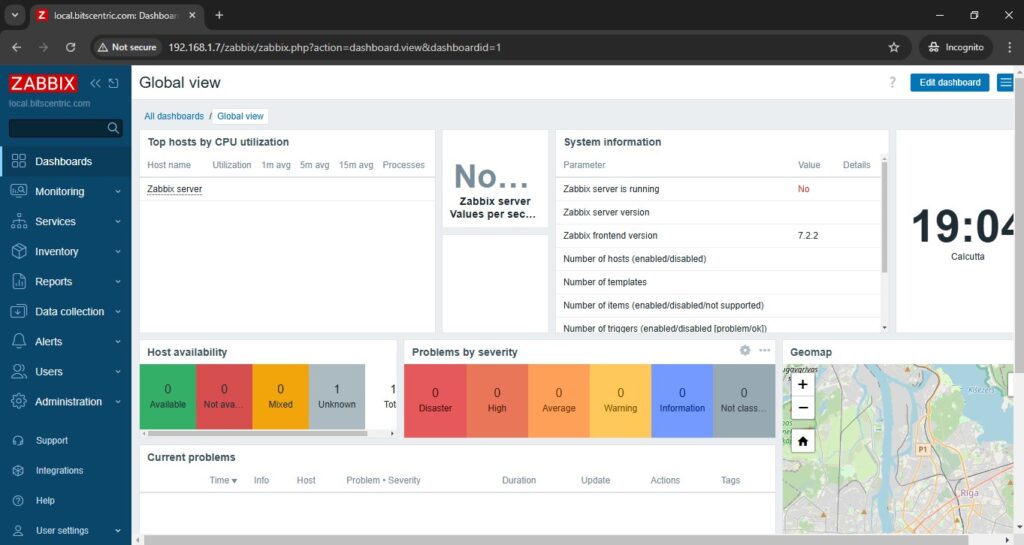
Finally, navigate to your server IP address or domain name by appending /zabbix URL address and log in to the Zabbix web admin panel with the default credentials presented below.
# http://192.168.1.7/zabbix/index.php
Username: Admin
Password: zabbix