
How to install Node.js on Ubuntu-22.04
As of now, Node.js 20 stands as the latest LTS (Long-Term Support) release, making it a reliable choice for production environments. If you’re feeling adventurous and want to explore cutting-edge features, Node.js 22 is also available.
There are various ways to install Node.js on your system, but we’ll walk you through the two most straightforward methods.
- Using NVM (Node Version Manager) NVM is the go-to tool for installing and managing multiple Node.js versions with ease. It allows you to switch between different versions effortlessly, making it ideal for development and testing.
- Using the Official Package Repository If you’re setting up a production server and need a stable, single-version environment, installing Node.js via the official Ubuntu repository is your best bet. This method ensures consistency and compatibility across your applications.
Node.js is a powerful JavaScript runtime for building scalable server-side applications. If you’re running an Ubuntu server, here are three easy ways to install it:
- Default Repository: Use
aptto install Node.js from Ubuntu’s built-in repo—simple and reliable. - PPA Repository: Use
aptwith a PPA to get specific Node.js versions, whether new or legacy. - NVM (Node Version Manager): Install NVM to easily switch between multiple Node.js versions—perfect for active developers.
Method 1: Install Node.js via Default Apt Repositories
Ubuntu includes a stable Node.js version in its default repositories for a consistent experience across systems.
Update System Packages
# sudo apt update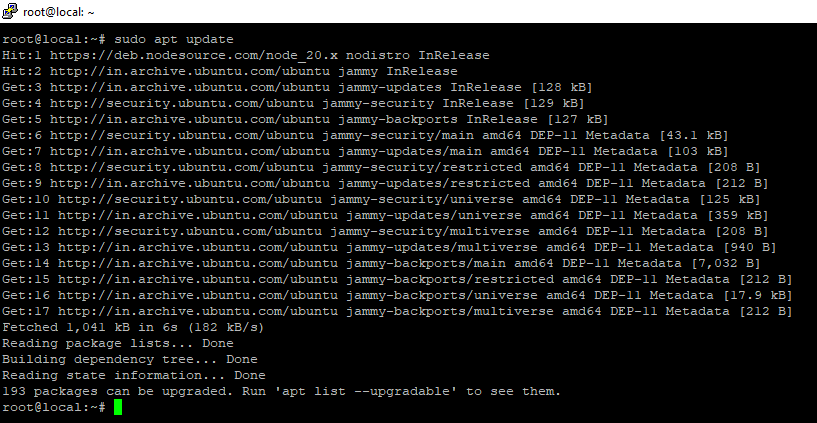
Then install Node.js:
# apt install nodejsTo confirm the installation worked, run this command:
# node -v
To get started with Node.js, just install it from the repositories. Don’t forget npm, the package manager—just run a simple apt command, and you’re good to go!
# apt install npmThis will allow you to install modules and packages to use with Node.js.
You’ve installed Node.js and npm using Ubuntu’s default repositories. Next, let’s see how to use a different repository to install other Node.js versions.
Method 2: Installing Node.js with Apt Using a Node Source PPA
To install a different Node.js version, you can use the NodeSource PPA, which offers more options than the default Ubuntu repositories.
Here’s a quick way:
- Open your terminal.
- Run this command to get the install script:
If you do not have curl installed, you can install it.
# apt install curl# curl -sL https://deb.nodesource.com/setup_20.x -o nodesource_setup.sh
Run the script
# bash nodesource_setup.sh
The PPA will be added to your configuration and your local package cache will be updated automatically. You can now install the Node.js package in the same way you did in the previous section.
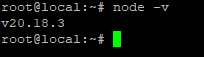
# apt install nodejsTo confirm that the new version is installed, open your terminal and run the following command:
# node -v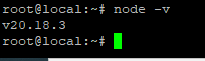
When you install the Node.js package from NodeSource, it comes with both the node binary and npm included, so there’s no need to install npm separately.
Congratulations! You’ve successfully installed Node.js and npm using apt and the NodeSource PPA.Next, we’ll explore how to use Node Version Manager (NVM) to easily install and switch between different versions of Node.js.
Method 3: Installing Node Using the Node Version Manager
If you want a flexible way to install Node.js, consider using nvm (Node Version Manager). It’s a handy tool that lets you install, manage, and switch between different versions of Node.js with ease. Plus, it keeps your Node packages organized for each version, so you don’t have to worry about conflicts.
To get started, you’ll need to install nvm. Here’s how:
- Visit the official GitHub page for nvm.
- Find the installation command in the README section. You’ll see a
curlcommand that downloads and runs the install script.
To install or update nvm, you should run the install script. To do that, you may either download and run the script manually, or use the following cURL or Wget command:
# curl -o- https://raw.githubusercontent.com/nvm-sh/nvm/v0.40.1/install.sh | bash
# wget -qO- https://raw.githubusercontent.com/nvm-sh/nvm/v0.40.1/install.sh | bash
This will install the nvm script to your user account. To use it, you must first source your .bashrc file:
# source ~/.bashrcNow, you can ask NVM which versions of Node are available:
# nvm list-remote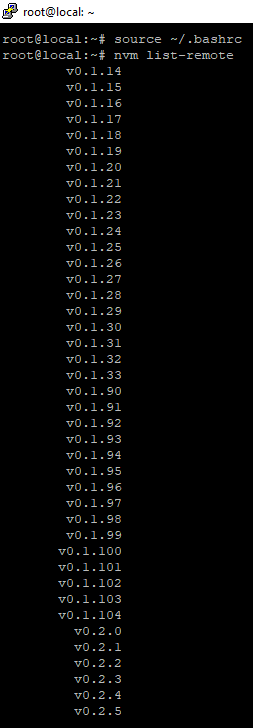
It’s a very long list! You can install a version of Node by typing any of the release versions you see.
# nvm install v22.14.0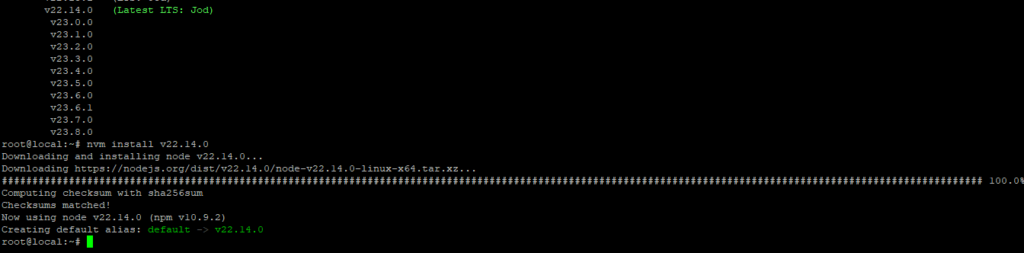
You can see the different versions you have installed by typing:
# nvm list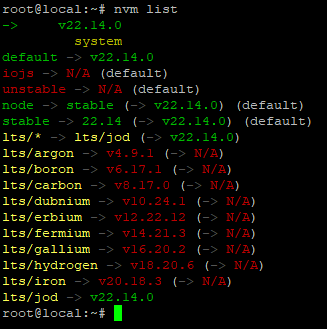
This shows the currently active version on the first line.
You can install a release based on these aliases as well. For instance, to install fermium
# nvm install lts/fermium
You can verify that the install was successful using the same technique from the other sections, by typing:
# node -v