How to Install KVM on Rocky Linux
KVM (Kernel-based Virtual Machine) is an open-source virtualization platform built into the Linux kernel. It acts as a bare-metal (Type 1) hypervisor, allowing you to create and run multiple virtual machines (VMs) on a single physical server. These VMs can run either Linux or Windows.
Like other virtualization tools, KVM takes your system’s hardware—CPU, memory, storage, and network—and shares it among the virtual machines, letting them operate independently as if they were separate computers.
Check if hardware virtualization is turned on
Before you get started, you’ll want to check if your system has virtualization enabled. Most modern systems have this turned on by default in the BIOS, but it’s always good to double-check.
You can do this by running a simple command that looks for vmx (for Intel CPUs) or svm (for AMD CPUs)—these are the flags that indicate hardware virtualization is supported.
# cat /proc/cpuinfo | egrep "vmx|svm"
Install KVM
After confirming that virtualization is enabled, the next step is to install KVM along with the necessary management tools.
# dnf install qemu-kvm virt-manager libvirt virt-install virt-viewer virt-top bridge-utils bridge-utils virt-top libguestfs-tools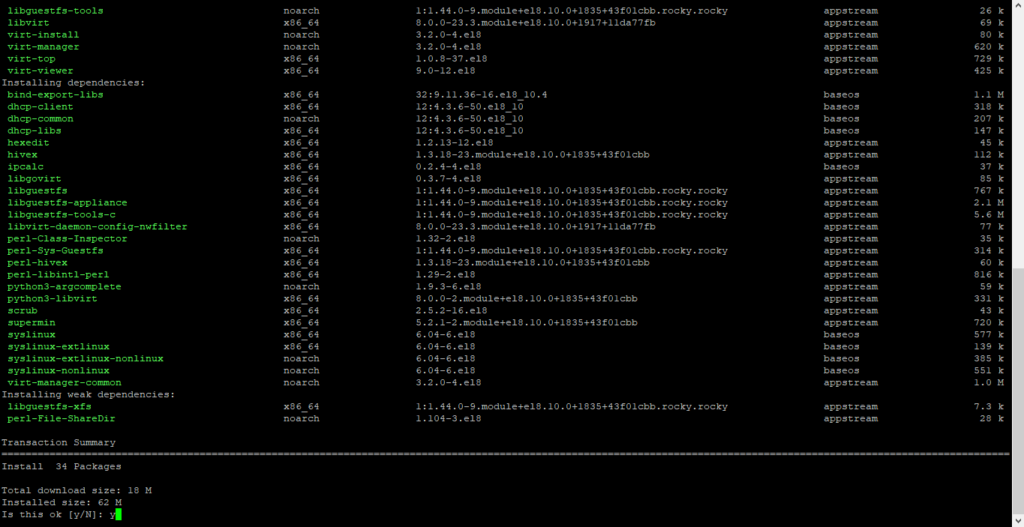
After installation, run this command to see if the KVM modules are loaded.
# lsmod | grep kvm
Start and Enable the libvirtd daemon
Make sure to start the libvirtd daemon. It’s a background service that helps manage virtual machines using technologies like KVM, Xen, and ESXi.
# systemctl start libvirtd
# systemctl enable --now libvirtd
# systemctl status libvirtd
Setup the Bridge Interface
We’ve set up KVM along with all the necessary management tools, and we’re able to create virtual machines successfully. However, to access these VMs from outside the hypervisor’s network, we need to set up a bridge interface.
# nmcli connection show
To begin creating the bridge, first, delete the connection using its UUID
# nmcli connection delete 582f09c8-4421-4512-9e58-75e63717289c
Before moving forward, make sure you have the following details ready:
- Bridge Name – The name you want to give to the new bridge (e.g., “br1”).
- Device Name – Your network interface that will act as the bridge slave (e.g., “ens160”).
- IP Address/Subnet – The IP address and subnet for the bridge (e.g., “192.168.2.50/24”). This should match your network’s addressing scheme.
- Gateway – The default gateway for your network (e.g., “192.168.2.1”).
- DNS Servers – Your preferred DNS addresses (e.g., “8.8.8.8” and “4.4.4.4”).
Having these details handy will make the setup smoother!
Moving on, create a new bridge interface
# nmcli connection add type bridge autoconnect yes con-name br1 ifname br1
Next, you’ll customize the bridge by setting the IP subnet, Gateway, and DNS.
# nmcli connection modify br1 ipv4.addresses 192.168.2.50/24 ipv4.method manual
Next, specify the gateway address
# nmcli connection modify br1 ipv4.gateway 192.168.1.1Add the DNS address
# nmcli connection modify br1 ipv4.dns 192.168.1.1 +ipv4.dns 8.8.8.8
Thereafter, to add the bridge slave
# nmcli connection add type bridge-slave autoconnect yes con-name ens160 ifname ens160 master br1
You’ll see a confirmation message once the bridge slave (your network adapter) is successfully added.
To confirm that the bridge was created
# nmcli connection show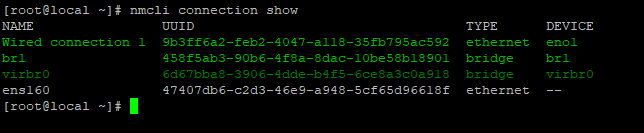
To activate it
# nmcli connection up br1
You can check this by running the ip addr command.
# ip addr | grep br1
Lastly, edit the bridge configuration file.
# vim /etc/qemu-kvm/bridge.conf
allow all
Now, restart the virtualization daemon to apply the changes.
# systemctl restart libvirtd
# systemctl status libvirtd.service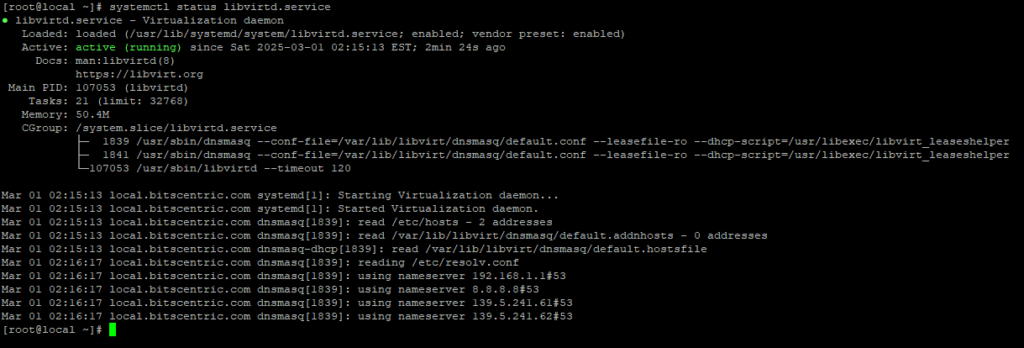
Create a Virtual Machine
Now that KVM is installed and the bridge connection is set up, let’s create a virtual machine. But before we do that, make sure the logged-in user has the right permissions to run commands without needing to switch to the root user.
# chown -R $USER:libvirt /var/lib/libvirt/
Use the command line to create a virtual machine with the Ubuntu 20.04 ISO.
# sudo virt-install \
> --name Ubuntu \
--disk path=/var/lib/libvirt/images/ubuntu-20.04.img,size=15 \
--os-variant ubuntu20.04 \
--network bridge=br1,model=virtio \
--graphics vnc,listen=0.0.0.0 \
--console pty,target_type=serial \
--cdrom /home/bitscentric/Downloads/ubuntu-22.04.5-desktop-amd64.iso
> --ram 2048 \
> --vcpus 2 \
> --disk path=/var/lib/libvirt/images/ubuntu-20.04.img,size=15 \
> --os-variant ubuntu20.04 \
> --network bridge=br1,model=virtio \
> --graphics vnc,listen=0.0.0.0 \
> --console pty,target_type=serial \
> --cdrom /home/bitscentric/Downloads/ubuntu-22.04.5-desktop-amd64.iso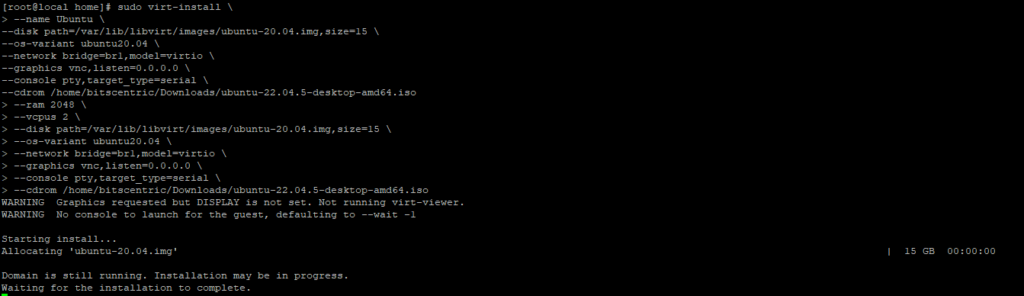
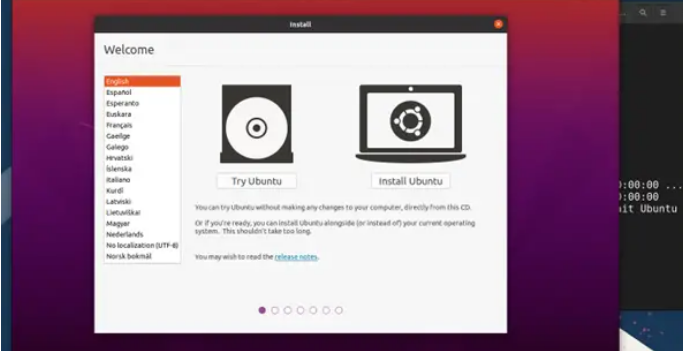
Once you run the command, the graphical screen will open, and the guest OS installation will begin.