
How to Install and Configure Tomcat 10 on Ubuntu 22.04
Apache Tomcat is an open-source web application server designed for hosting Java-based applications. Developed by the Apache Foundation, it continues to receive updates and new features. It’s easy to install and use, making it a powerful platform for running web applications.
In this guide, we’ll walk you through the process of installing Tomcat 10 on Ubuntu 22.04. We’ll cover essential steps like setting up the environment, downloading and installing the required packages, and configuring your Tomcat instance for smooth operation.
Step 1: Update System Packages
# apt update
Step 2: Install Java Development Kit (JDK)
Since Tomcat is a Java-based server, we need to have a JDK installed on the system. Tomcat 10 requires JDK 11 or newer, so we’ll install OpenJDK 11.
# apt install openjdk-11-jdk
You can check if the installation was successful by running the following command:
# java -version
Step 3: Create Tomcat User
# useradd -r -m -U -d /opt/tomcat -s /bin/false tomcatStep 4: Download and Extract Tomcat 10
Head over to the official Apache Tomcat download page (http://tomcat.apache.org/download-10.cgi) and grab the latest version of the binary distribution in .tar.gz format. At the time of writing, the most recent stable release is 10.1.34.
# wget https://dlcdn.apache.org/tomcat/tomcat-10/v10.1.34/bin/apache-tomcat-10.1.34.tar.gz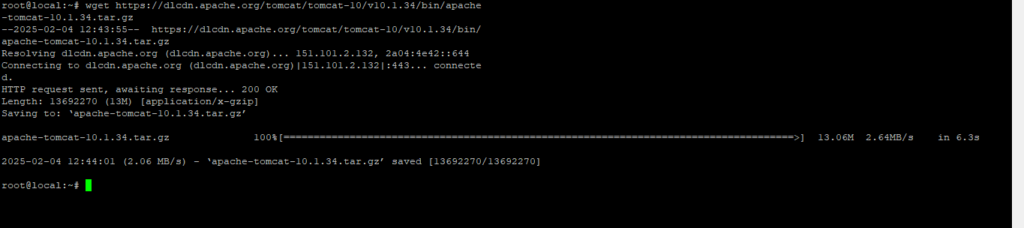
Once the download is finished, we’ll extract it into the /opt/tomcat directory.
# tar xzfv apache-tomcat-*.tar.gz -C /opt/tomcat/
Step 5: Set Permissions
We need to assign ownership of the extraction directory to the Tomcat user and ensure that the scripts in the bin directory are executable.
First, let’s change the directory ownership to Tomcat.
# chown -R tomcat:tomcat /opt/tomcat/
Make sure all scripts in the “bin” directory are executable.
# sh -c 'chmod +x /opt/tomcat/bin/*.sh'Step 6: Create Tomcat Application Accounts
To secure access to the admin and manager pages in Tomcat, you need to configure user accounts. To do this, open the conf/tomcat-users.xml file in your editor and add the following code inside the <tomcat-users> </tomcat-users> tags.
For better security, we strongly recommend changing the password in the configuration to a strong and secure one.
# vim /opt/tomcat/conf/tomcat-users.xml

<!-- user manager can access only the manager section -->
<role rolename="manager-gui" />
<user username="manager" password="_SECRET_PASSWORD_" roles="manager-gui" />

<!-- user admin can access manager and admin section both -->
<role rolename="admin-gui" />
<user username="admin" password="_SECRET_PASSWORD_" roles="manager-gui,admin-gui" />
Step 7: Allow Remote Hosts to Access Tomcat
By default, the Tomcat Manager and Host Manager applications are only accessible from the local machine. If you need to access these pages from a remote system, you’ll need to update the configuration files.
You have two options: allow access from a specific remote system or grant access to all remote systems. To do this, edit the context.xml file for both the Manager and Host Manager applications.
# vim /opt/tomcat/webapps/manager/META-INF/context.xml
<!--  <Valve className="org.apache.catalina.valves.RemoteAddrValve"
  allow="127\.\d+\.\d+\.\d+|::1|0:0:0:0:0:0:0:1" /> -->
Open the context.xml file in a text editor and make the necessary edits for the Host Manager application.
# vim /opt/tomcat/webapps/host-manager/META-INF/context.xml
 <!--  <Valve className="org.apache.catalina.valves.RemoteAddrValve"
  allow="127\.\d+\.\d+\.\d+|::1|0:0:0:0:0:0:0:1" /> -->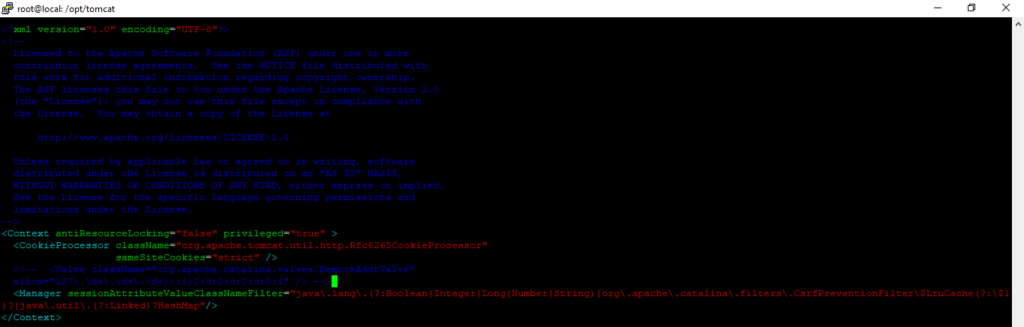
Step 8: Create a Systemd Service File
Now, let’s create a systemd service file to manage the Tomcat service. Open a new file in your preferred text editor:
# vim /etc/systemd/system/tomcat.service

[Unit]
Description=Apache Tomcat 10 Server
After=network.target

[Service]
Type=forking

Environment="JAVA_HOME=/usr/lib/jvm/java-11-openjdk-amd64"
Environment="CATALINA_HOME=/opt/tomcat"
Environment="CATALINA_BASE=/opt/tomcat"
ExecStart=/opt/tomcat/bin/startup.sh
ExecStop=/opt/tomcat/bin/shutdown.sh
User=tomcat
Group=tomcat
Restart=always

[Install]
WantedBy=multi-user.target
Step 9: Start and Enable Tomcat
# systemctl daemon-reload
# systemctl start tomcat.service
# systemctl enable tomcat.service
# systemctl status tomcat.service
Step 10: Open the Firewall
Make sure your firewall isn’t blocking incoming connections to Tomcat’s default port (8080). The steps to check this will depend on the firewall you’re using.
# ufw allow 8080
# ufw reload
# ufw status
Step 11: Test the Installation
By default, the Tomcat server runs on port 8080. Since you’ve set up Tomcat on your system, you can access its web interface using your browser. Simply enter your server’s IP address, domain name, or “localhost,” followed by port 8080.
For example, replace local.bitscentric.com with your actual server IP, domain, or localhost, and open the following URL in your browser:
# http://local.bitscentric.com:8080/
# http://192.168.1.16:8080/
The Tomcat Manager App is a built-in web application that comes with the Tomcat server. It provides an easy-to-use interface for managing deployed web applications.
To access it, click the Manager App button on the Tomcat home page or simply add /manager to the Tomcat server’s URL in your browser.
# 
The Tomcat Host Manager App is an additional web application bundled with the Tomcat server. It is used to create and remove virtual hosts within the Tomcat service. A virtual host allows you to define multiple hostnames on a single server.
To access the Host Manager, simply click the “Host Manager” button on the homepage or type the /host-manager URL directly into your browser.
# http://192.168.1.16:8080/host-manager/html