How to Install and Configure Squid Proxy on Ubuntu 22.04
Squid is a free proxy server that speeds up web browsing by caching frequently visited pages, filtering traffic, and handling DNS lookups. It supports HTTP, HTTPS, and FTP.
Unlike traditional proxies that need manual setup, Squid can run in transparent mode, automatically intercepting network traffic—great for workplaces with shared internet access.
It also works as a reverse proxy for Apache, improving website performance with caching, load balancing, and content routing.
Install Squid Proxy on Ubuntu
You can install Squid directly from Ubuntu’s built-in package sources.
Refresh the repository list to get the latest software updates.
# apt update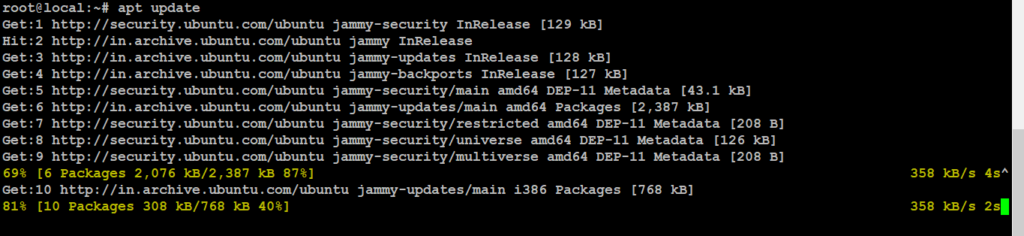
Install Squid
# apt install squid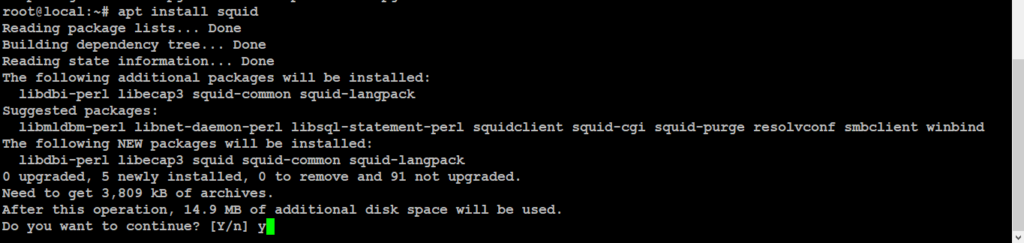
How to Configure Squid Proxy
Squid’s settings are stored in the squid.conf file, found in /etc/squid. Below, you’ll find steps on how to edit this file, set up a web browser to use the proxy, and manage the Squid service on Ubuntu.
Edit Configuration File
The squid.conf file lets you customize Squid’s settings, like choosing the port it listens on and controlling who can use the proxy.
# vim /etc/squid/squid.conf
http_port 3128
Find the http_port setting in Squid’s configuration. By default, Squid uses port 3128 for TCP traffic. If your system uses a different port, update it with this format:

Find the line that says http_access deny all in the Squid configuration file. By default, this setting blocks all web traffic. To allow access, change this line to:
# vim /etc/squid/squid.conf
http_access deny all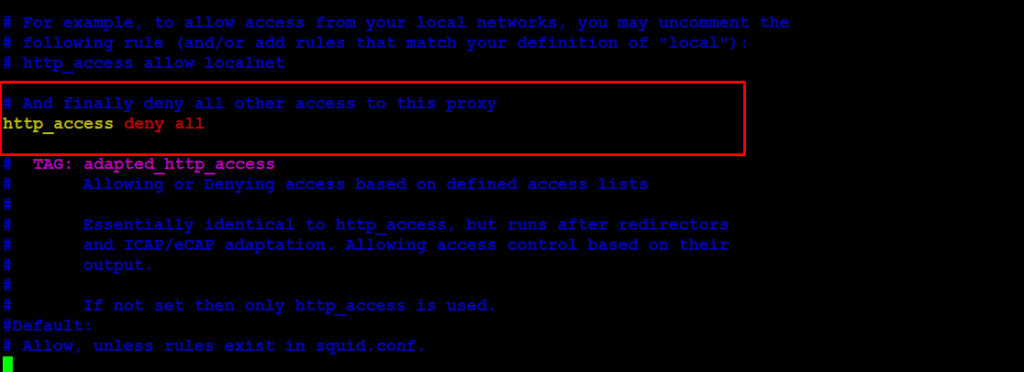
Restart Squid Service
# systemctl restart squid
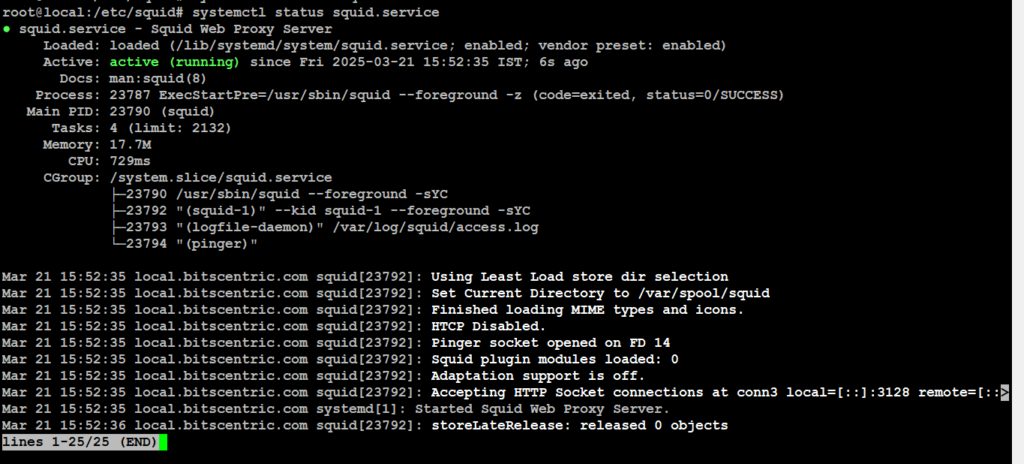
# systemctl status squid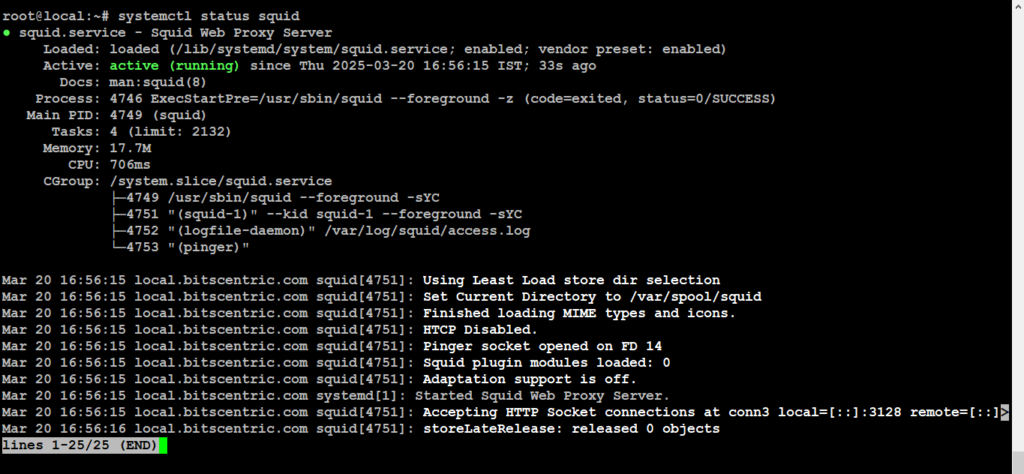
# systemctl enable squid
Allow port 3128 in your firewall
# ufw allow 3128
# ufw reload
# ufw status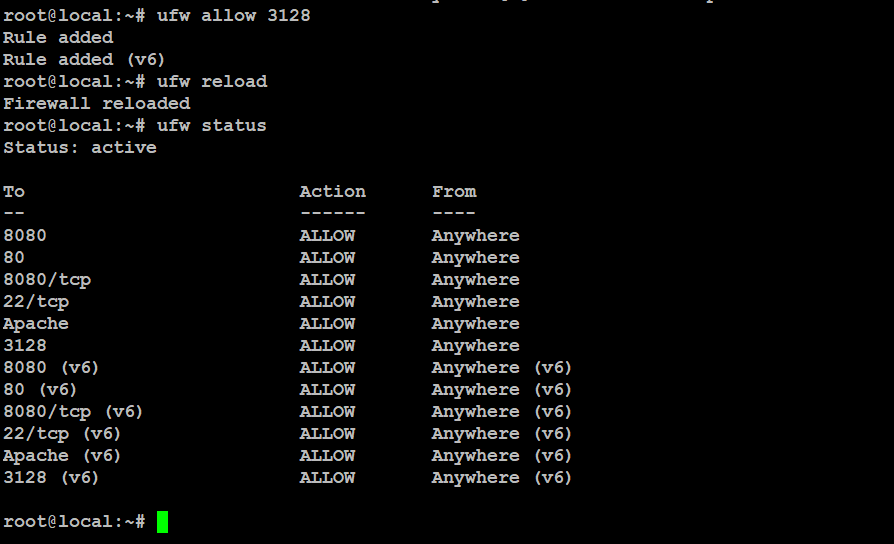
Test Squid Proxy
To check if Squid Proxy is working, open your web browser and go to network settings. Find the proxy settings, then enter your Ubuntu machine’s IP address and Squid’s port number (usually 3128). Save the settings and try loading a website—if everything is set up correctly, the page should open without any problems.
# nmap localhost -p 3128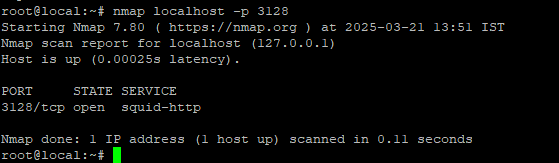
Configure Squid Client
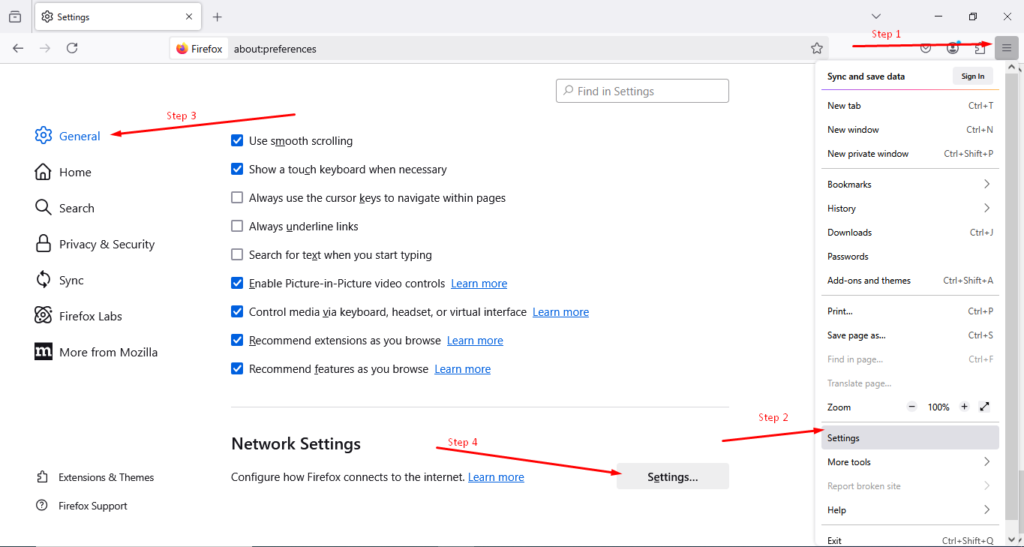
After installing and setting up Squid, you need to configure your web browser to use the proxy. Here’s how to do it in Firefox:
- Click the menu (☰) button in the top-right corner.
- Select Settings.
- In the left menu, click General.
- Scroll down to the Network Settings section and click Settings.
5. Choose Manual proxy configuration and type the IP address and port of the Squid proxy.
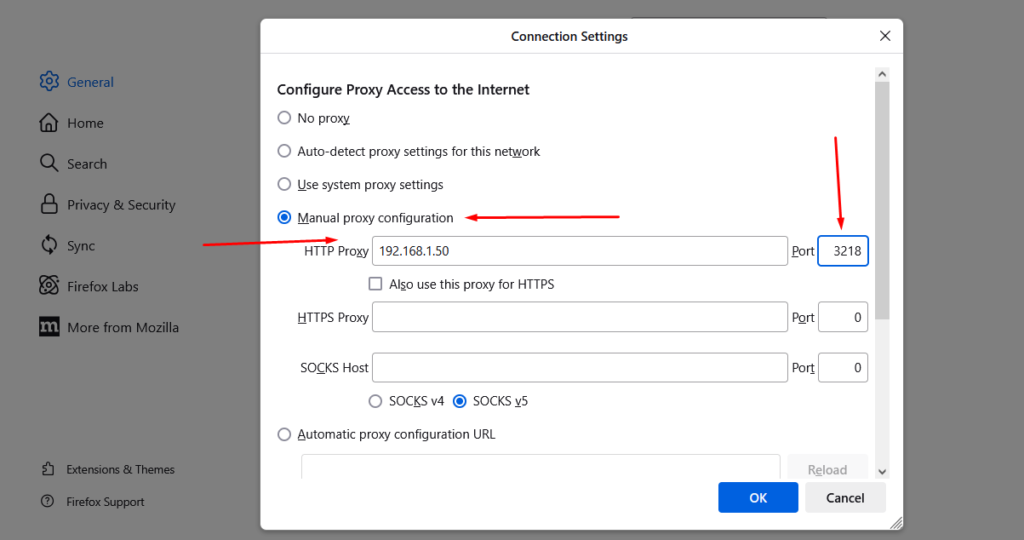
To check if your proxy is working, do an IP address lookup. If it’s set up correctly, you’ll see the proxy’s IP address instead of your own.
Configure Proxy Authentication
Step 1: Create a Password File
Start by creating a password file to store the usernames and passwords of users who can access the proxy server. Use the following command to set it up:
# htpasswd -c /etc/squid/passwd admin
Replace “username” with the actual user you want to add. You’ll then be asked to set and confirm a password.
If you see the error “sudo: htpasswd: command not found”, it means the htpasswd tool isn’t installed on your system.
htpasswd is a command-line tool used to manage login credentials for Apache and Squid Proxy authentication.
To fix this issue, try installing the apache2-utils package, which includes the htpasswd command. Just run this command:
# apt-get install apache2-utils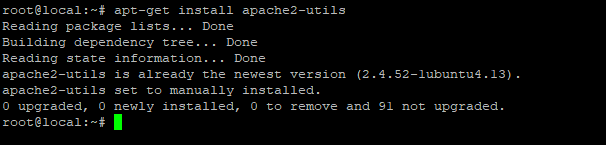
Step 2: Edit the Squid Configuration File
To enable authentication in Squid, you need to edit its configuration file. Open the file by running this command:
# vim /etc/squid/squid.conf
http_access allow admin
Find the line that reads “auth_param basic program /usr/lib/squid/basic_ncsa_auth /etc/squid/passwd” and uncomment it by removing the “#” symbol at the beginning of the line. This line specifies the path to the password file.
# vim /etc/squid/squid.conf
auth_param basic program /usr/lib/squid/basic_ncsa_auth /etc/squid/passwd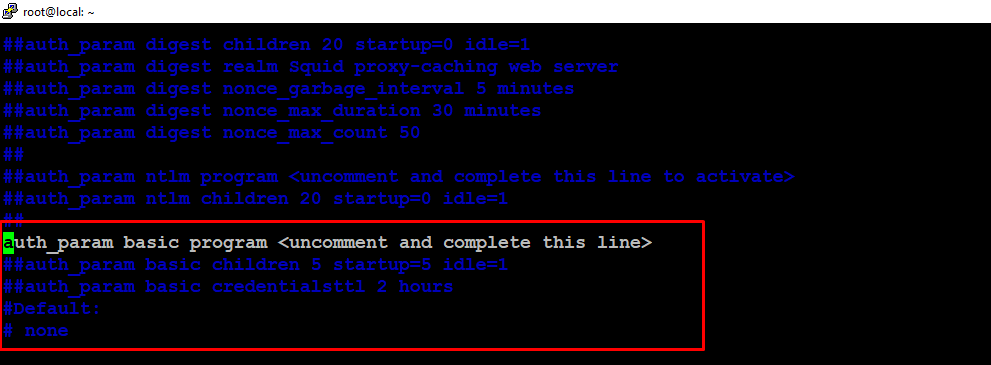

Step 3: Restart Squid Proxy
Now that you have edited the Squid configuration file, you need to restart the Squid Proxy service
# systemctl status squid.service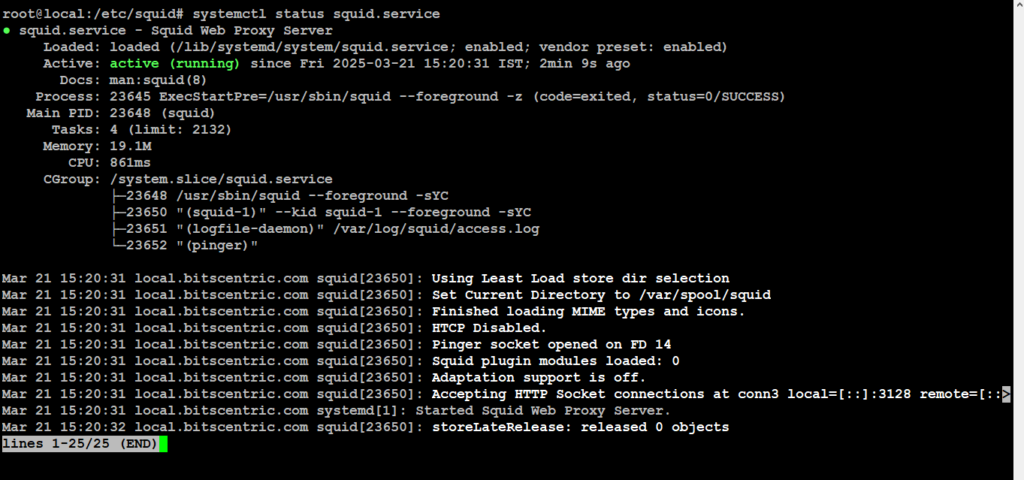
Step 4: Test Authentication
To check if authentication is working, open your web browser and go to network settings. Find the proxy settings and enter:
- The IP address of your Ubuntu machine
- Port 3128 (Squid’s default)
- The username and password you set up
Save the settings, then try visiting a website. If everything is set up correctly, the site should load without any problems.
How to Block Websites
Squid can block access to specific websites, making it useful for parental controls and managing workplace internet use. Here’s how to set it up:
1. Create a new text file blocked.acl in the /etc/squid directory:
Add the websites you want to block, preceding each entry with a dot. The dot tells Squid to block all subdomains of the main website.
# vim vim /etc/squid/blocked.acl
.facebook.com
.instagram.com
Open the squid.conf file and Add the following lines just above your ACL list:
# vim /etc/squid/squid.conf
acl blocked_websites dstdomain "/etc/squid/blocked.acl"
http_access deny blocked_websites
Save the file and exit, then restart Squid.
# systemctl restart squid.service
# systemctl status squid.service