
How to Configure VNC server on Ubuntu 22.04
Virtual Network Computing (VNC) is a technology that lets you control a remote computer’s desktop as if you were sitting right in front of it, using your own keyboard and mouse. It’s great for users who aren’t as familiar with using the command line, making it easier to manage files, settings, and software on a remote system.
In this guide, you’ll learn how to set up a VNC server with TightVNC on an Ubuntu 22.04 server and securely connect to it using an SSH tunnel. Then, you’ll use a VNC client on your local machine to interact with the remote server through a full graphical desktop environment.
You’ll need the following:
- An Ubuntu 22.04 server with a non-root user who has administrative privileges, and a firewall set up with UFW. If you haven’t done this yet, check out our guide for setting up an initial Ubuntu 22.04 server.
- A local computer with a VNC client that supports SSH tunneling. Depending on your operating system, you have these options:
- On Windows: You can use TightVNC, RealVNC, or UltraVNC.
- On macOS: You can use the built-in Screen Sharing tool or a cross-platform app like RealVNC.
- On Linux: There are plenty of choices, including vinagre, krdc, RealVNC, or TightVNC.
Setting up the Desktop Environment and VNC Server
By default, an Ubuntu 22.04 server doesn’t come with a graphical desktop or a VNC server. So, the first thing you’ll need to do is install both of these.
There are a variety of VNC servers and desktop environments to choose from, but in this guide, we’ll go with Xfce, a lightweight desktop, and TightVNC, a fast and reliable VNC server, both of which are available in the official Ubuntu repository. These options are ideal because they’re not heavy on resources, helping to keep your VNC connection smooth and stable, even on slower internet connections.
Update the system.
# apt update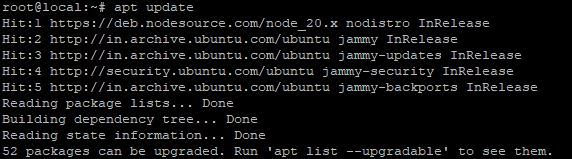
Install Xfce and the xfce4-goodies package, which includes some extra enhancements for the desktop environment.
# apt-get install xfce4 xfce4-goodies
After the installation finishes, go ahead and install the TightVNC server.
# apt install tightvncserver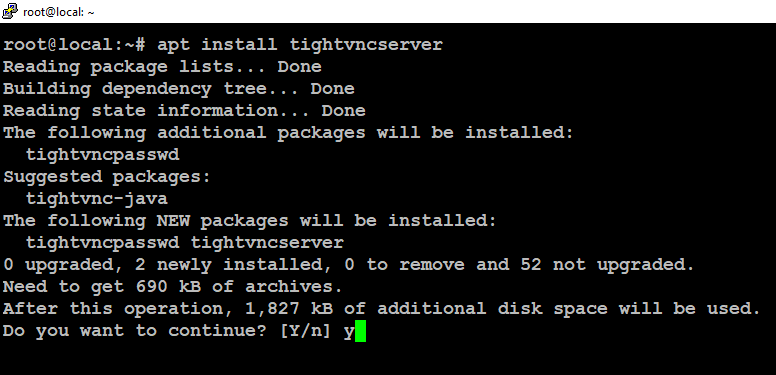
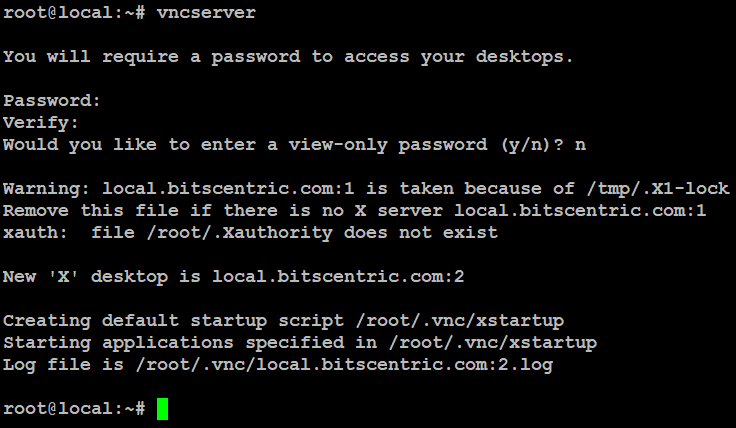
Next, run the vncserver command to set up a password for VNC access, create the necessary configuration files, and start the VNC server for the first time.
# vncserverAfter you verify the password, you’ll have the option to create a “view-only” password. This means users can log in but won’t be able to control the VNC session with their mouse or keyboard. It’s useful if you want to show something to others without giving them full control of your VNC server, though it’s optional.
Once everything is set up, the server will create the necessary configuration files and connection details. It will also start a default server instance on port 5901, which is labeled as display :1 in VNC. You can run additional instances on other ports, with :2 referring to port 5902, :3 to 5903, and so on.
At this point, you’ve successfully installed and started the VNC server. Now, it’s time to set it up to launch Xfce and allow us to access the server using a graphical interface.
Configuring the VNC Server
When you start a VNC server, it needs to know which commands to run to get things going. One key thing it needs to figure out is which graphical desktop environment to use.
These startup commands are stored in a file called xstartup, which you can find in the .vnc folder inside your home directory. This file is automatically created the first time you run the vncserver command.
You are going to be changing how the VNC server is configured, first stop the VNC server instance that is running on port 5901.
# vncserver -kill :1Before you modify the xstartup file, back up the original.
# cp .vnc/xstartup .vnc/xstartup-backup
Now create a new xstartup file and open it in a text editor and add the following lines to the file.
# vim .vnc/xstartup
xrdb $HOME/.Xresources
startxfce4 &
Save and close the file after adding these lines.
To make sure the VNC server can use the new startup file correctly, you’ll need to give it permission to run.
# chmod +x ~/.vnc/xstartup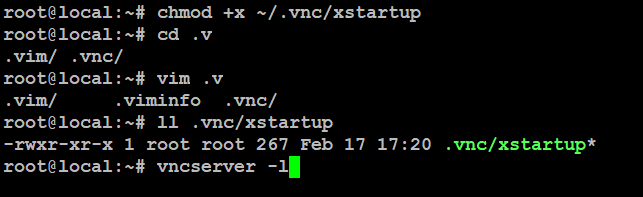
Now, restart the VNC server:
# vncserver -localhost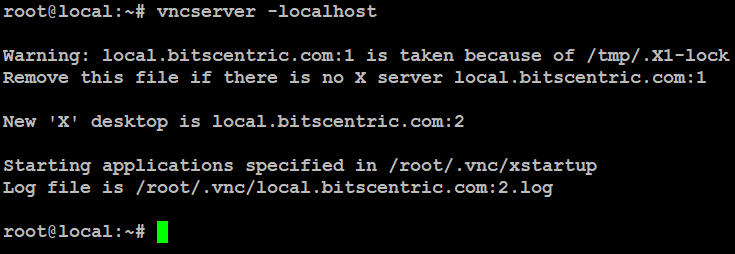
This time, we’re adding the -localhost option to the command. This makes the VNC server only accessible from the server itself, blocking any external connections for added security.
Access through windows machine
Download TightVNC Click her.
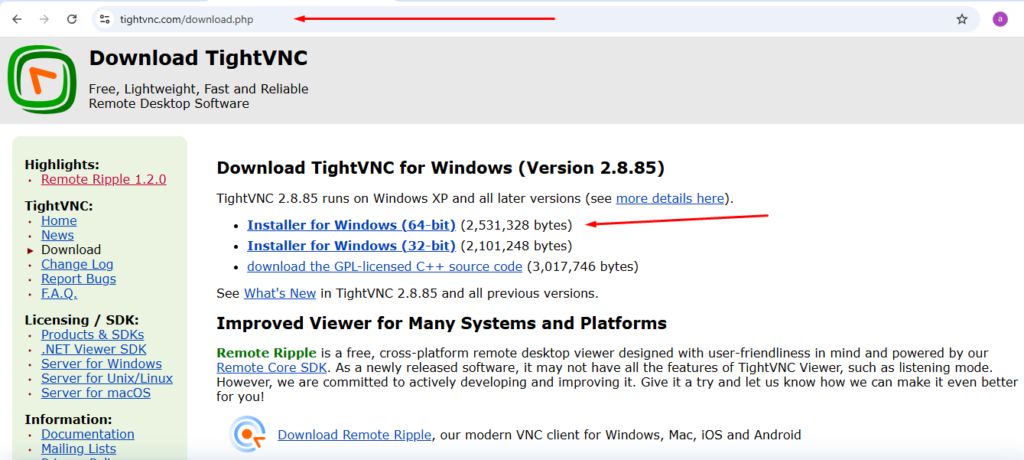
Download and install VNC software.
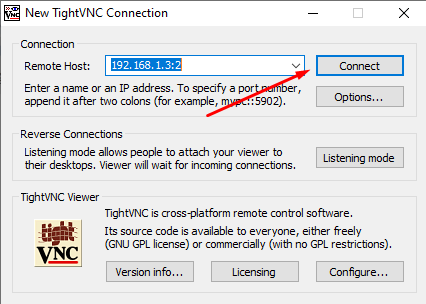
Open TightVNC Viewer and connect virtual screen.
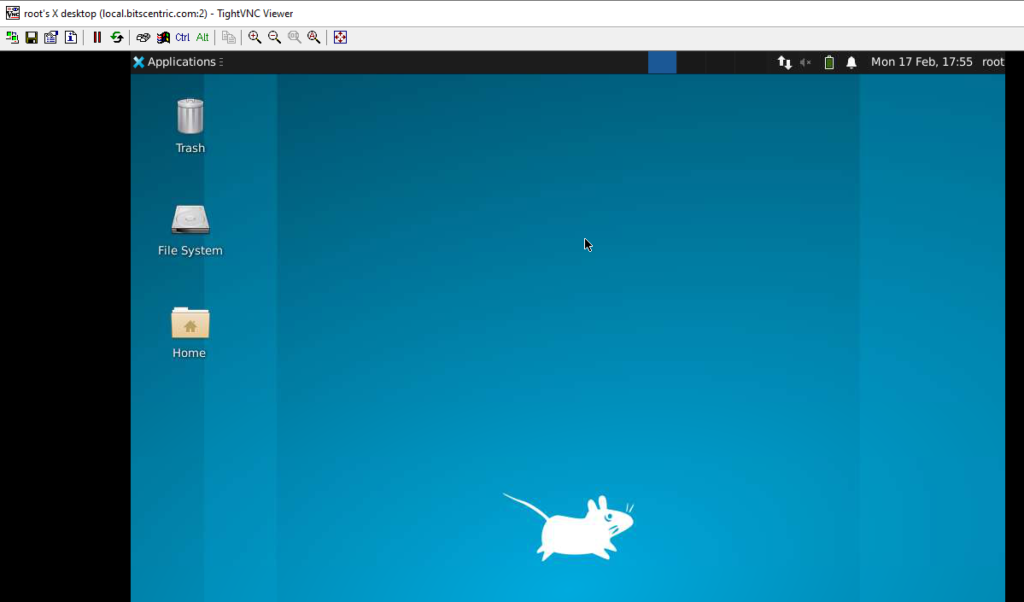
After connect, Linux screen show on windows machine.
Create VNC as a System Service
To manage your VNC server easily, you can set it up as a systemd service. This lets you start, stop, and restart it like any other service. Plus, you can configure it to start automatically when your server boots.
To get started, create a systemd unit file: /etc/systemd/system/vncserver@.service
# vim /etc/systemd/system/vncserver@.service
[Unit]
Description=Start TightVNC server at startup
After=syslog.target network.target

[Service]
Type=forking
User=root
Group=root
WorkingDirectory=/root

PIDFile=/root/.vnc/%H:%i.pid
ExecStartPre=-/usr/bin/vncserver -kill :%i > /dev/null 2>&1
ExecStart=/usr/bin/vncserver -depth 24 -geometry 1280x800 -localhost :%i
ExecStop=/usr/bin/vncserver -kill :%i

[Install]
WantedBy=multi-user.target

Save and close the file.
Next, make the system aware of the new unit file:
# systemctl daemon-reloadEnable the unit file:
# systemctl enable vncserver@1.service
# systemctl status vncserver@1.service