How to configure NTP server on Ubuntu 22.04
NTP, or Network Time Protocol, helps keep the clocks on different computers synchronized with each other. An NTP server makes sure that all the computers in a network have the same time. On a local network, the server ensures that all the computers stay within one millisecond of each other in terms of time.
Time usually moves forward, no matter what. If you’re using different computers that communicate with each other, time should still keep advancing, even when switching between them. But if one system’s clock is ahead or behind another, things get messy. From an outside perspective, jumping between these systems would make time appear to skip forward or backward—definitely not ideal.
For example, if a network has been running in isolation with the wrong time, the moment it connects to the internet, problems will show up. Imagine receiving an email that was “sent” five minutes after it arrived—or worse, seeing a reply pop up before the original message was even written!
Even on a single computer, time jumps can cause trouble. Some applications, like databases, rely on timestamps for transactions and recovery. If the clock suddenly moves backward, it can throw everything off, making it hard to track the last stable state.
Install NTP server
# apt update
# apt install ntp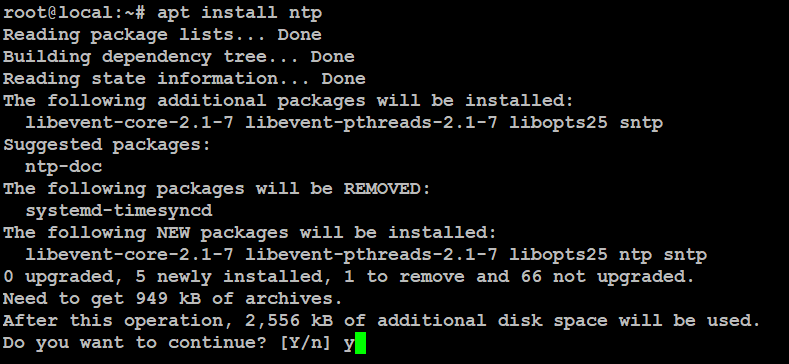
Configure NTP server
The NTP server comes with some pre-configured server pools, which you can find in the /etc/ntp.conf file.
# cat /etc/ntp.confThe default server pools inside our NTP config file.

For the best performance, it’s a good idea to use time servers from your own country or at least your continent. The closer the server, the lower the latency. Check the NTP Pool Project website to find the nearest server pool for accurate time syncing.
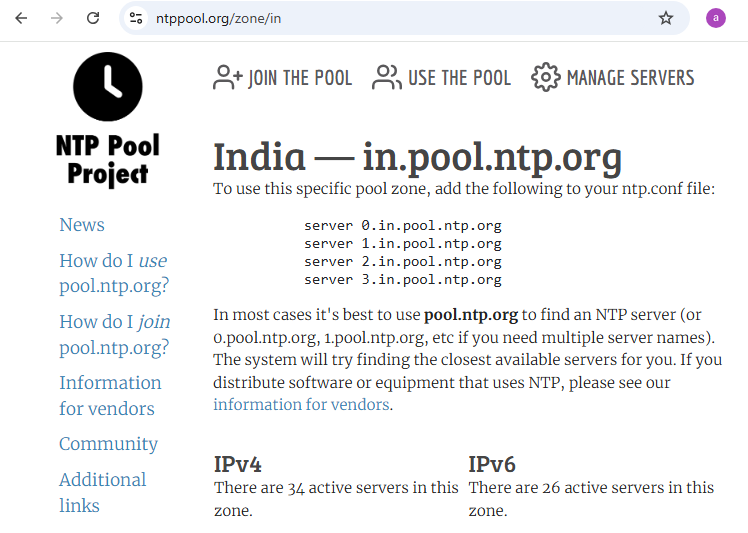
Once you’ve identified the most relevant zone, simply add the lines to your config file.
# vim /etc/ntp.conf
#To use this specific pool zone, add the following to your ntp.conf file:
server 0.in.pool.ntp.org
server 1.in.pool.ntp.org
server 2.in.pool.ntp.org
server 3.in.pool.ntp.org
After making these changes, save the file and close it. Then, restart the NTP service.
# systemctl restart ntp.service
# systemctl status ntp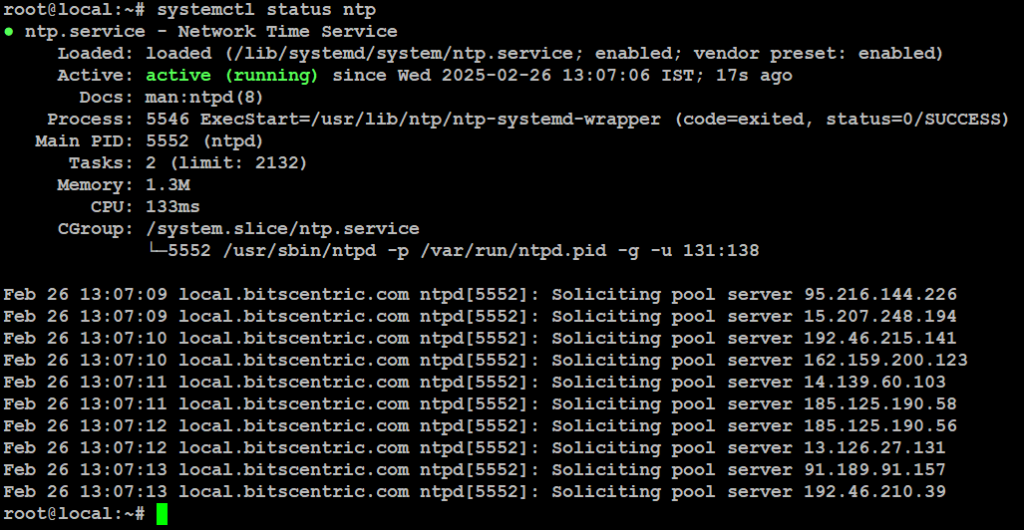
If you’re running a NTP server, clients will connect using UDP port 123. If you have UFW enabled, make sure to allow incoming requests on this port.
# ufw allow from any to any port 123 proto udp
# ufw reload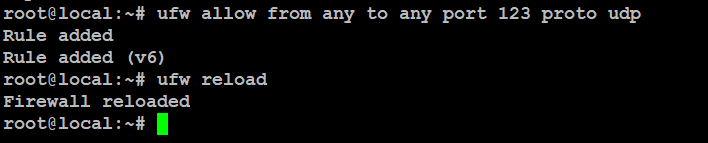
To confirm that NTP protocol has been successfully installed.
# sntp --version
NTP Client Configuration
Now that our NTP server is up and running, let’s see how client systems can connect to it for time sync.
First, install the ntpdate package. This will help check if the client can connect to the NTP time server we set up.
# apt update
# apt install ntpdate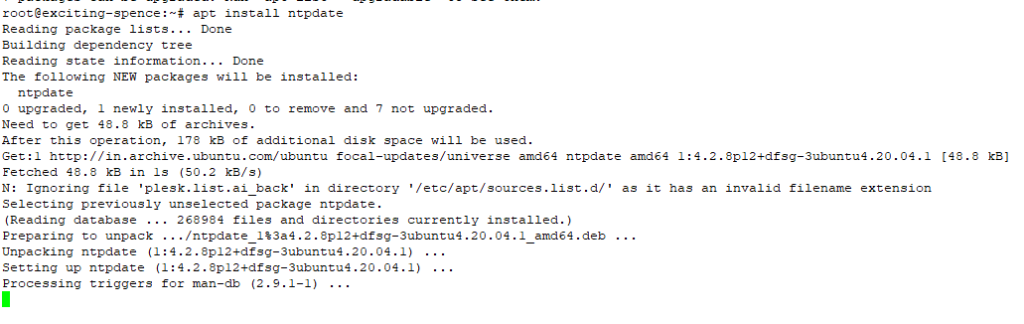
Now, let’s manually sync the system time with the NTP server. Just run the following command, replacing the IP address or hostname with your NTP server’s details.
# ntpdate 192.168.1.8
That looks good! Now, go ahead and turn off Ubuntu’s default timesyncd service—it can interfere with syncing to the NTP server.
# timedatectl set-ntp offNow, let’s install the NTP daemon on our client system so it can sync its time with the NTP server we set up earlier.
# apt install ntp
We just need to add one line to the ntp.conf file, and it’s super easy to do with a single command. Just be sure to swap out the IP address below with your NTP server’s hostname or IP.
# bash -c "echo server 192.168.1.8 prefer iburst >> /etc/ntp.conf"
Restart the NTP daemon.
# systemctl restart ntp
# systemctl status ntp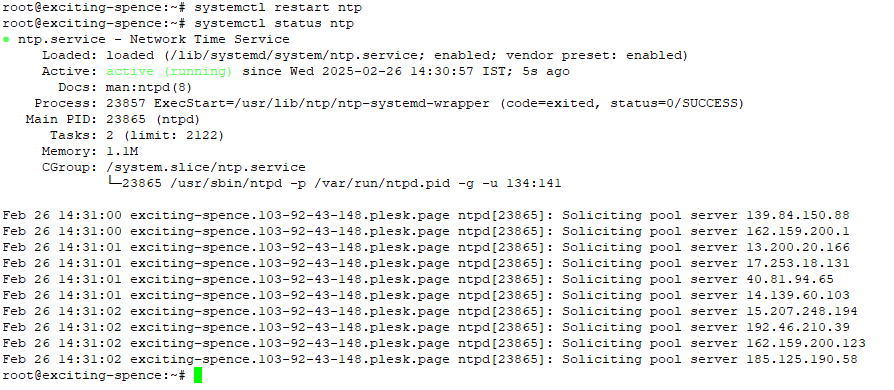
Finally, run the ntpq command to check the NTP time sync queue.
# ntpq -p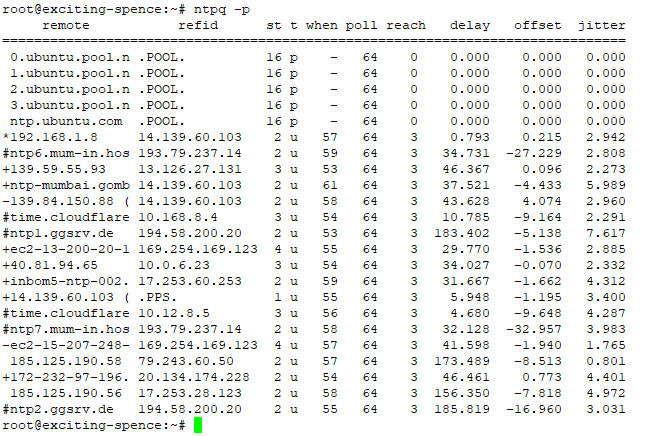
The asterisk (*) in the screenshot shows that our NTP server (192.168.1.8) is currently being used for time synchronization. It will stay this way unless the server goes offline, as we set it up that way in the ntp.conf file.

NTPQ Command column output interpretation:
- remote – The time server your system syncs with.
- refid – The source of time for the server you’re syncing to (for top-level servers, it’s the actual atomic clock or GPS).
- st – The stratum level (0-16), showing how close the server is to the primary time source.
- t – The type of connection:
- “u” (unicast/manycast)
- “b” (broadcast/multicast)
- “l” (local clock)
- “s” (symmetric peer)
- “A” (manycast server)
- “B” (broadcast server)
- “M” (multicast server)
- when – Time since the last sync request (in seconds, minutes, hours, or days).
- poll – How often your system checks the time (between 16 seconds and 36 hours, usually 64–1024 seconds).
- reach – A success score (up to 377) showing how well your system talks to the time server.
- delay – How long (in milliseconds) it takes for a time request to travel to the server and back.
- offset – The difference (in milliseconds) between your clock and the time server (can be positive or negative).
- jitter – The variation in time sync accuracy, measured in milliseconds.
Explanation of the ntpq command output symbols:
- ” “ (Blank space) → Ignored. The server might be unreachable, too high in the hierarchy, or using your system as its own time source.
- x → Rejected by the algorithm because it doesn’t fit well with others.
- . → Left out due to too many servers being available.
- – → Removed by the clustering algorithm, likely because it’s not the best option.
- + → A good backup option. It will be used if the main time source is lost.
- # → A solid alternative, but only shown if you have more than 10 servers.
- *** → The primary time source your system is currently syncing with.
- o → A special case for high-precision time sources like GPS. You won’t see this at the same time as
*.
You can check the NTP-synchronized time
# timedatectl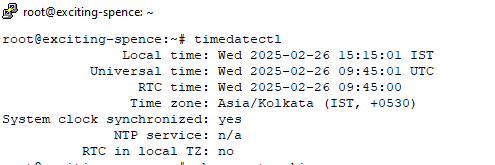
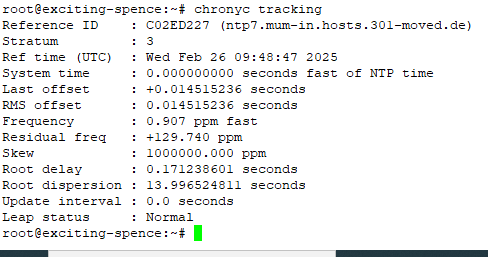
Alternatively, if you’re using chrony, you can check the server time
# chronyc tracking