How to Configure NFS Server on RHEL
NFS stands for Network File System, a protocol that allows users to access files on remote computers as if they were local. It’s a distributed file system that uses a client-server model.
Network File System (NFS) is a networking protocol for distributed file sharing. A file system defines the way data in the form of files is stored and retrieved from storage devices, such as hard disk drives, solid-state drives and tape drives. NFS is a network file sharing protocol that defines the way files are stored and retrieved from storage devices across networks.
The NFS protocol defines a network file system, originally developed for local file sharing among Unix systems and released by Sun Microsystems in 1984. The NFS protocol specification was first published by the Internet Engineering Task Force (IETF) as an internet protocol in RFC 1094 in 1989. The current version of the NFS protocol is documented in RFC 7530, which documents the NFS version 4 (NFSv4) Protocol.
NFS enables system administrators to share all or a portion of a file system on a networked server to make it accessible to remote computer users. Clients with Authorization to access the shared file system can mount NFS shares, also known as shared file systems. NFS uses Remote Procedure Calls (RPCs) to route requests between clients and servers.
A Network File System (NFS) allows remote hosts to mount file systems over a network and interact with those file systems as though they are mounted locally. This enables system administrators to consolidate resources onto centralized servers on the network.
Install NFS on Server
# dnf update
# yum install nfs-utils
Next step is to enable the NFS services.
# systemctl start nfs-server.service
# systemctl enable nfs-server.service
# systemctl status nfs-server.service
Create an NFS Share Directory
# mkdir nfs-share
# chmod -R 777 nfs-share
Export an NFS Share Directory
# vim /etc/exports
/root/nfs-share 192.168.1.7(rw)
Finally export the NFS share directory or filesystem.
# exportfs -rv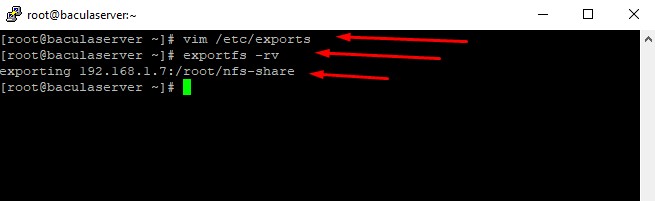
Run the command to view the NFS shares.
# showmount -e localhost
# showmount -e baculaserver.localhost.com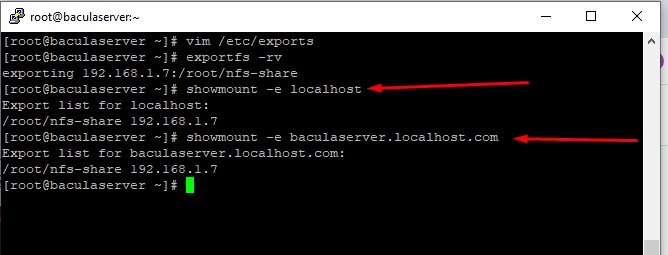
The next step is to mount the NFS share from the server to the client. To do this, we first need to create a mount directory. In this case, we will create a directory called nfs_backup
# mkdir /nfs-backup
Now, we will mount the NFS share to the mount directory that we have just created in the root home directory.
# mount -t nfs 192.168.1.7:/root/nfs-share /nfs-backup/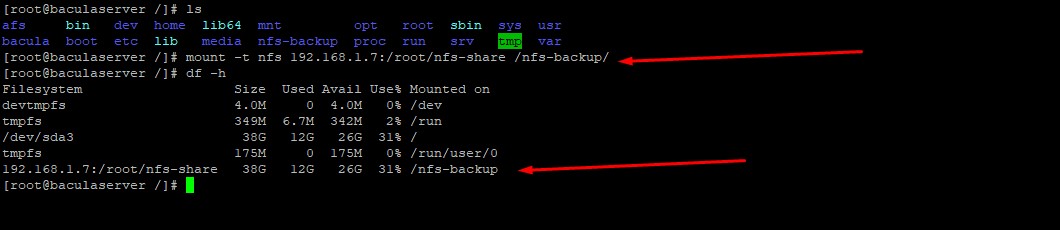
To persist the NFS share, edit the /etc/fstab file and add the following entry.
# vim /etc/fstab
192.168.1.7:/root/nfs-share /nfs-backup         nfs     defaults 0 0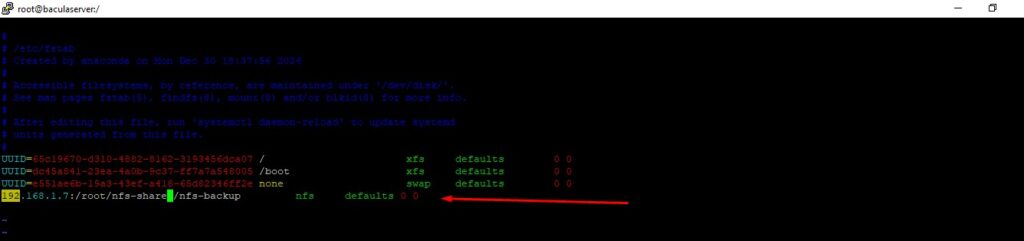
Testing NFS Setup
On the server side, we will create the files in the NFS share directory.
#  cd nfs-share
# touch file file1
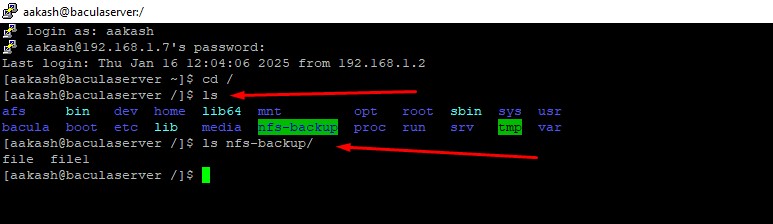
Now, Login to client machine and test share file
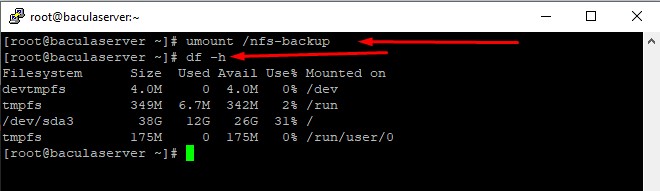
Removing NFS Mount from server
# umount /nfs-backup