
How to Add Windows Host to Nagios Monitoring Server
This article explains how to monitor Windows system metrics like CPU, disk, memory, and services using Nagios. To do this, you’ll need to install the NSClient++ addon on the Windows machine. NSClient++ acts as a bridge between the Windows machine and Nagios, allowing the check_nt plugin (already included with Nagios) to retrieve the necessary data.
Installing NSClient++ Agent on Windows Machine
Download zip file from this URL
# https://sourceforge.net/projects/nscplus/files/nscplus/NSCP%200
.3.1/
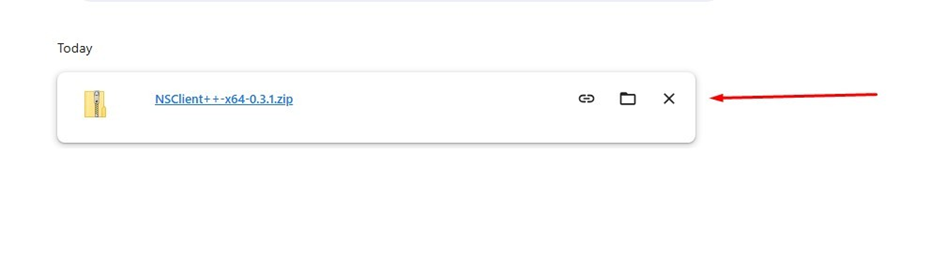
Download zip file
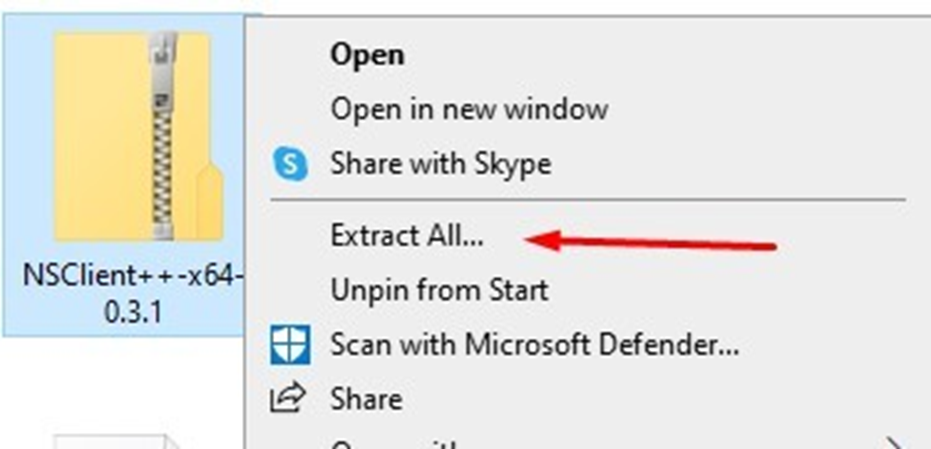
Extract zip file
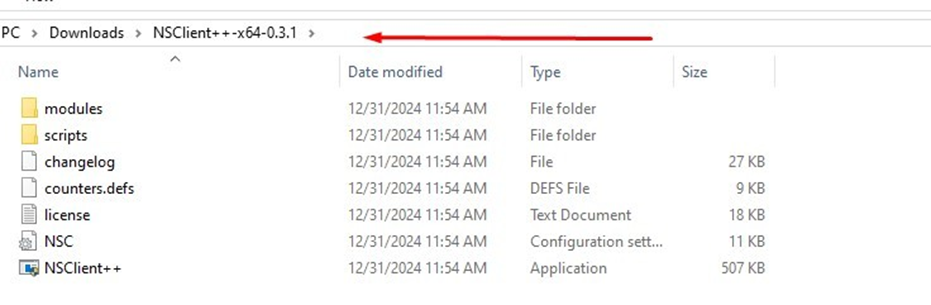
Open setup file
Now open a MS-DOS command prompt from the Start Screen –> Run –> type ‘cmd‘ and press enter and change to the directory.
# "NSClient++.exe" /install
# "NSClient++.exe" SysTray
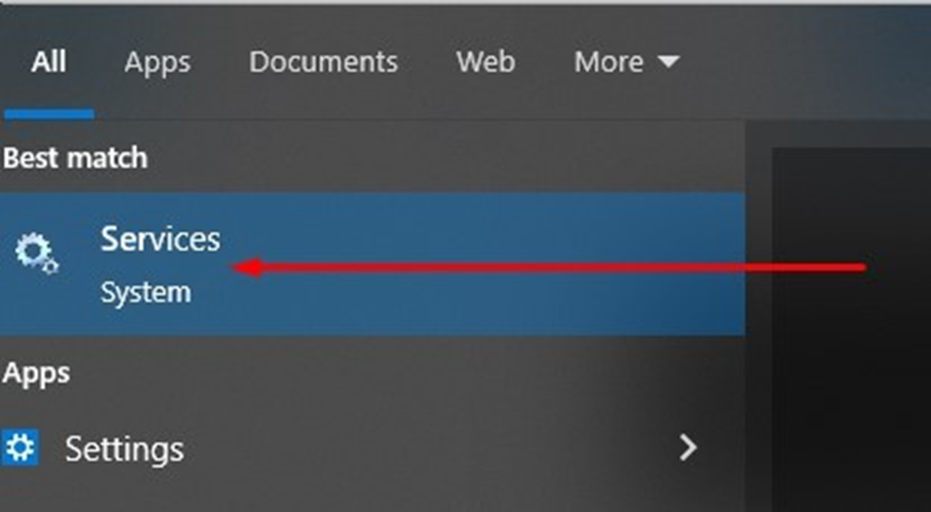
Press window button and search services
Search NSClient
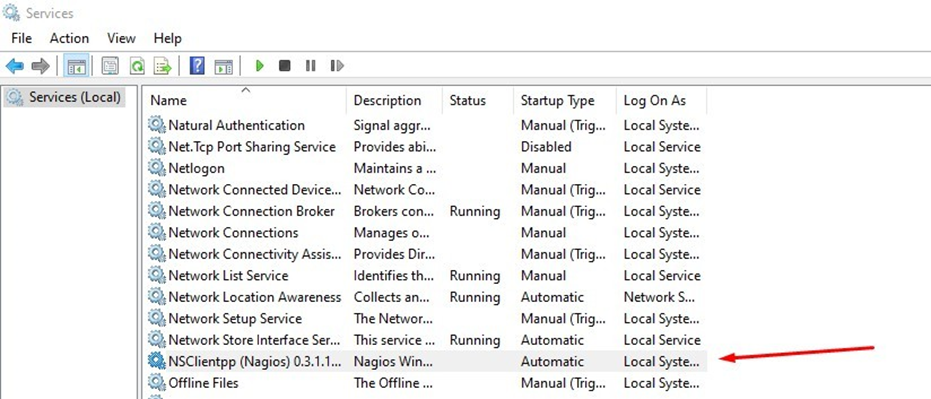
Open NSClient properties option
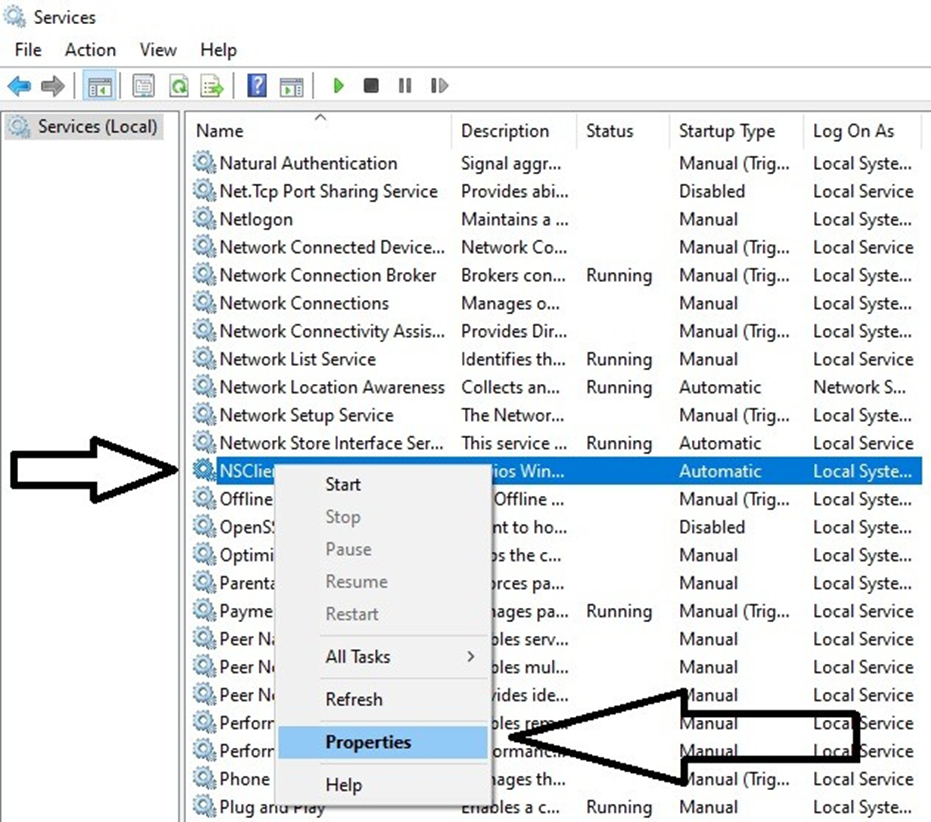
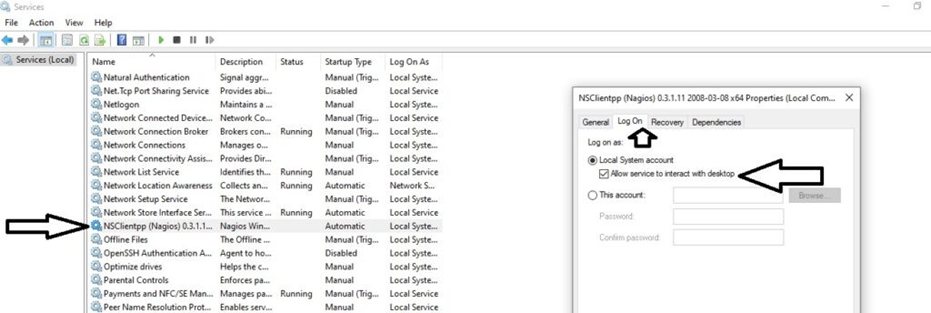
Right click on NSClient go to Properties and then ‘Log On‘ tab and click the check box that says “Allow service to interact with the desktop“.
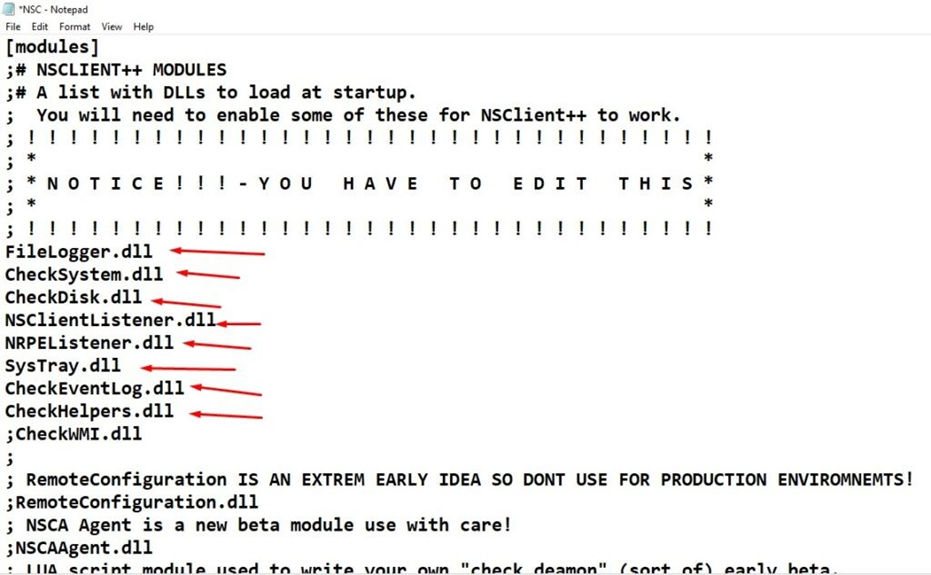
Open the NSC.INI file in the C:\NSClient++ folder and enable all modules in the “modules” section, except for CheckWMI.dll and RemoteConfiguration.dll.

[modules]
;# NSCLIENT++ MODULES
;# A list with DLLs to load at startup.
;	You will need to enable some of these for NSClient++ to work.
; ! ! ! ! ! ! ! ! ! ! ! ! ! ! ! ! ! ! ! ! ! ! ! ! ! ! ! ! ! ! !
! !
; *
*
; * N O T I C E ! ! ! - Y O U	H A V E	T O	E D I T	T H I
S *
; *
*
; ! ! ! ! ! ! ! ! ! ! ! ! ! ! ! ! ! ! ! ! ! ! ! ! ! ! ! ! ! ! !
! !
FileLogger.dll CheckSystem.dll CheckDisk.dll
NSClientListener.dll NRPEListener.dll
SysTray.dll
CheckEventLog.dll CheckHelpers.dll
;CheckWMI.dll
;
; RemoteConfiguration IS AN EXTREM EARLY IDEA SO DONT USE FOR PRODUCTION ENVIROMNEMTS!
;RemoteConfiguration.dll
; NSCA Agent is a new beta module use with care!
;NSCAAgent.dll
; LUA script module used to write your own "check deamon" (sort of) early beta.
;LUAScript.dll
; Script to check external scripts and/or internal aliases, early beta.
;CheckExternalScripts.dll
; Check other hosts through NRPE extreme beta and probably a bit dangerous! :)
;NRPEClient.dll
Enable the “allowed_hosts” setting in the “Settings” section and either specify your Nagios Monitoring Server’s IP address or leave it blank to allow connections from any host.
[Settings]
;# OBFUSCATED PASSWORD
;	This is the same as the password option but here you can store the password in an obfuscated manner.
;	*NOTICE* obfuscation is *NOT* the same as encryption, someone with access to this file can still figure out the
;	password. Its just a bit harder to do it at first glance.
;obfuscated_password=Jw0KAUUdXlAAUwASDAAB
;
;# PASSWORD
;	This is the password (-s) that is required to access
NSClient remotely. If you leave this blank everyone will be able to access the daemon remotly.
;password=secret-password
;
;# ALLOWED HOST ADDRESSES
;	This is a comma-delimited list of IP address of hosts that
re allowed to talk to the all daemons.
;	If leave this blank anyone can access the deamon remotly (NSClient still requires a valid password).
;	The syntax is host or ip/mask so 192.168.0.0/24 will allow anyone on that subnet access
;allowed_hosts=127.0.0.1/32 allowed_hosts=192.168.1.6/24

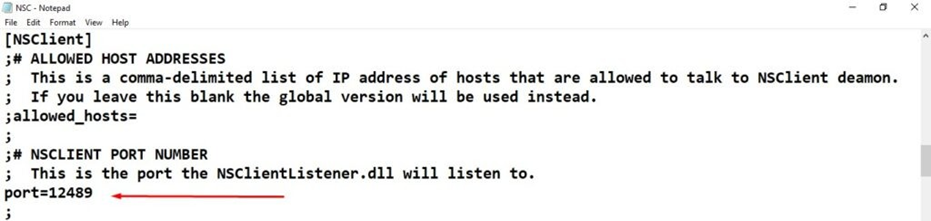
Enable the “port” setting in the “NSClient” section, set it to 12489, and allow this port through the Windows Firewall.
[NSClient]
;# ALLOWED HOST ADDRESSES
;	This is a comma-delimited list of IP address of hosts that are allowed to talk to NSClient deamon.
;	If you leave this blank the global version will be used instead.
;allowed_hosts=
;
;# NSCLIENT PORT NUMBER
;	This is the port the NSClientListener.dll will listen to. port=12489
Finally start the NSClient++ service with the following command.
Configuring Nagios Server and Add Windows Hosts
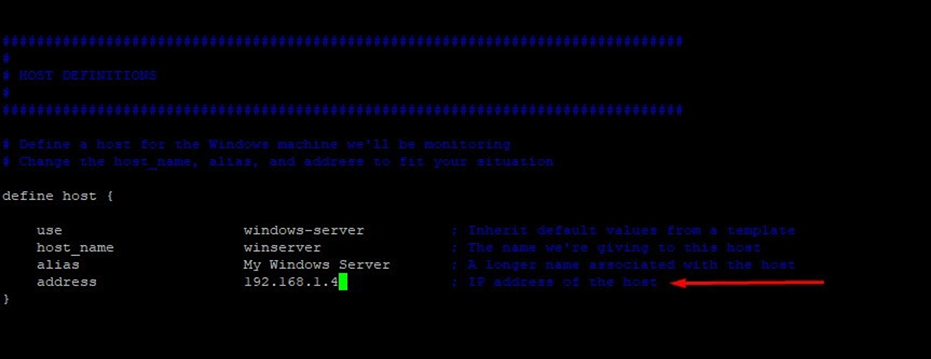
Log in to the Nagios server and edit the windows.cfg file to add configuration details for monitoring a new Windows machine.
# vim /usr/local/nagios/etc/objects/windows.cfg
############################################################### ################
#
# HOST DEFINITIONS #
############################################################### ################

# Define a host for the Windows machine we'll be monitoring # Change the host_name, alias, and address to fit your
situation

define host {

use	windows-server	; Inherit default values from a template
host_name	winserver	; The name we're giving to this host
alias	My Windows Server	; A longer name associated with the host
address	192.168.1.4	; IP
address of the host
}
Uncomment the windows.cfg line in the /usr/local/nagios/etc/nagios.cfg file.
vim /usr/local/nagios/etc/nagios.cfg
# Definitions for monitoring a Windows machine
cfg_file=/usr/local/nagios/etc/objects/windows.cfg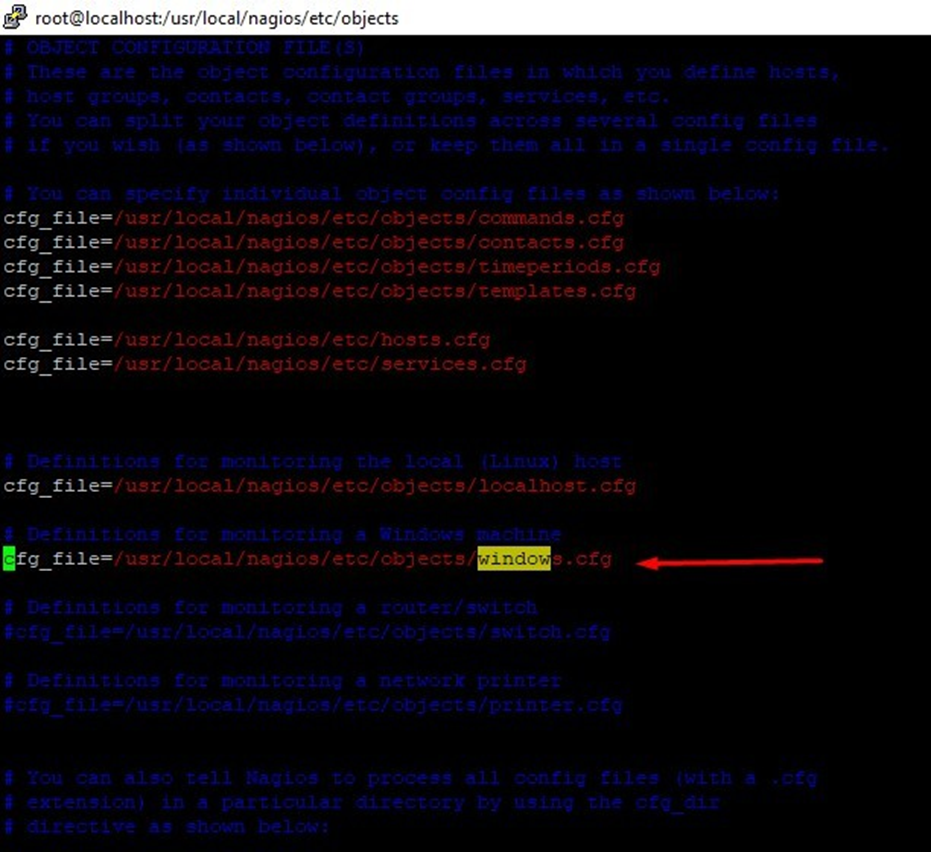
Finally, verify the Nagios configuration files for any erros.
# /usr/local/nagios/bin/nagios -v /usr/local/nagios/etc/nagios.cfg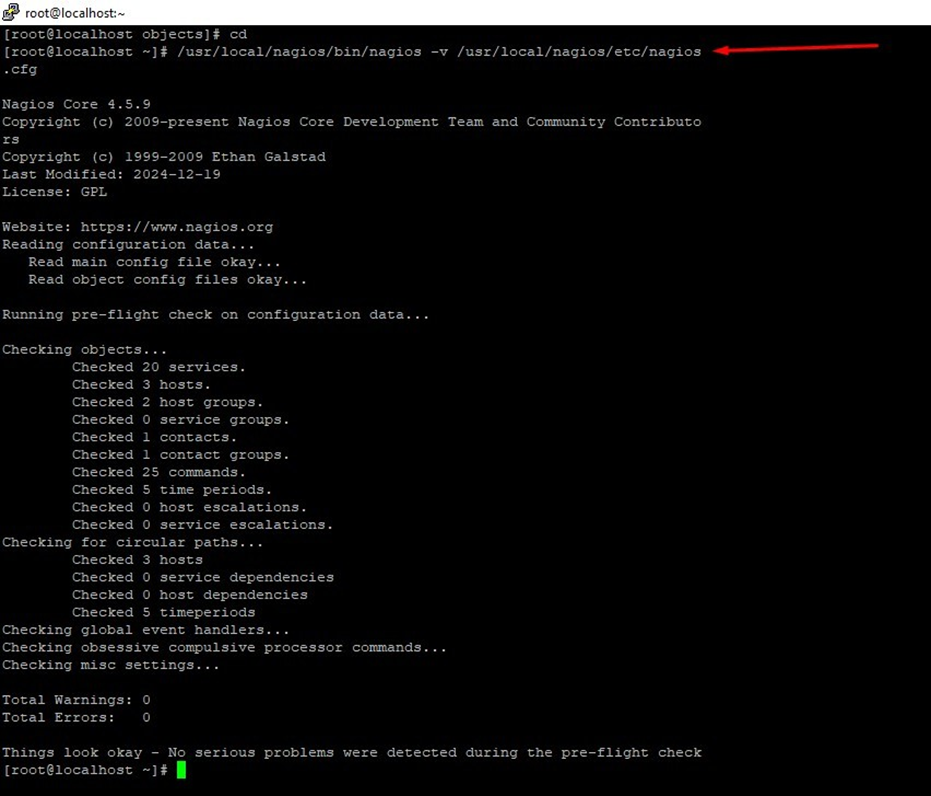
# systemctl restart nagios.service
Access the Nagios web interface at “http://Your-server-IP-address/nagios” or “http://FQDN/nagios.” Log in using the username nagiosadmin and your password, then verify that the remote Windows host is added and being monitored
# http://localhost.bitscentric.com/nagios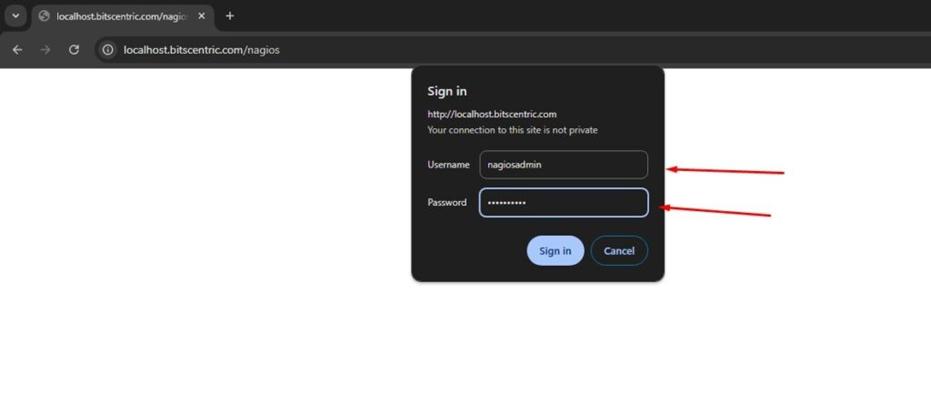
After Login
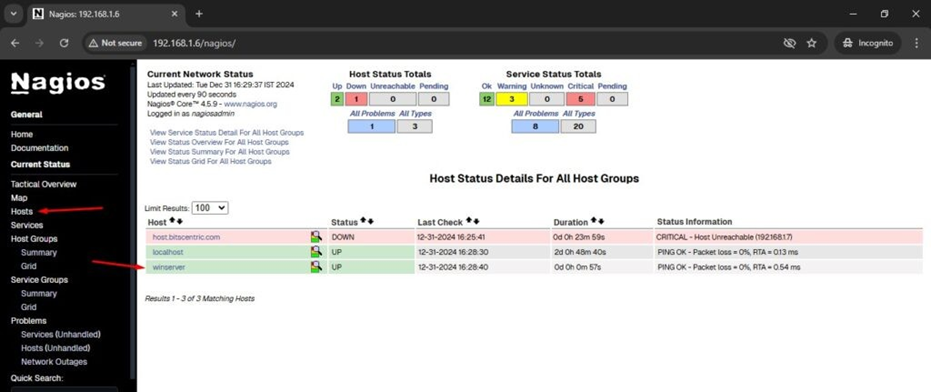
Check windows machine
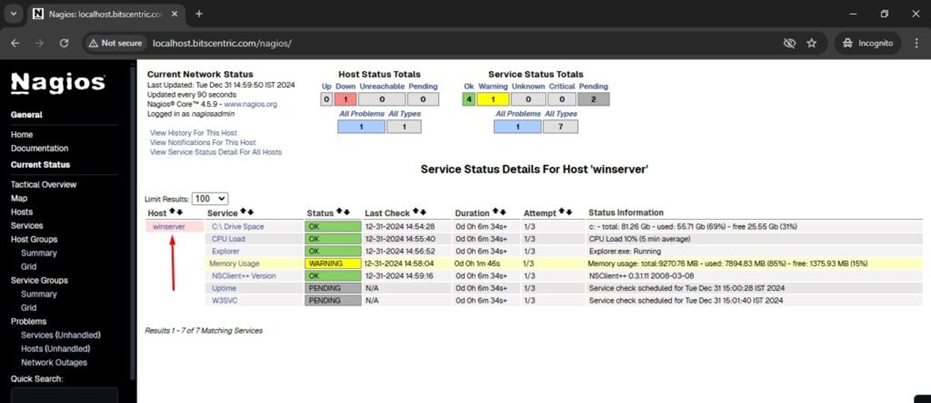
Monitor services

How to add D drive disk for monitoring
vim /usr/local/nagios/etc/objects/windows.cfg
# Create a service for monitoring D:\ disk usage
# Change the host_name to match the name of the host you defined above

define service {

use	generic-service
host_name	winserver
service_description	D:\ Drive Space
check_command	check_nt!USEDDISKSPACE!-l c -w 80 - c 90
}

Check D drive status
